Another pet post – sewing for dogs is just too fun! In today’s tutorial I am going to show you how to make DIY dog collar bows for your furry friend. These are adorable for your pooch (or cat!) and are easy to slip right onto their collar.
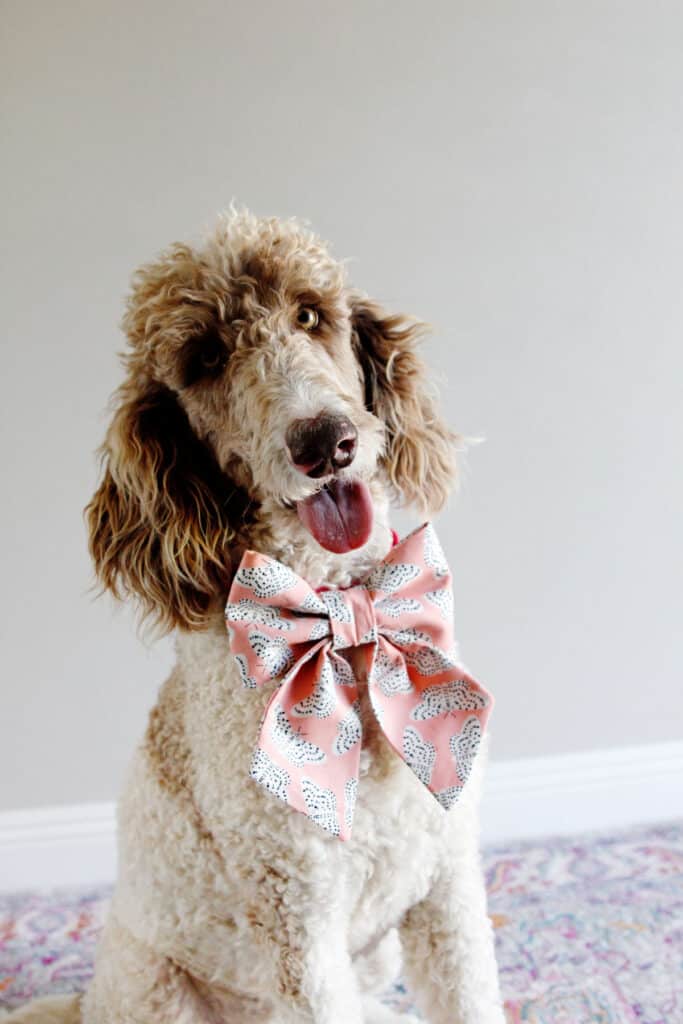
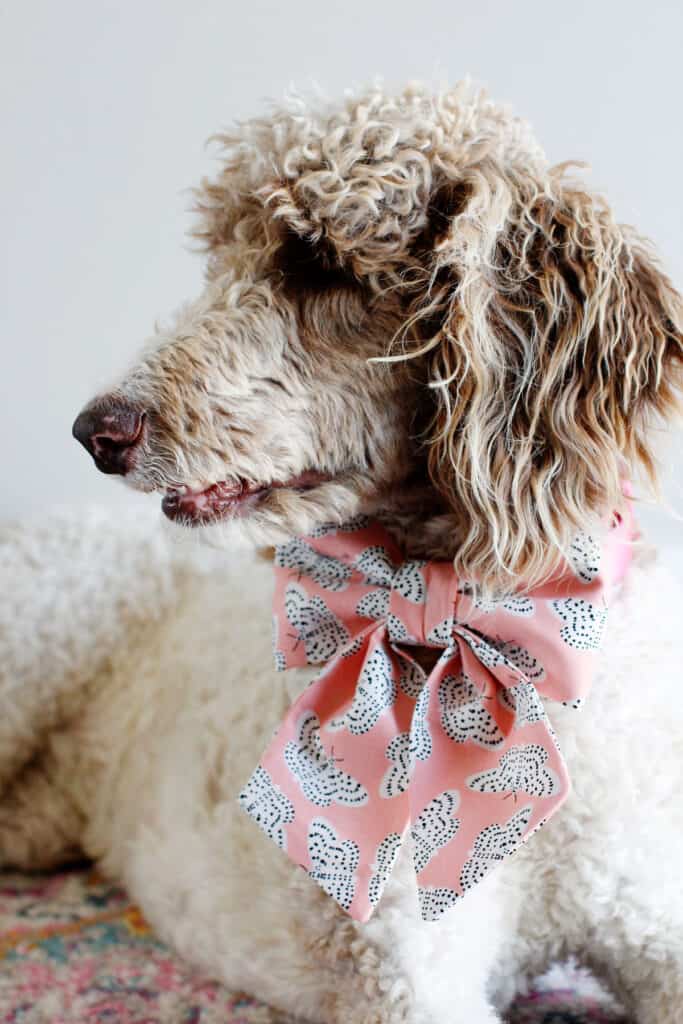
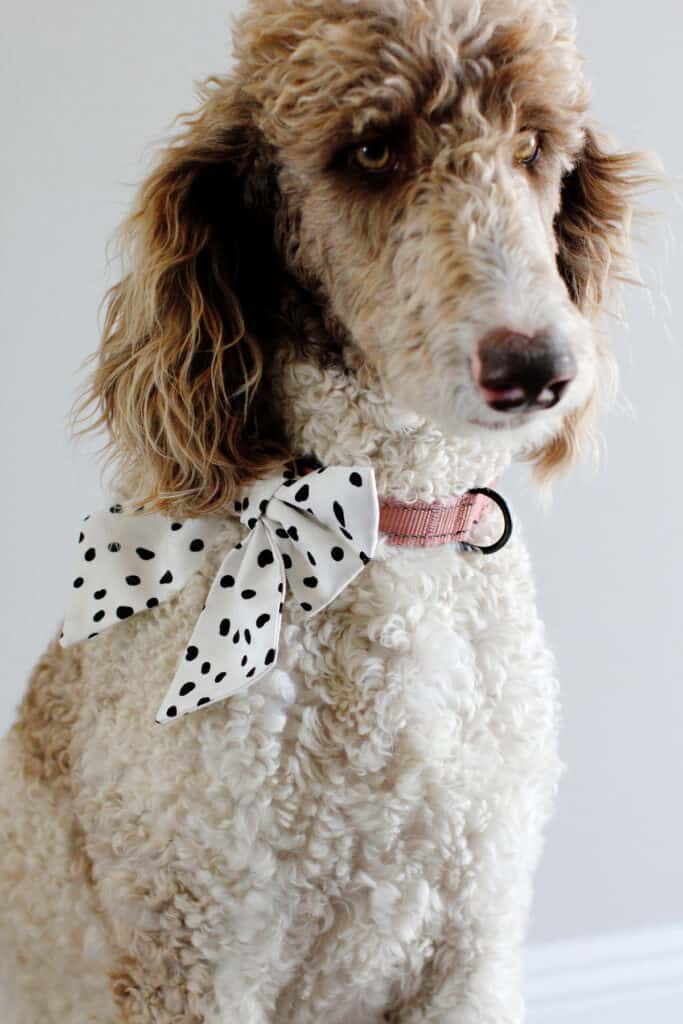
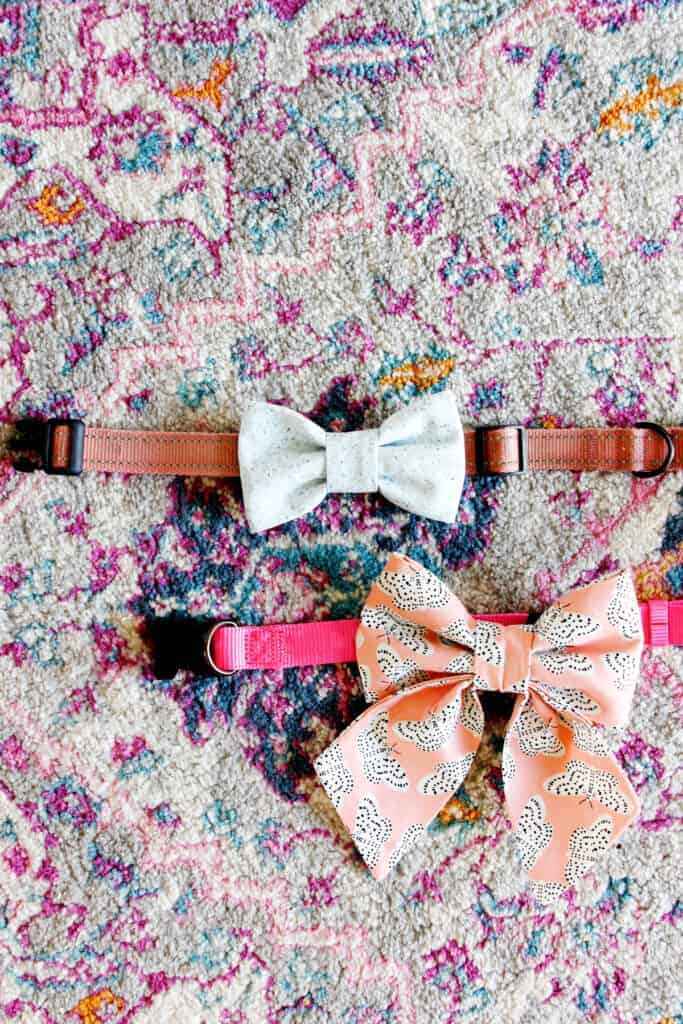
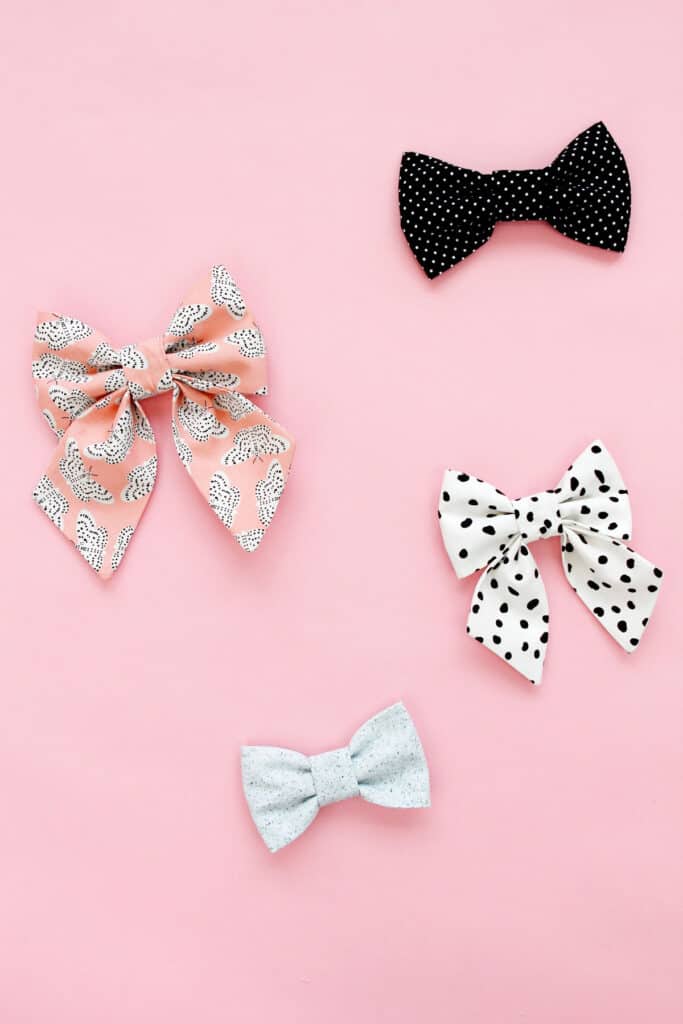
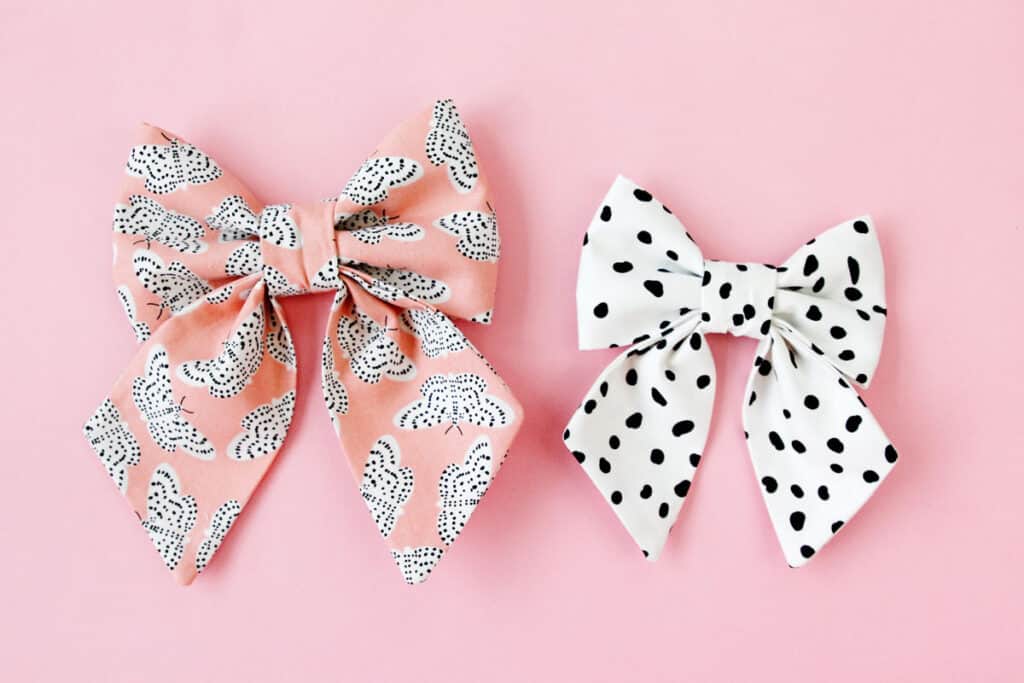
There are two bow variations in this post and both are easy to sew. The big bow version is great for a girly pup and adorable for a new puppy. Imagine a big red bow on a puppy on Christmas?! This bow is a sailor style bow with pointed tails.
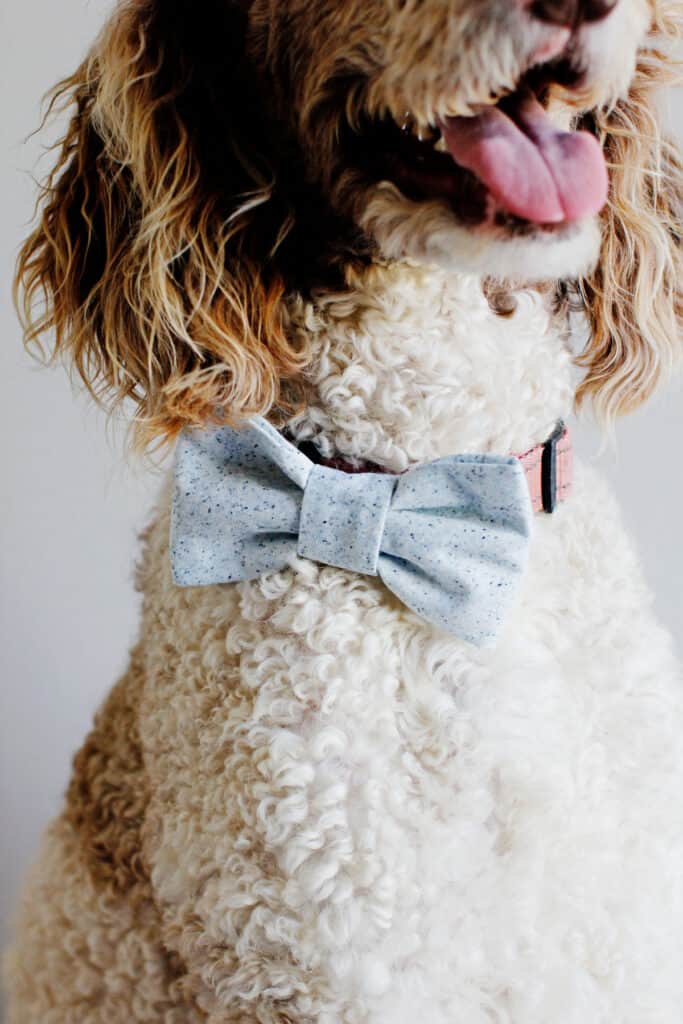
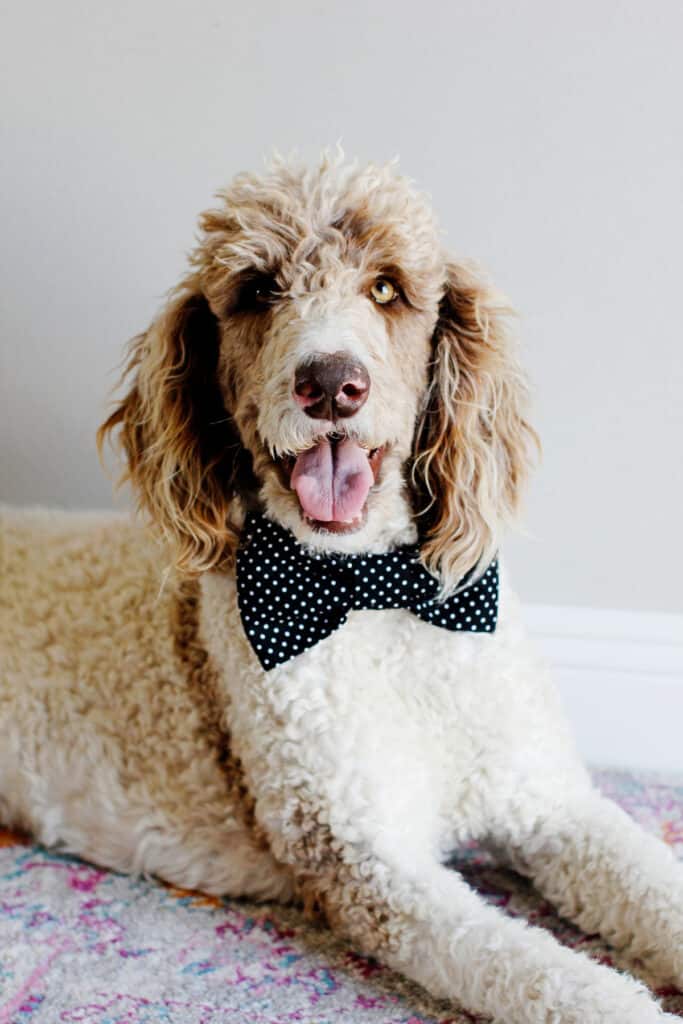
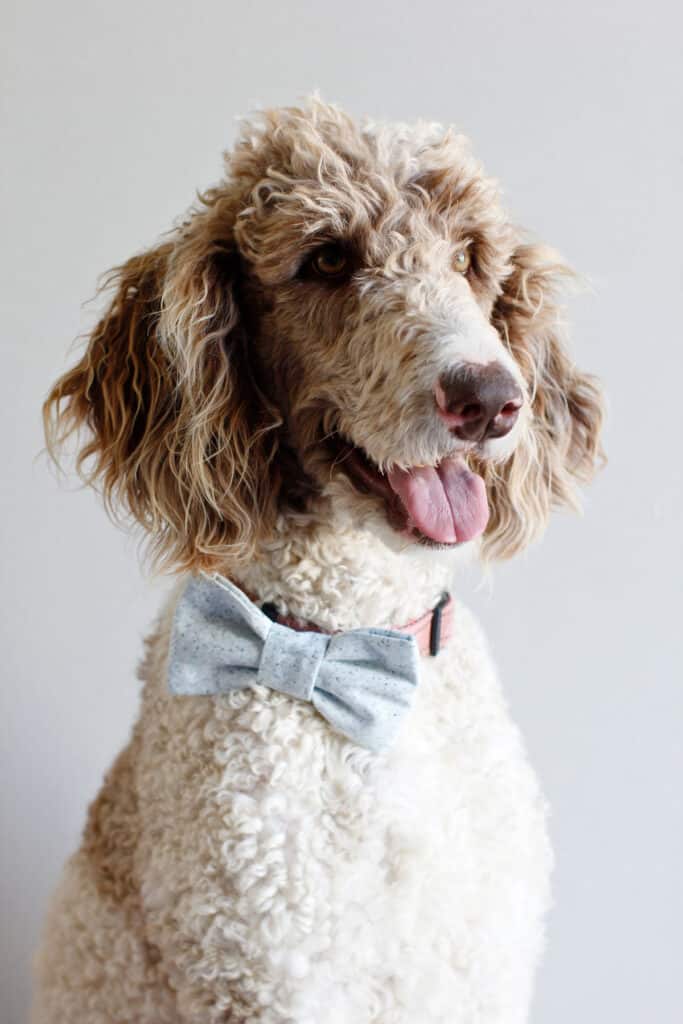
The second version is a bow tie style attachment that is great for a dapper dog! This necktie style looks so cute around your dog’s neck. Try plaid or polka dots for a sleek look.
The back of the bow has elastic that stretches over the collar for a secure bow that always looks great and won’t droop!
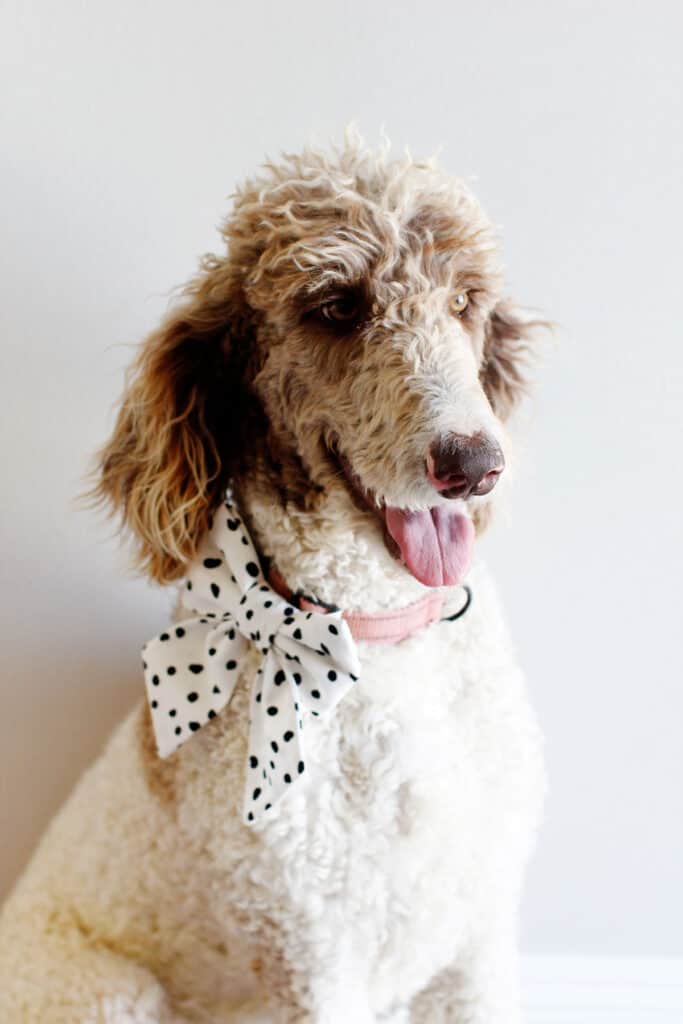
You can really use these bow patterns for any project including hair bows for kids or accessories to attach to a bag or dress!
Sew Dog Bows and Bow Ties for a Good Cause
Want to Sew4Good? Make DIY dog bow ties for your local animal shelter! These bows will make any pet photo pop and may help those pups get adopted sooner!
Materials for DIY Dog Bows
- 1/4 yard quilting cotton or fabric scraps
- Fabrics used in this post:
- 1/4 yard lightweight fusible interfacing
- 1/4″ braided elastic
- Thread, sewing machine and fabric scissors
- Hot glue gun and glue sticks
- Fray check seam liquid
- Cardstock for pattern pieces
- DIY Dog Collar Bows Download
DIY Dog Collar Bows Pattern Download
The dog sailor bow has two sizes to choose from. I recommend large for larger dogs or for a gift bow. The smaller size is good for smaller dog breeds or even cats, though I know my cats would not tolerate it! The elastic loops on the back of the bow tie make it so easy to attach to your dog’s collar.
Click the button below to sign up for the See Kate Sew newsletter. Then you’ll be taken to the download page. Print the bow patterns at 100% or DO NOT SCALE.
I recommend printing on thicker paper such as card stock, especially if you’ll be making a few of these! The pages overlap as shown in the diagram below:
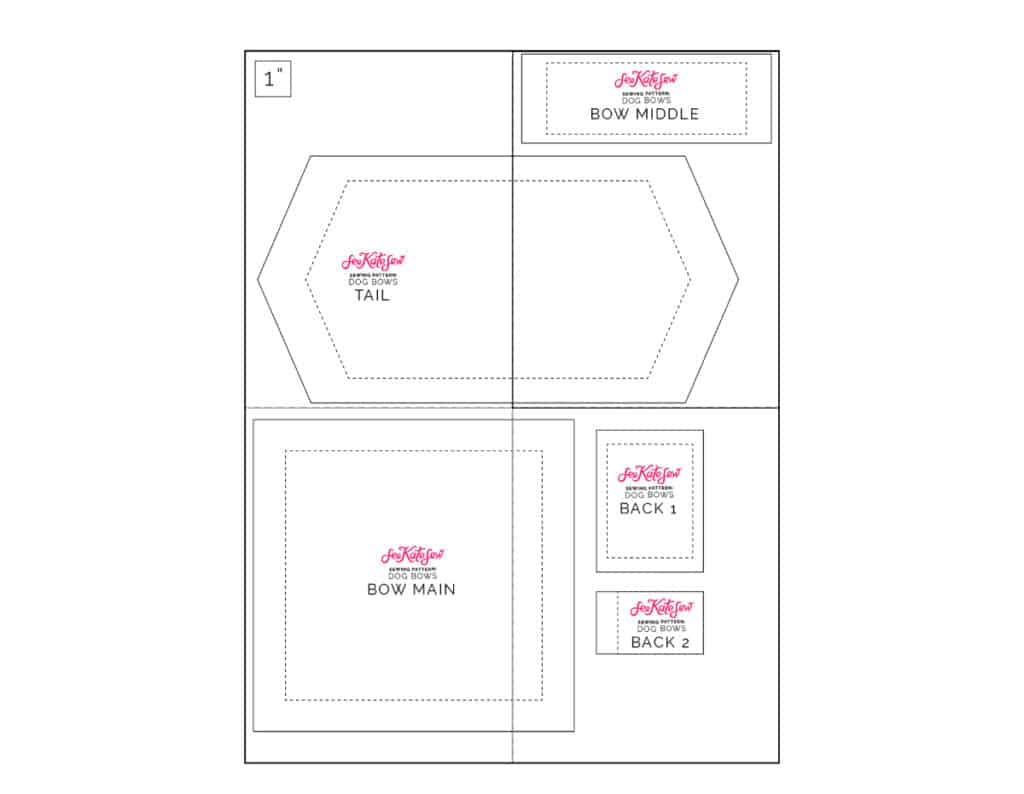
Trim the pages along the dotted lines and tape together.
How to Make a Sailor Bow for a Dog Collar
Use 1/4″ seam allowance unless otherwise noted. Seam allowance is included in pattern pieces.
Cut the following:
- 1 – Bow Main
- 4 – Back 1
- 2 – Back 2
- 1 – Tail
- 2 – 2.25″ pieces of elastic
Sew the elastic to the middle of the Back 2 pieces at the top and bottom using a narrow stitch length such as 2mm width. Then sew the larger piece (Back 1) to the top and bottom of the Back 2 piece, with elastic sandwiched. Backstitch over the elastic as you do this for a more secure bow.
Fuse interfacing to the back of all pieces.
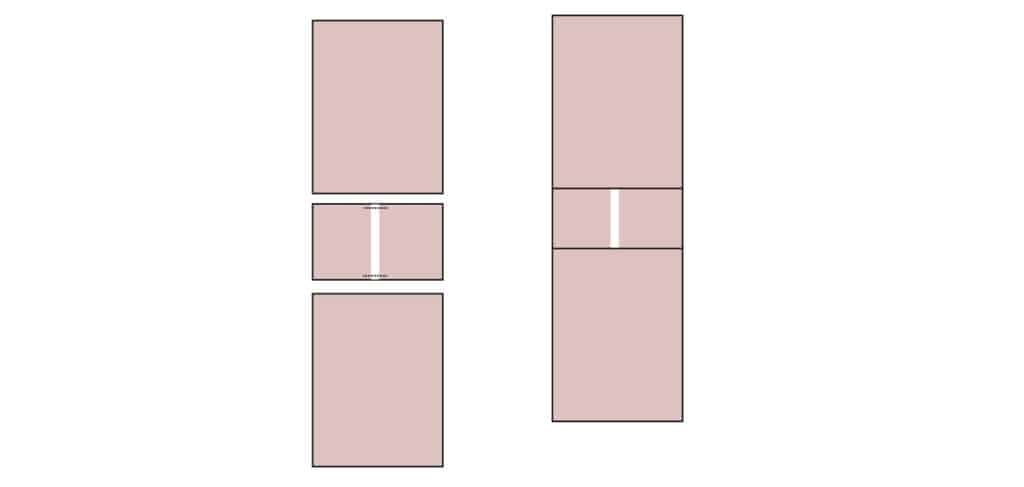
Repeat with the other Back 1 and Back 2 piece. Press open and sew to the sides of Bow Main rectangle.
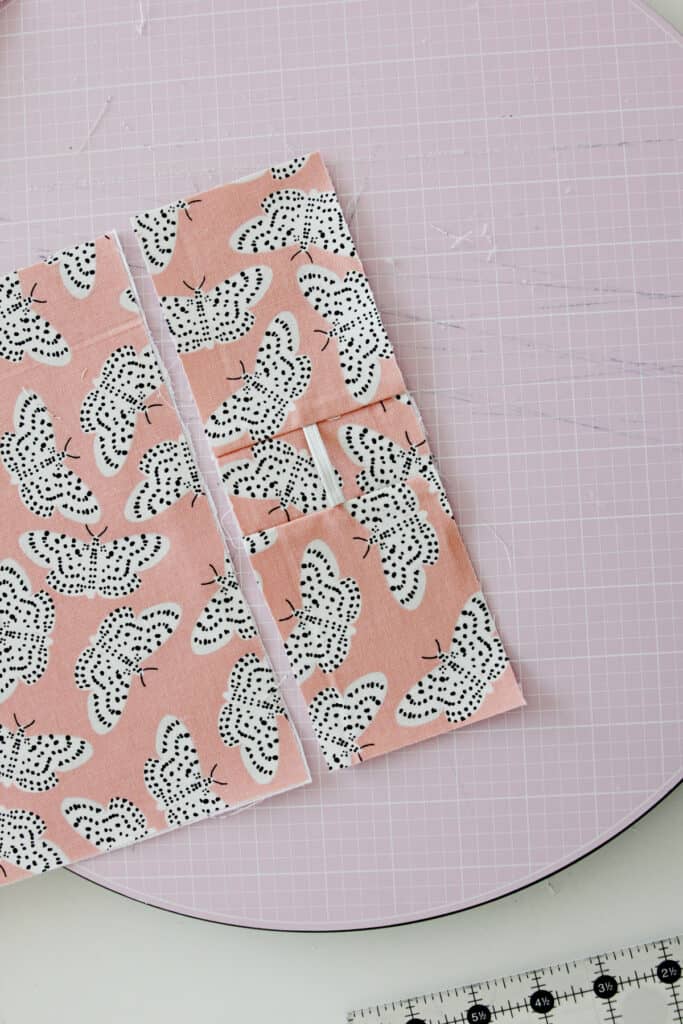
Open and press well.
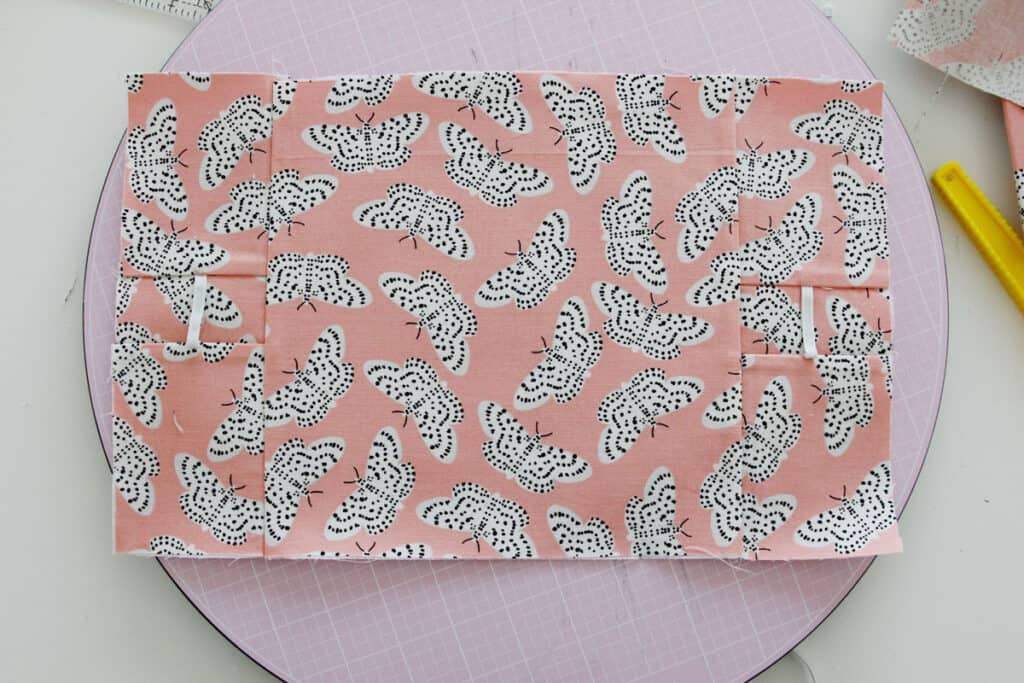
Fold up the bottom of the bow pieces to match the top edges. Pin.
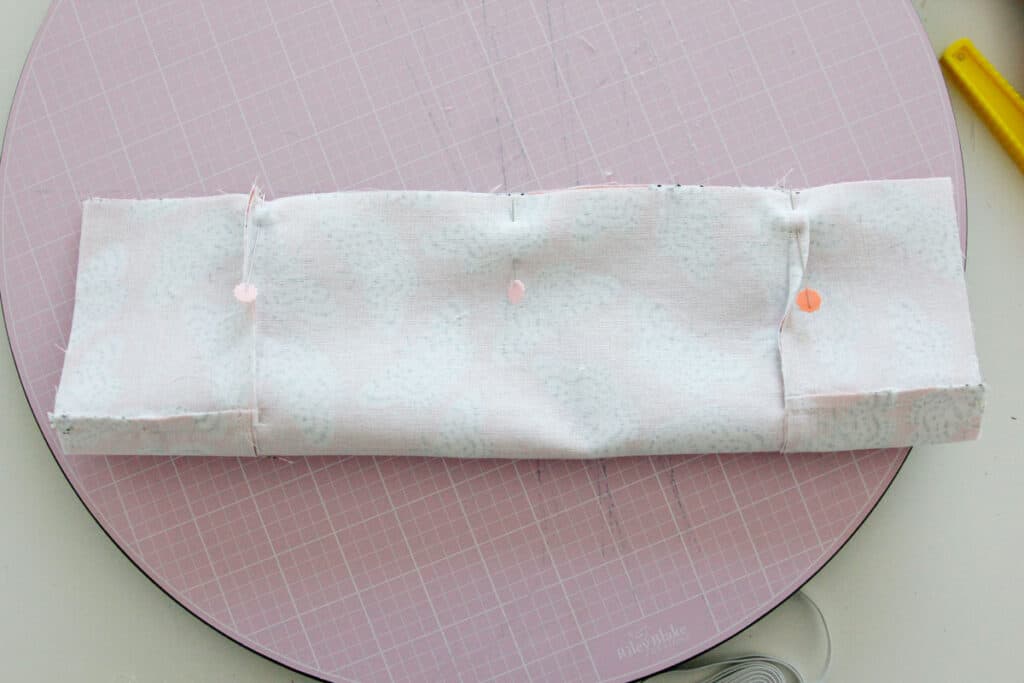
Sew into a tube along the top and then turn rightside out. Treat the raw edges with fray check so they don’t fray.
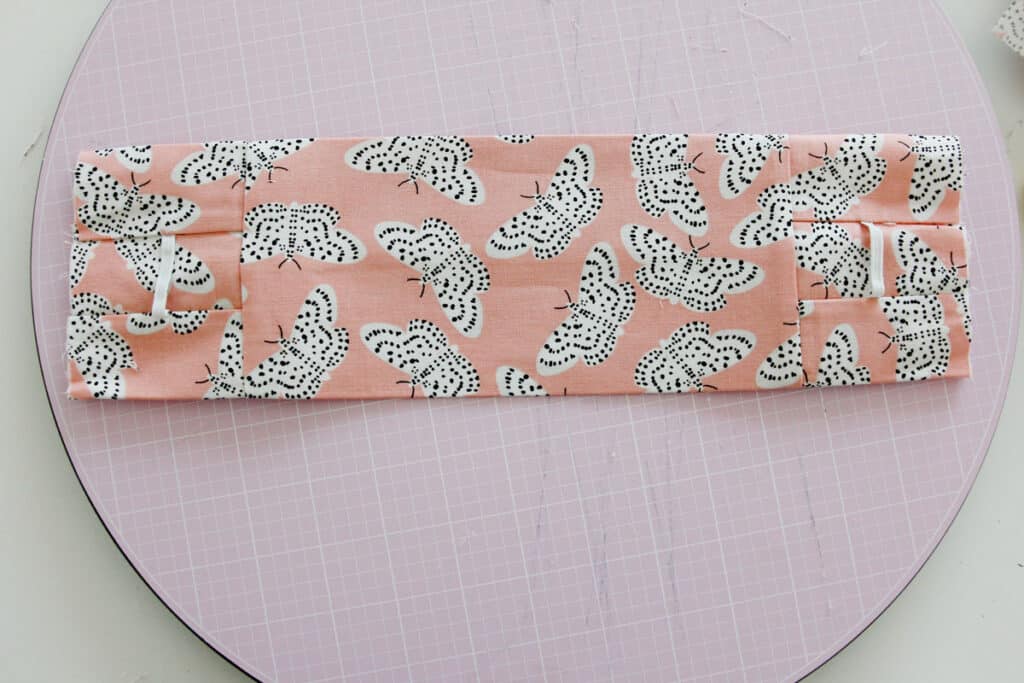
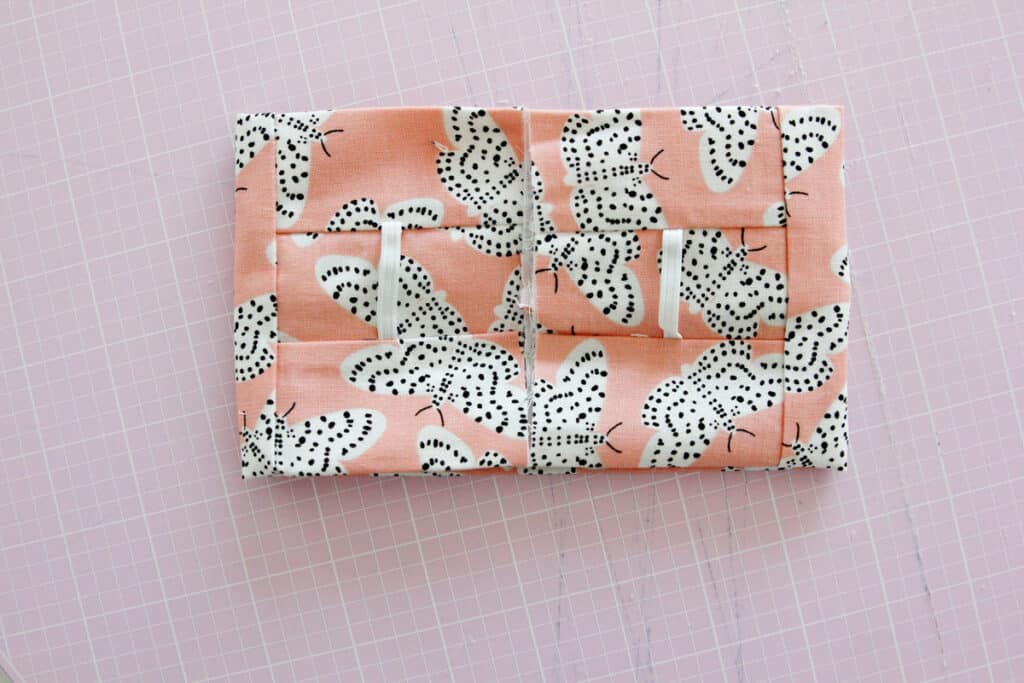
Fold the sides of the bow piece to the back as shown below. Glue the sides down in the middle of the back.
For the tail piece, fold in half and sew from point to point leaving a 2″ opening in the middle.


Clip corners and trim seam allowance. Then turn the tail piece right side out. Press out the points and press well.
Press under 1/2″ (3/8″ for smaller bow size) on both of the long edges of the bow middle. Use glue gun to glue down.

Dog Bow Assembly Instructions
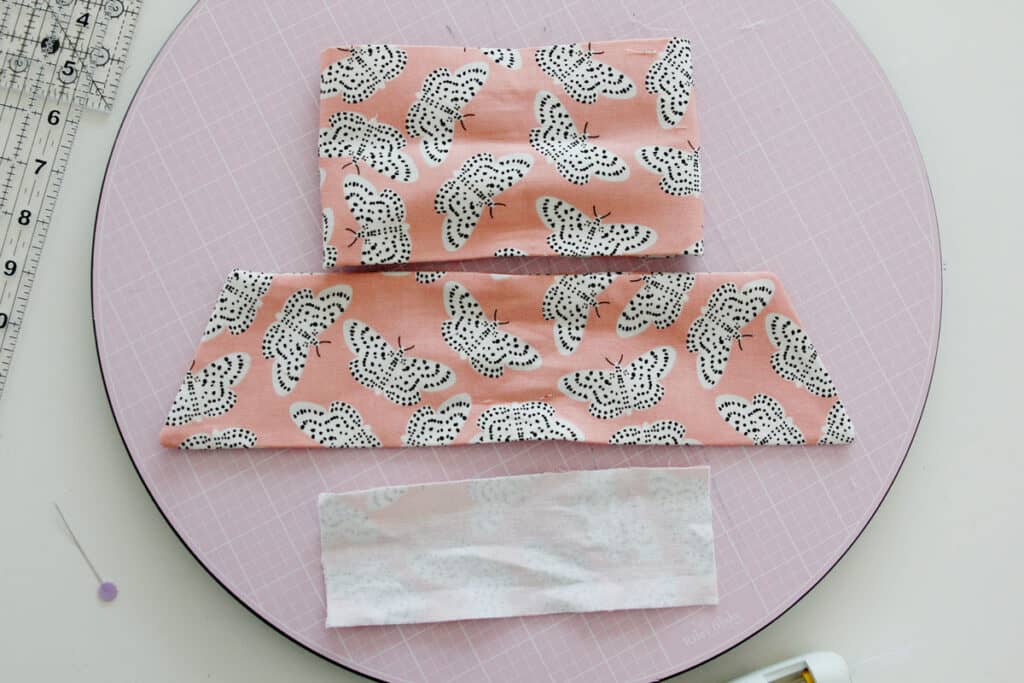
Line up the 3 components of the bow as shown. The long side of the pointed tail piece should be at the bottom.
Pinch the pointed tail piece as shown.
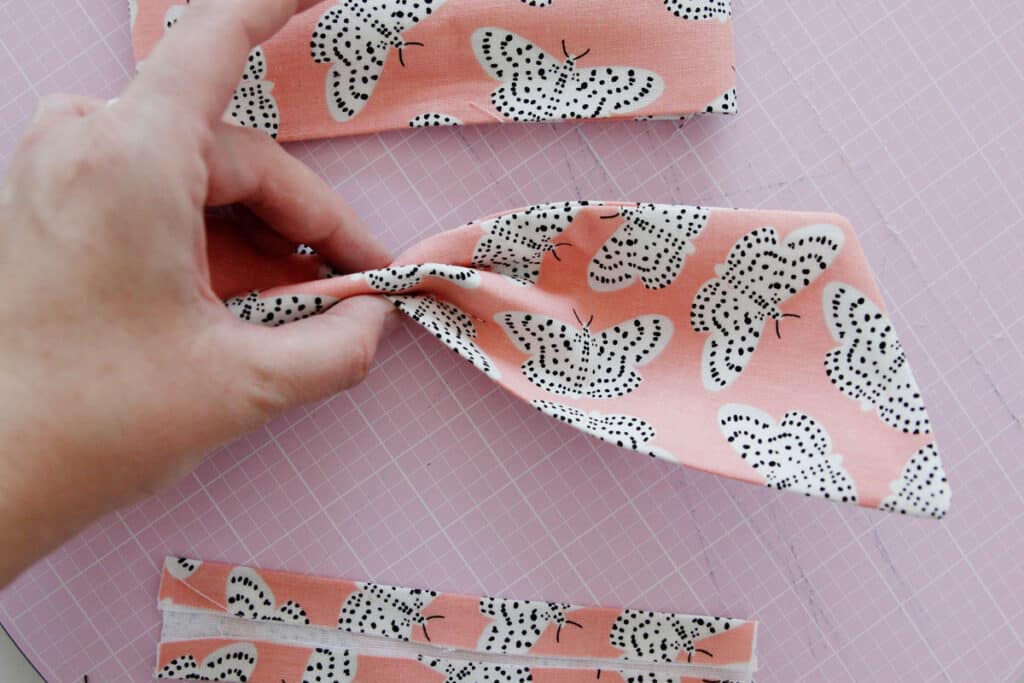
Then pinch the bow and place it above the tail piece.
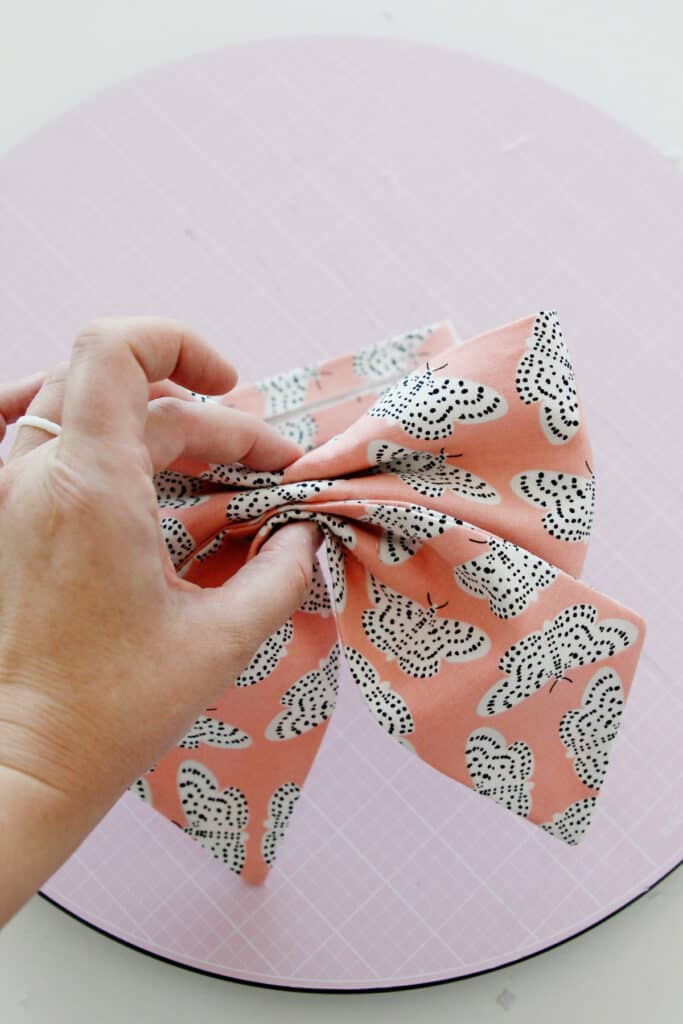
Wrap the bow and tail with the middle piece.
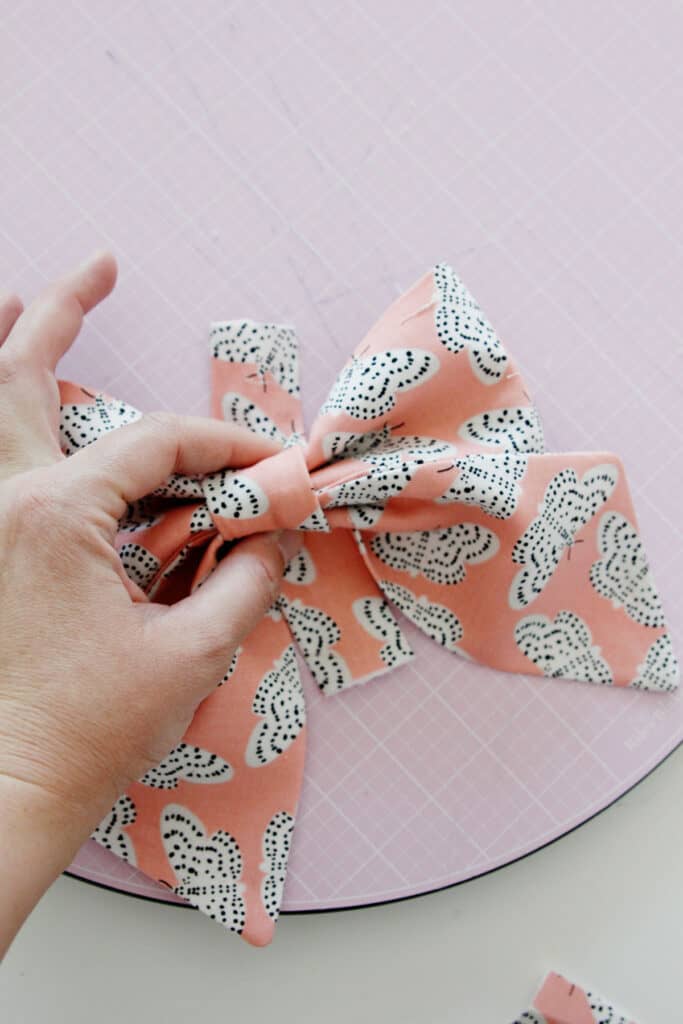
Glue ends at the back. Adjust the bow pieces until you like the way the bow looks.
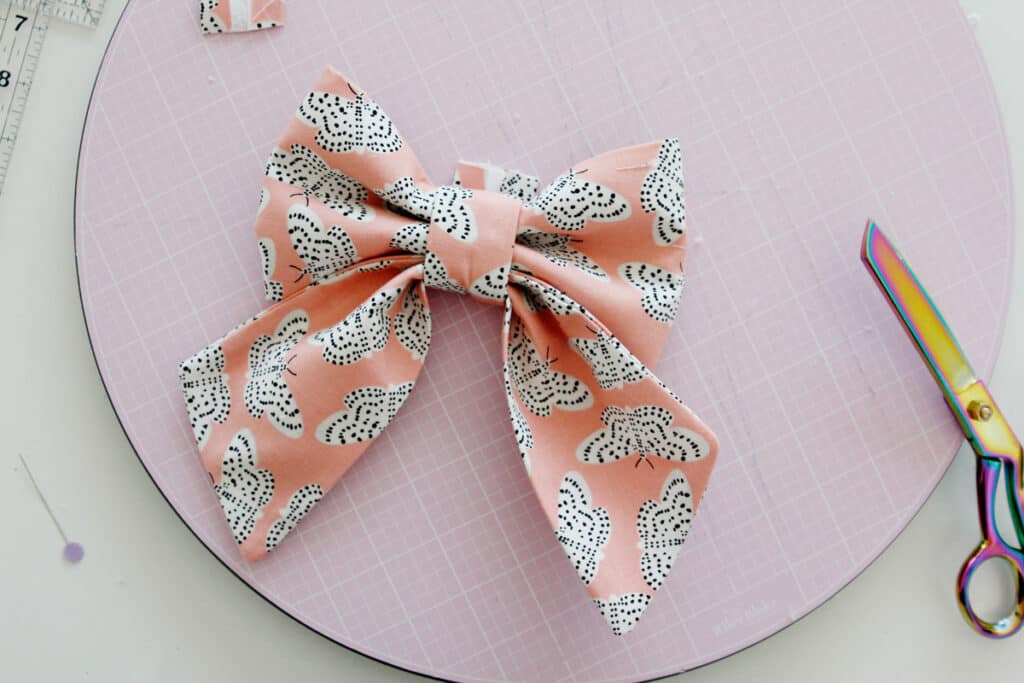
Trim the middle piece. Use glue gun to put glue in the back to hold the bow and tail in place. Repeat at the front, making sure not to get glue on the front of the bow.
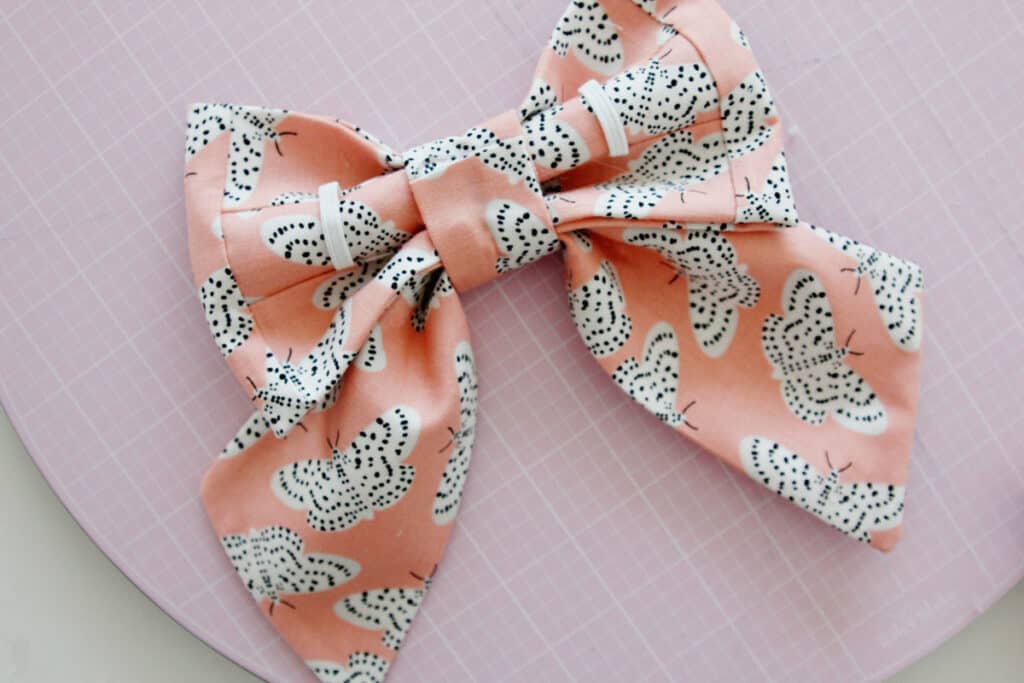
Ta-da! Slip the elastic loops over your dog’s collar to put it on!
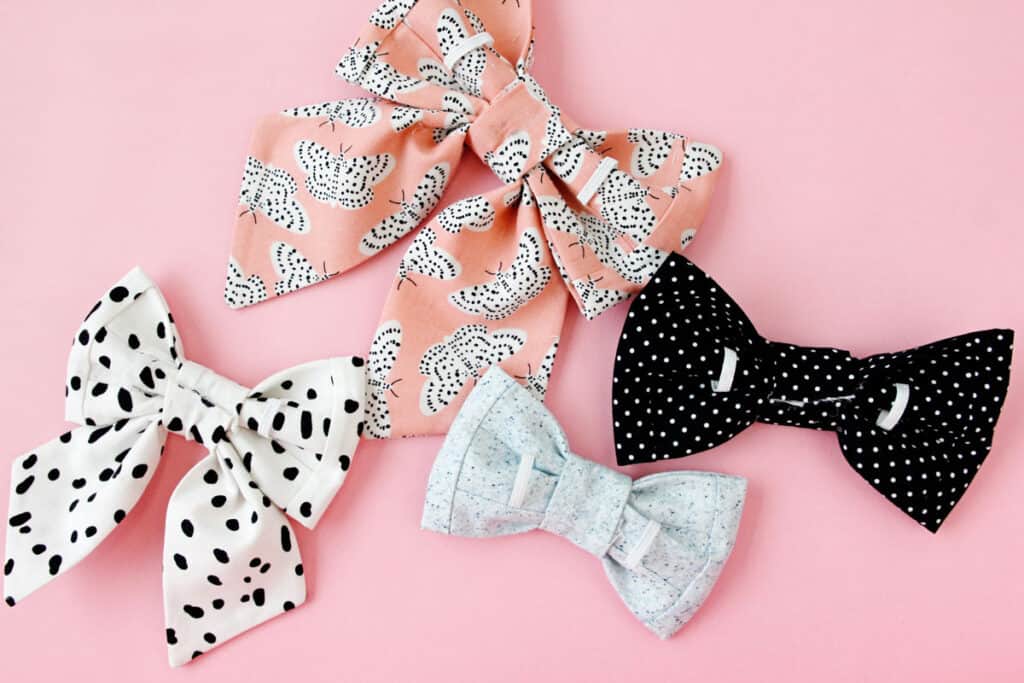
I am using a glue gun for this project instead of exclusively sewing since dog can be rough on things like this. I think the glue holds the fabric a little bit better so it will hopefully stay put together longer!
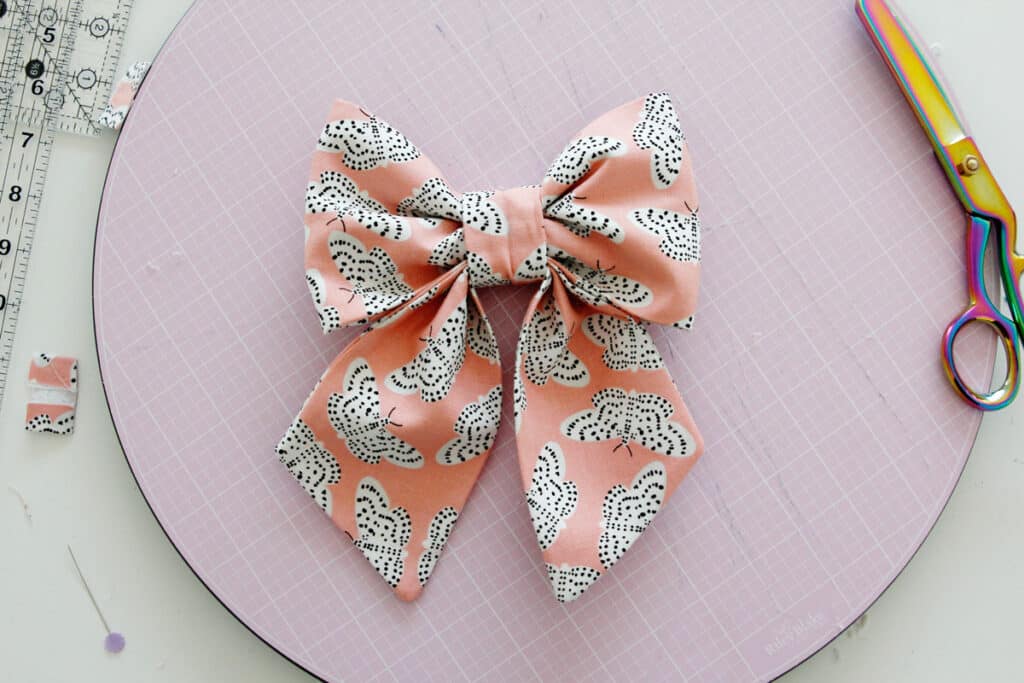
How to make a bow tie for dog collar
Use 1/4″ seam allowance unless otherwise noted. Seam allowance is included in pattern pieces.
For the bow tie collar version, omit the tail piece. The construction is the same as the sailor bow style, just without the tails.

The DIY dog bow tie would be so cute with a matching human bow tie! So cute for weddings, birthdays or making sure your furry family member matches in photos!
Share your doggie bows and bow ties in our Facebook community!
More Pet Sewing Projects
- Dog Poop Bag Holder
- Dog Bandana Tutorial
- Cat Bed Pattern
- Cat Quilt Pattern
- Matching Dog Leash
- Dog Bed Sewing Pattern
- Dog Sweater for a small dog


