Make little stockings to give as gifts! This mini Christmas stocking pattern is simple to sew and includes a free template download. I added colorful pom poms all over the stocking fronts to make them extra festive!

This small Christmas stocking pattern measures about 7-8″ tall, which is a great size for a little treat or a gift card during the holiday season!

The mini stocking pattern is a perfect gift idea for teachers, neighbors, or even a pet stocking. The hanging loops lets you hang them on a hook or above your fireplace. Since these stockings are small, you can hang them on your Christmas tree or use them as a gift topper.

These stockings can be reversible, too! Pick two great fabrics and switch them up when you want!


Mini Christmas Stocking Materials
- Linen, quilting cotton, or other material for outside
- Quilting cotton for lining, I’m using prints from Spotted
- Fusible interfacing
- felt balls (affiliate link), optional
- Iron
- Mini Stocking Template, see below

Free Mini Stocking Pattern Download

Download the mini Christmas stocking template below. Just click on the pink button, enter your email address and you’ll be taken to the download page. If you plan to make a few of these stockings, I recommend printing the template on card stock. That way your stocking template will be a little bit sturdier and last longer!
Print the stocking at 100% or choose DO NOT SCALE in your printer settings. You can check to make sure the stocking printed at the correct size by measuring the 1″ square.


How to sew a Small Christmas Stocking
Use 3/8″ seam allowance. Seam allowance is included in the pattern pieces.
Fuse interfacing to the back of the main fabric. I like to do this before I cut the pattern pieces out. Cut out two layers from both main and lining fabrics. Be sure to cut them out mirror-image of each other. Cut out one hang tab from the interfaced main fabric.
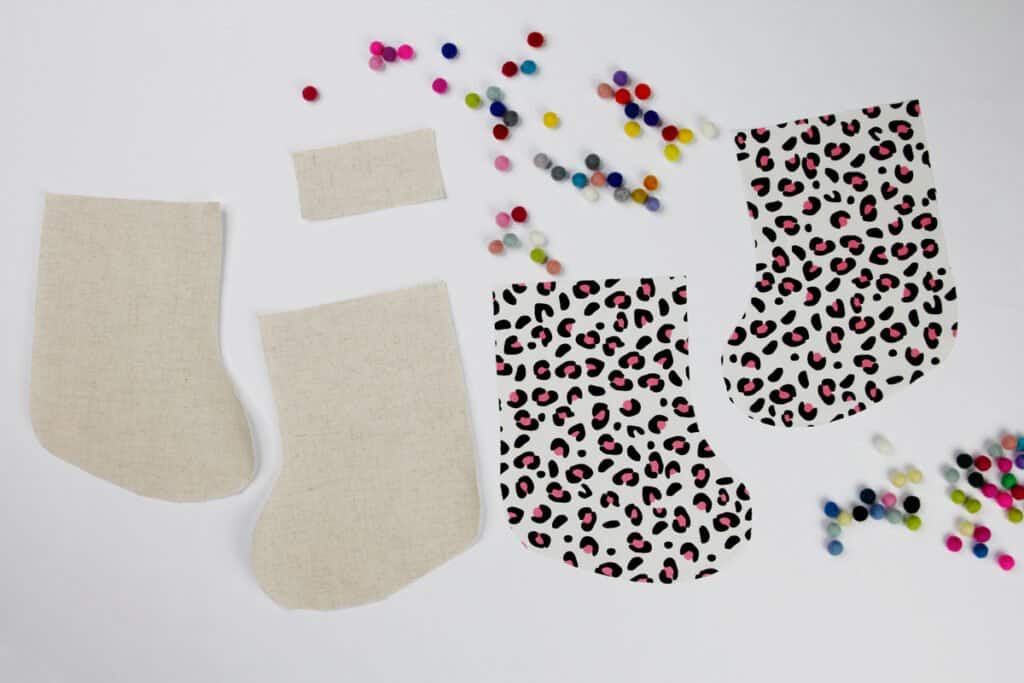
Iron tab edges into the middle.
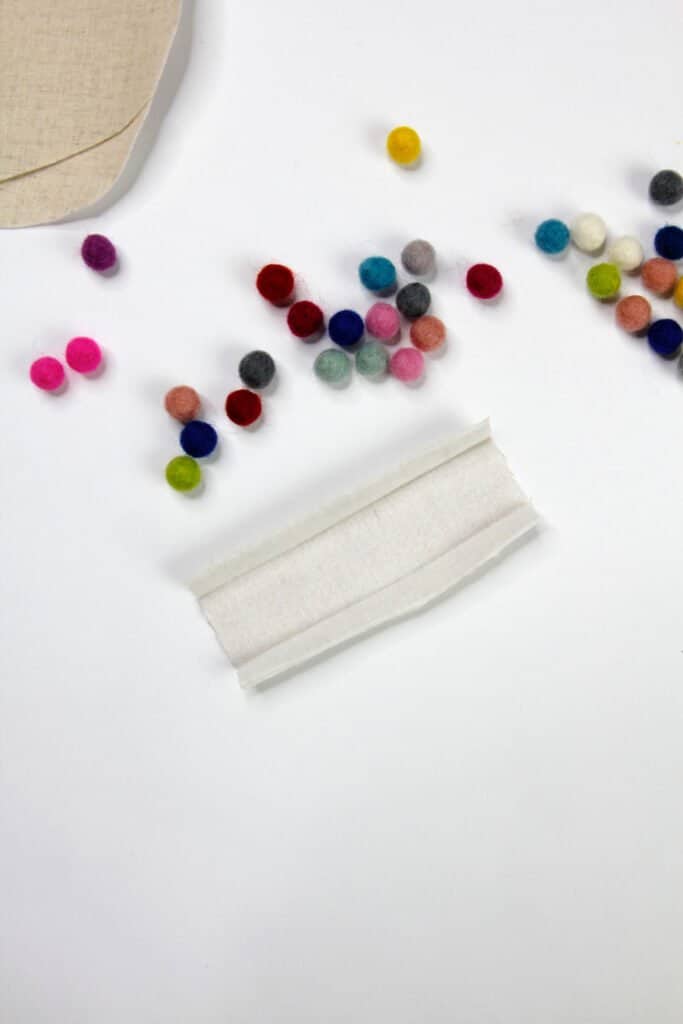
Then fold tab in half again and iron flat.

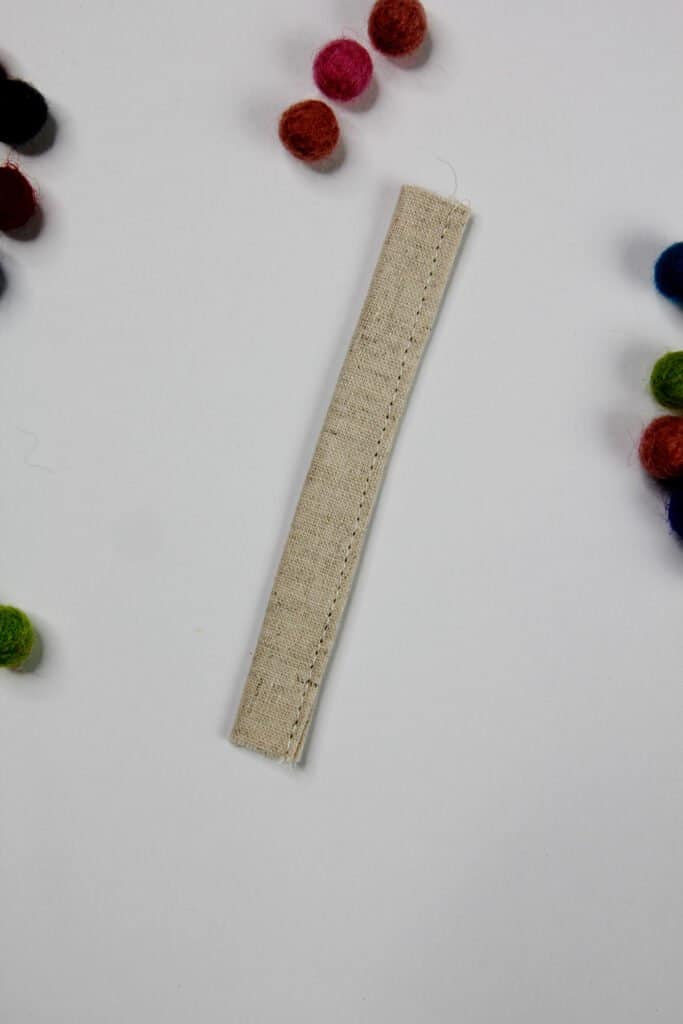
Sew open edge to finish the tab.
Lay front and back of main pieces together with right sides together.
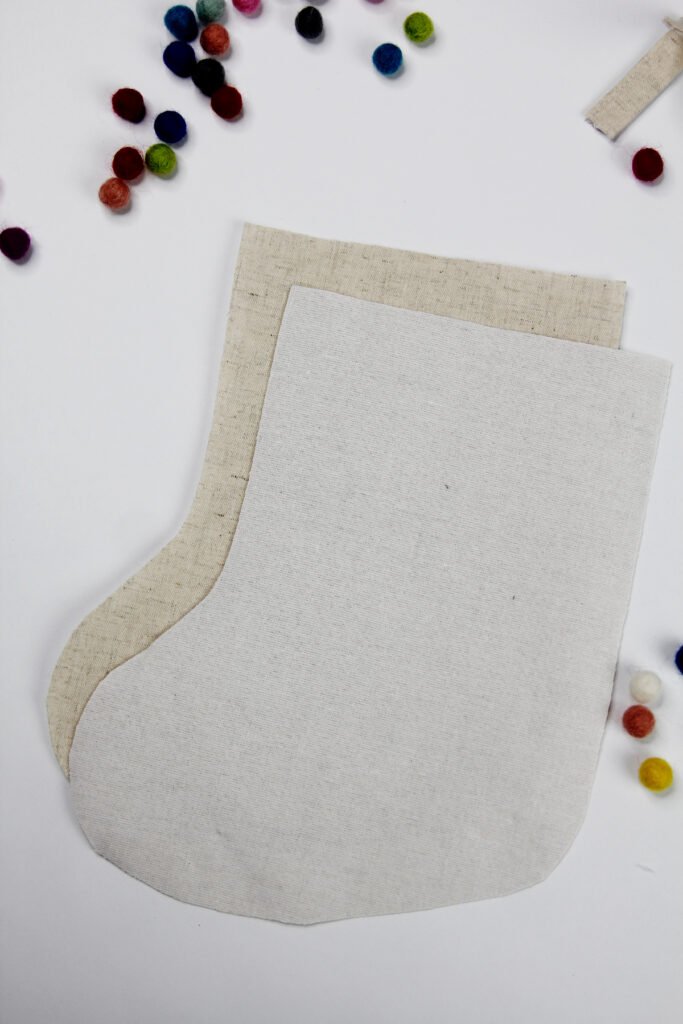
Match up the edges and pin.
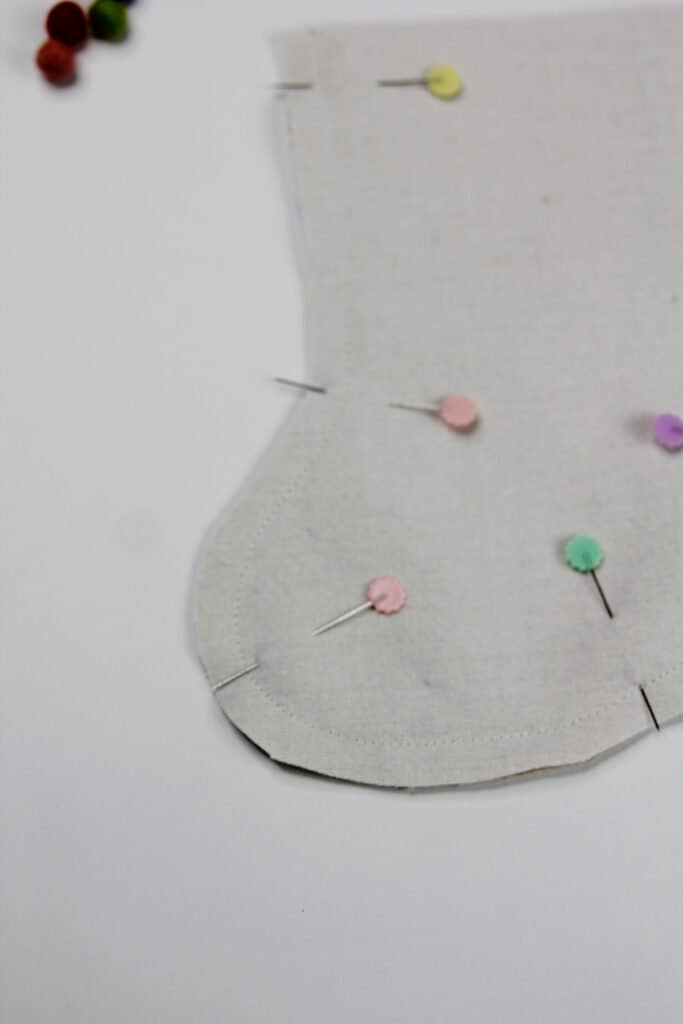
Sew around the stocking edges leaving the top open.
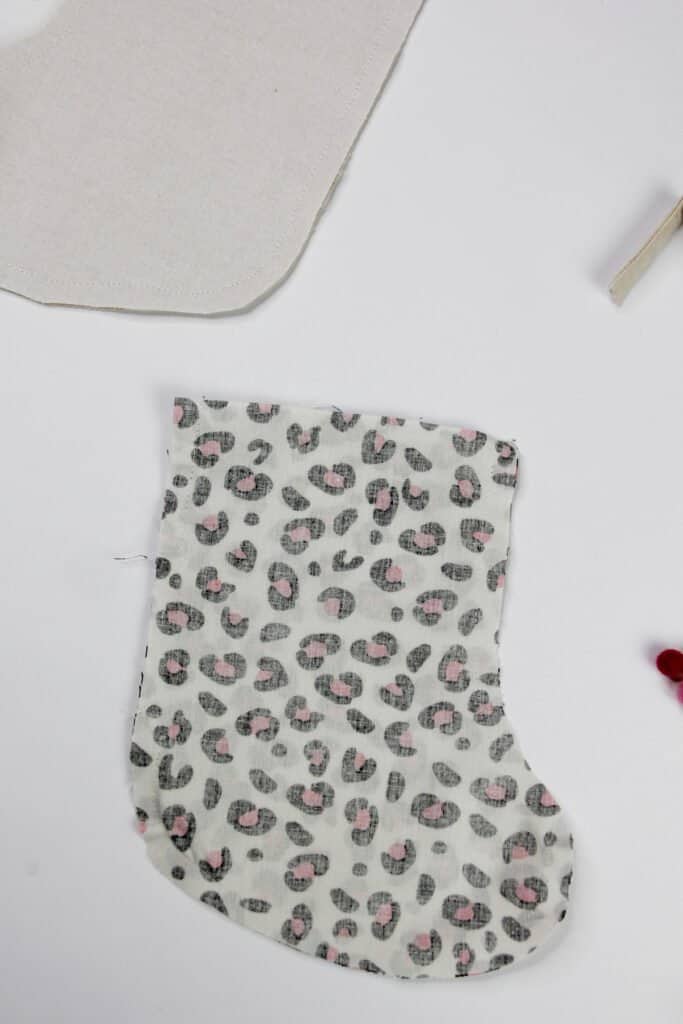
Repeat with the lining fabric, leaving a 3″ opening on the straight edge of the side.
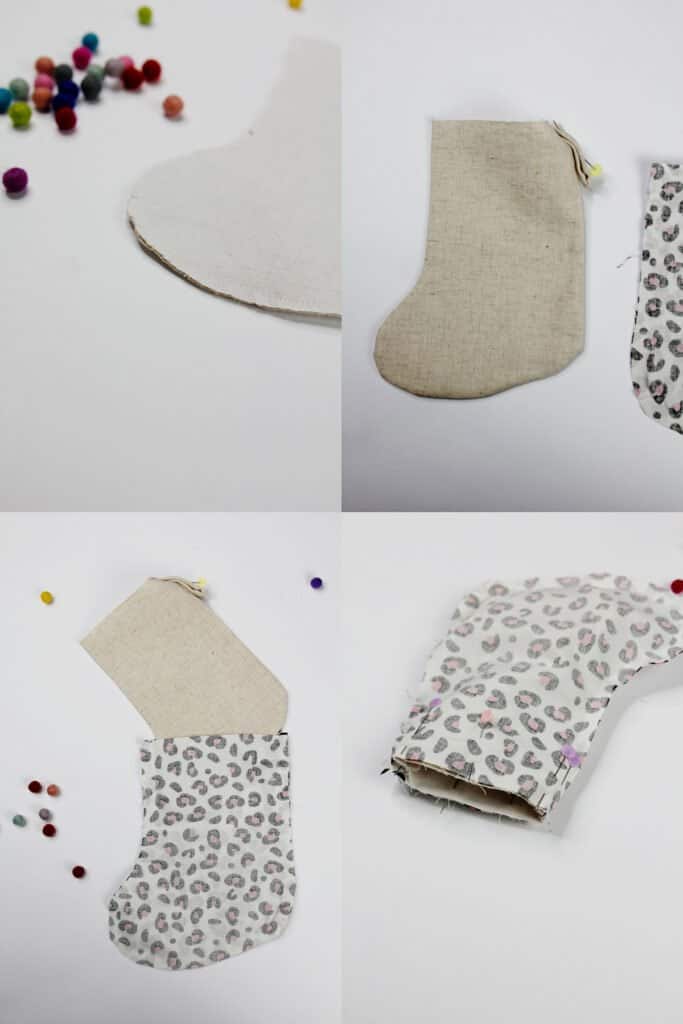
Clip the curved edges of the main fabric and turn right side out. Be sure to clip the heel and other curves well, but don’t clip through the fabric. Also clip the lining if you plan to use this as a reversible stocking. Then pin the hanging loop to the main fabric.
Slip main fabric into lining fabric with right sides facing. The wrong sides of the lining will be showing. Pin around the tops and sew. The fabric may be a little thick while sewing over the tab. Turn the fabric through the opening in the lining.
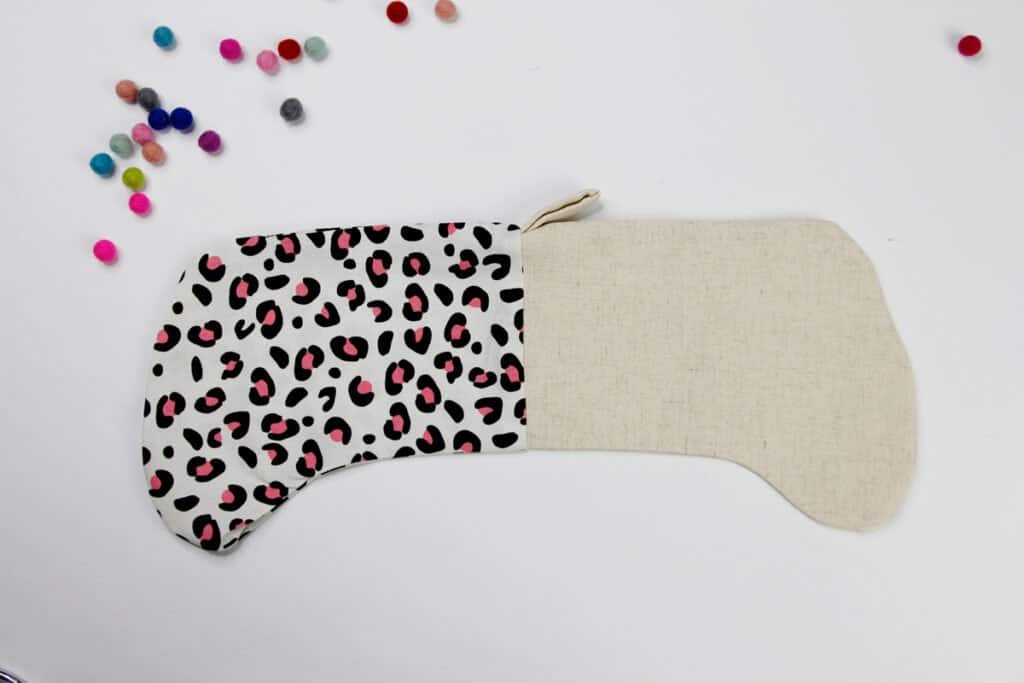
Finish the opening in the lining by sewing it shut with a straight stitch. If you want to make the stocking reversible, you can use a hand sewing needle and ladder stitch to finish the lining.

Push lining into the main fabric.
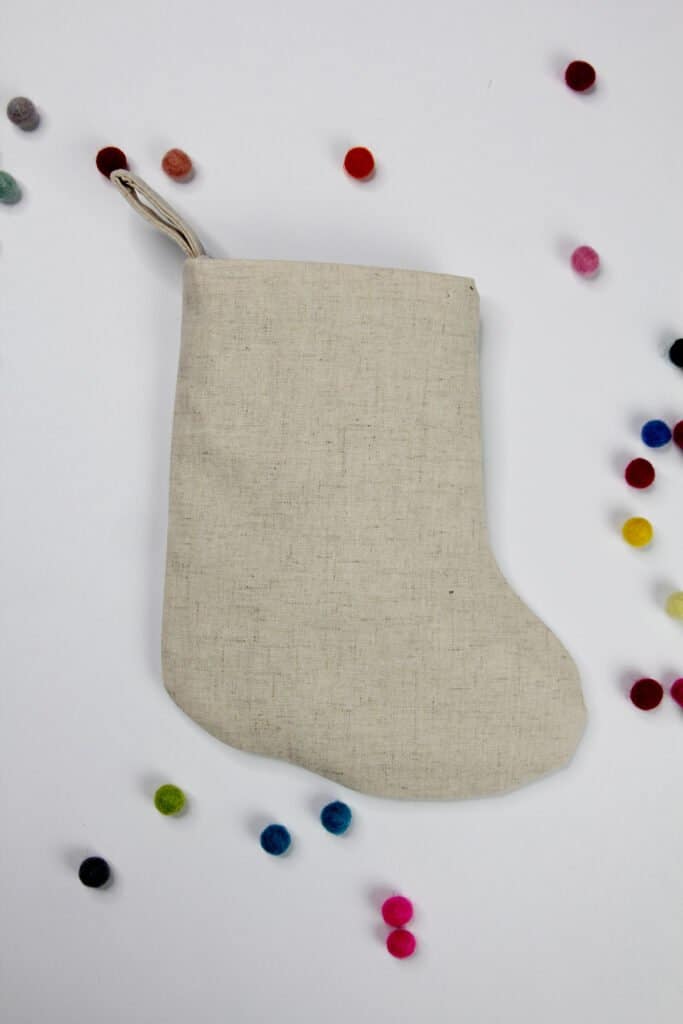
Use a hot glue gun to glue poms to the stocking.



More festive Christmas Sewing Projects
- Patchwork Christmas Quilt, we keep this on the couch all season long!
- Elf on the Shelf Projects
- Scallop Tree Skirt
- House Advent Calendar Quilt
- Holiday Sewing Plan Printables
- Sewing Machine Ornaments, great for sewing friends and quilt shop ladies!


