I gave a little peek of these dolls on my instagram account a week or so ago, and today I’ll show you how to assemble the accessories! These DIY Fairy Doll panels are a new style of doll fabric now available at Spoonflower! You can see the six other dolls here AND the boy styles here!
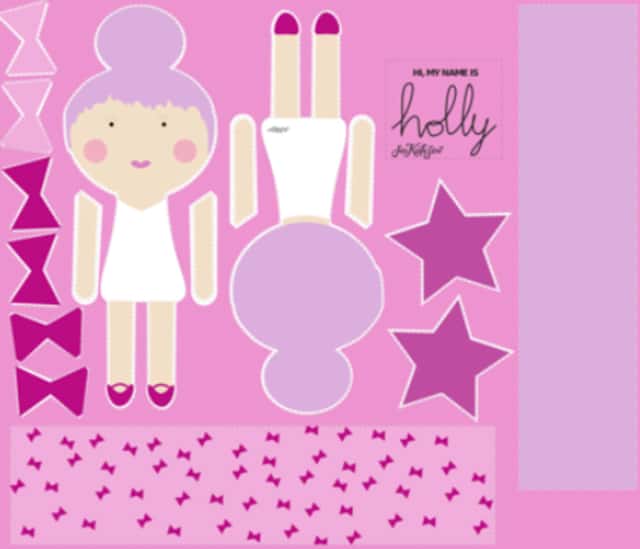
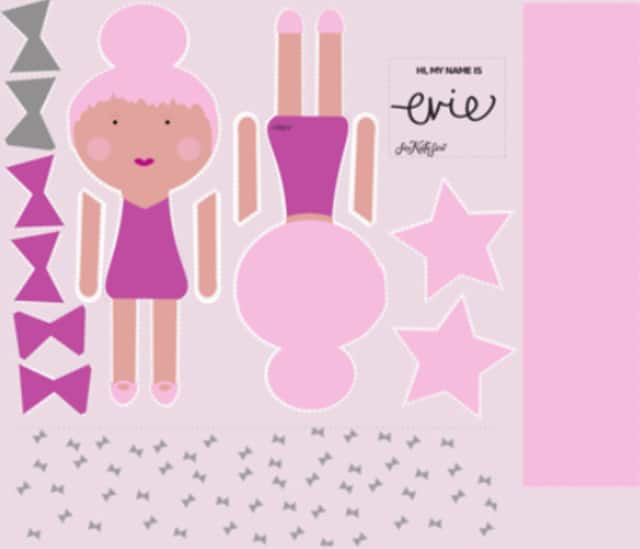
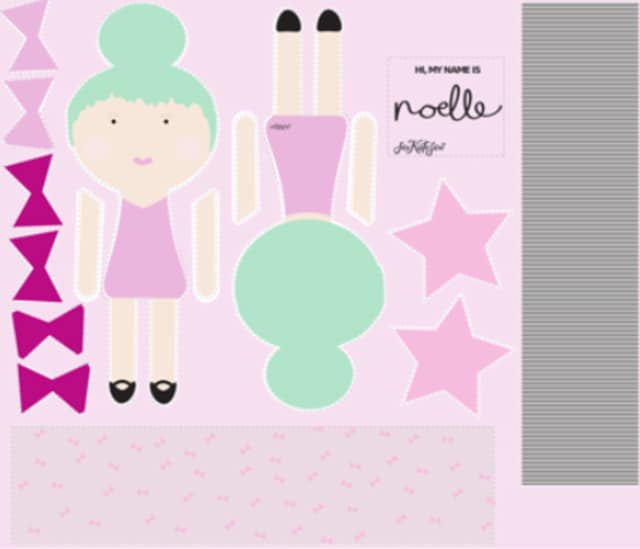
There are 3 styles of the fairy doll, all with different colorations and skirts plus bright hair colors! They all have Christmas inspired names: Holly, Evie and Noelle!
Holly has purple hair, a pink skirt with bows and a purple skirt.
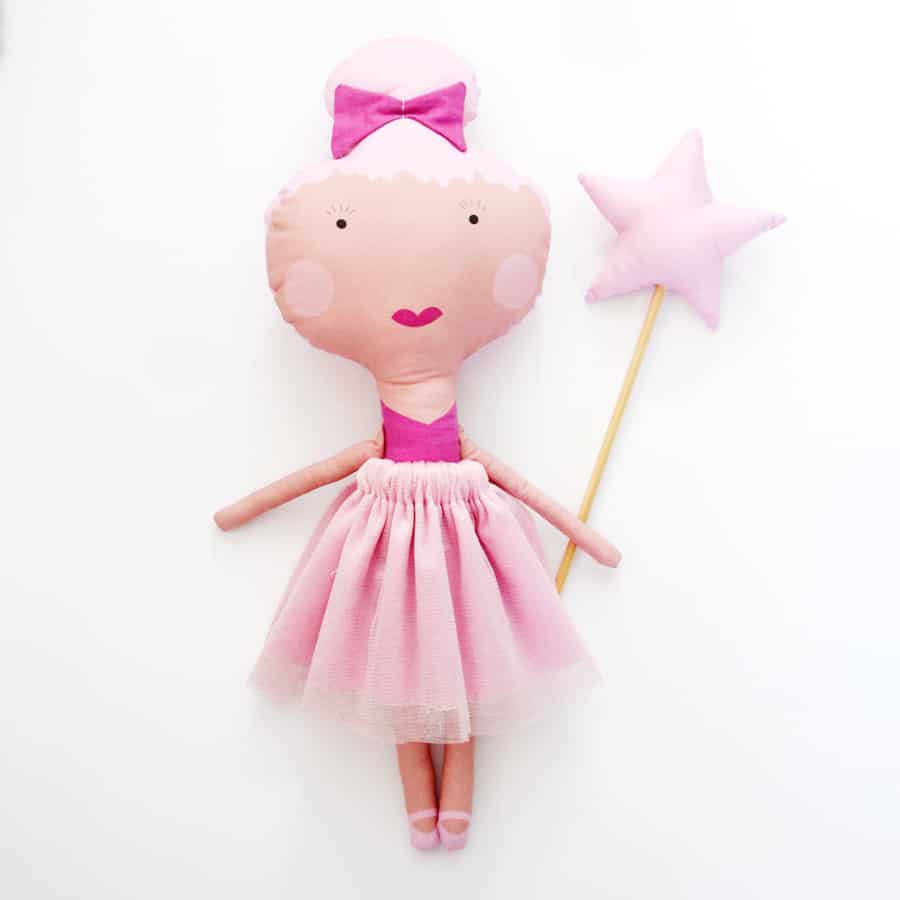
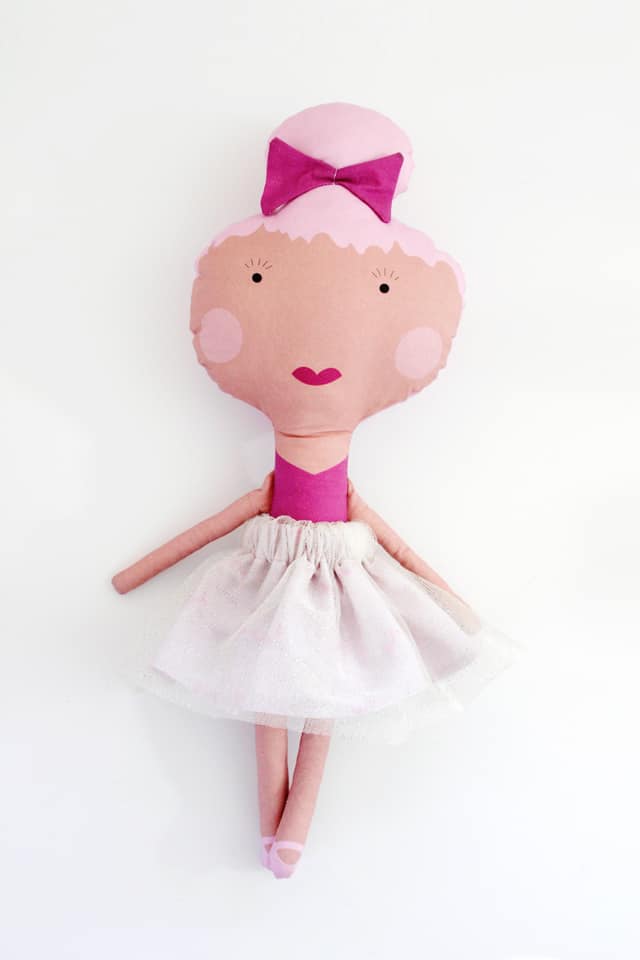
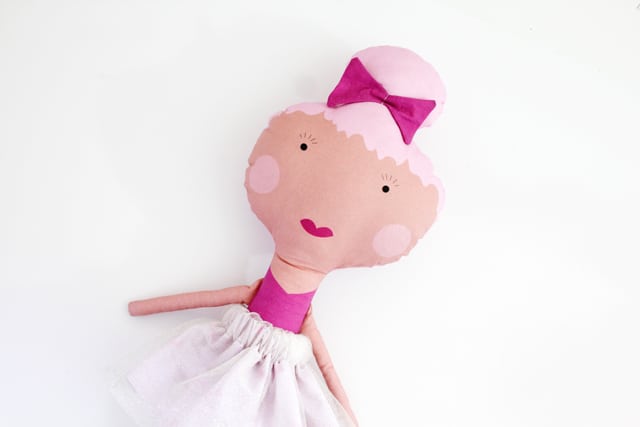
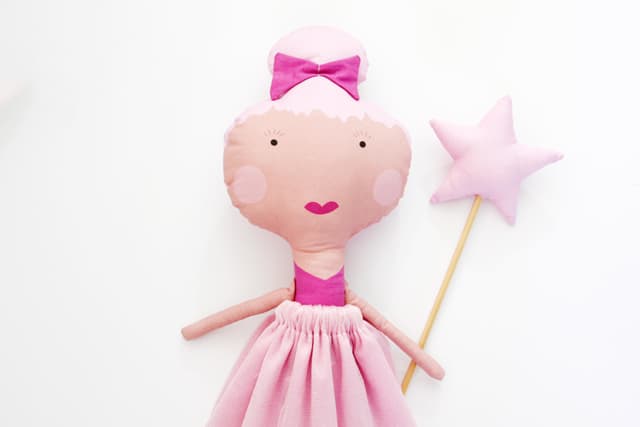
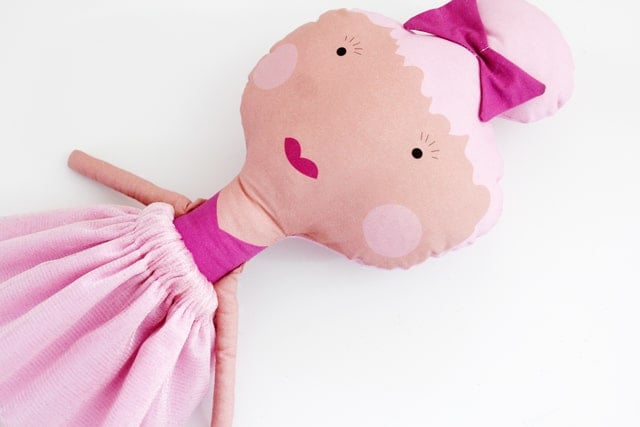
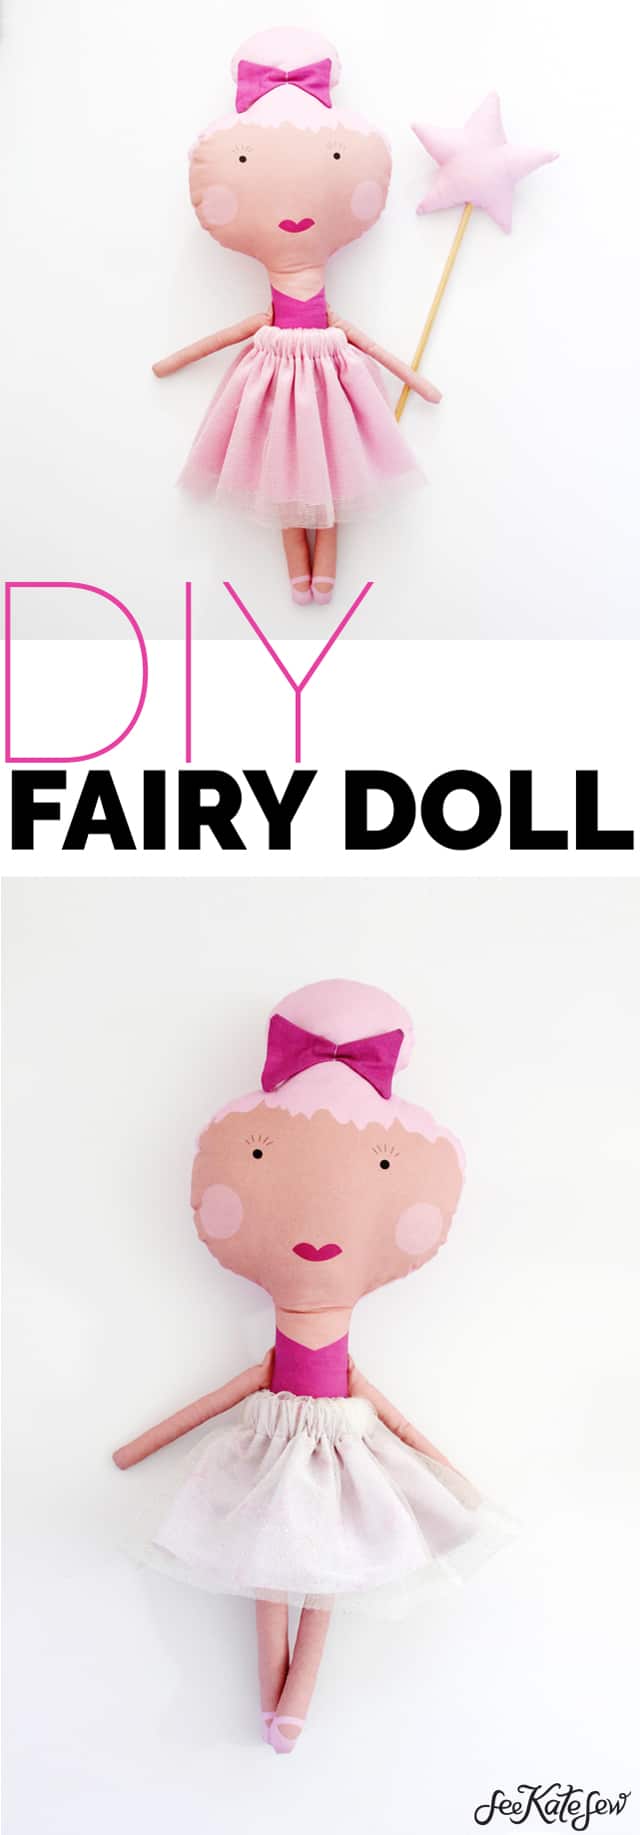
Evie is the doll shown in these photos (although she borrowed one skirt from her friend ;) ) and she has bubblegum pink hair! She has a light pink skirt with grey bows and a darker pink skirt option.
Noelle has minty green hair, a striped skirt, and a light greyish/pink skirt with bows!
View all doll panel options here on Spoonflower.
For a quick breakdown:
- Order 1 yard on Spoonflower
- Choose any cotton fabric, I prefer Kona cotton
- When it comes in the mail, cut out your doll along the dashed lines and sew it together
- Stuff it up and it’s ready to love!
These are really fun and a great project to do with your child! To assemble these dolls, follow the tutorial from the previous doll styles. The only thing different about the doll itself is the shape of the hair. The arms are assembled the same way.
I sewed the bow to the top knot before sewing the doll together. You can choose the placement of your bow or even add it to the skirt!
There are two accessories for this doll: a skirt and a fairy wand.
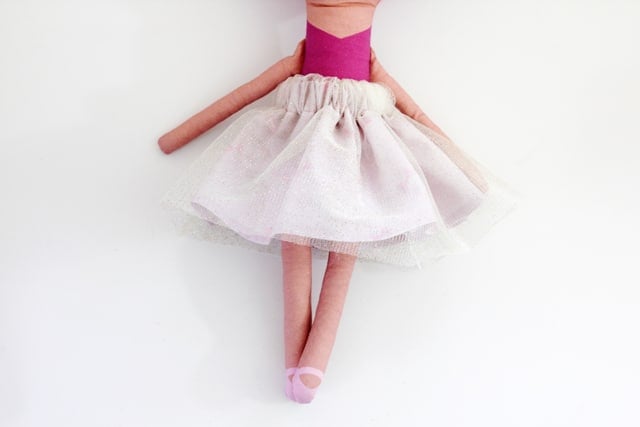
Each doll panel has 2 skirts so you can pick your favorite as a base. You can use the skirt as is, or get some tulle and follow this tutorial:
Gathered Tulle Doll Skirt Tutorial //
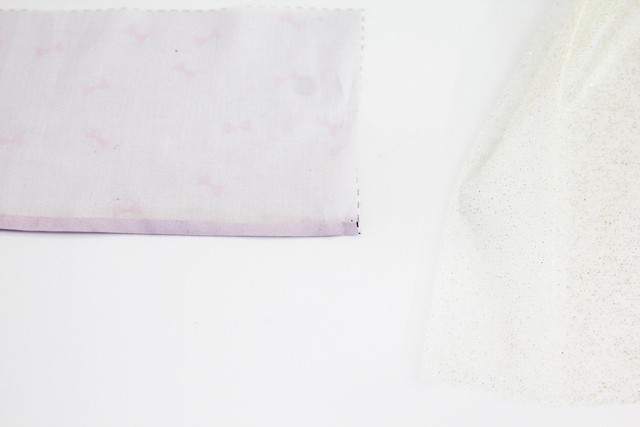
Cut out the doll skirt from the panel. Finish the bottom edge of the skirt with a small hem. Fold over 1/4″ TWICE. Press well and stitch at 1/8″.
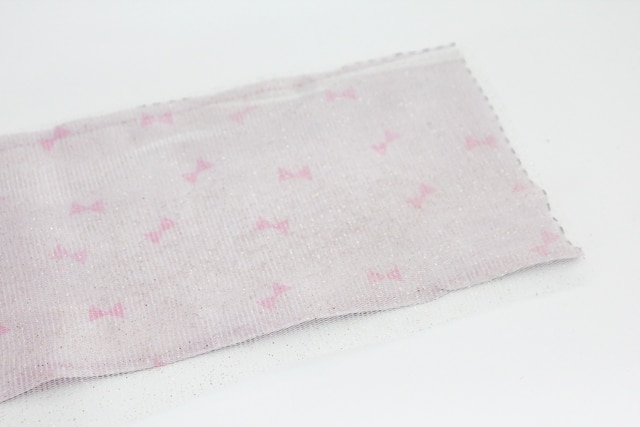
Cut out 2-4 layers of tulle (depending on how opaque you want the skirt) of the same size.
Baste the top of the tulle to the top of the doll panel.
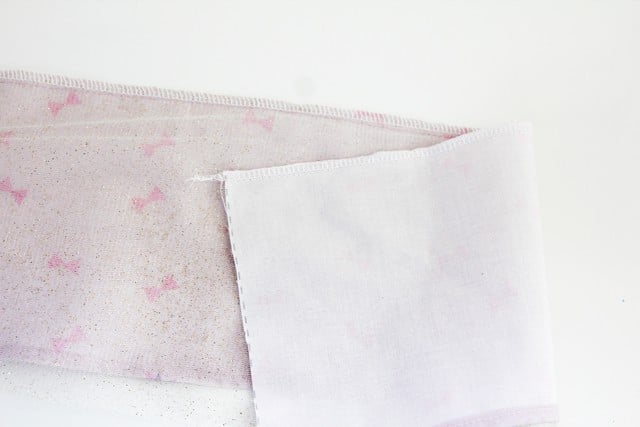
Serge the top layers together. If you don’t have a serger, use a tight zig zag stitch.
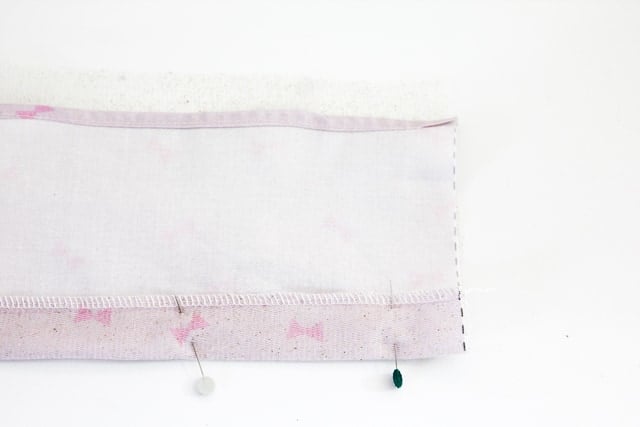
Fold over 1.25″ at the top and press on a LOW setting (don’t melt the tulle!). Pin in place and sew close to the edge of the serging.
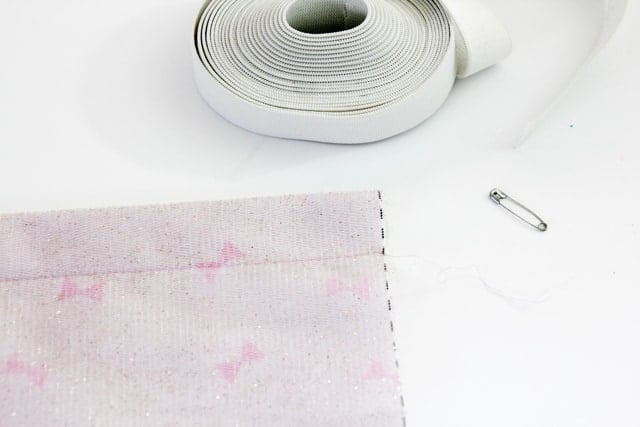
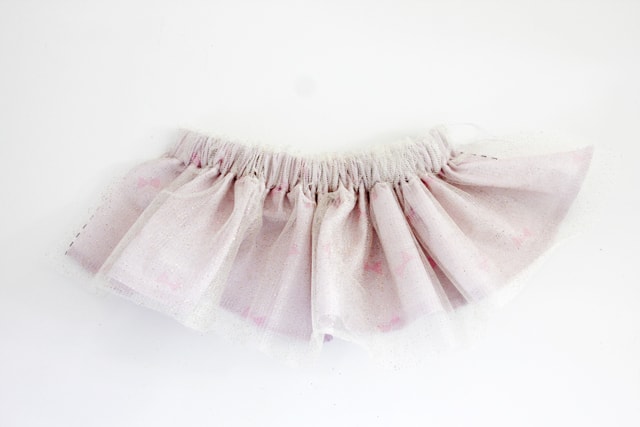
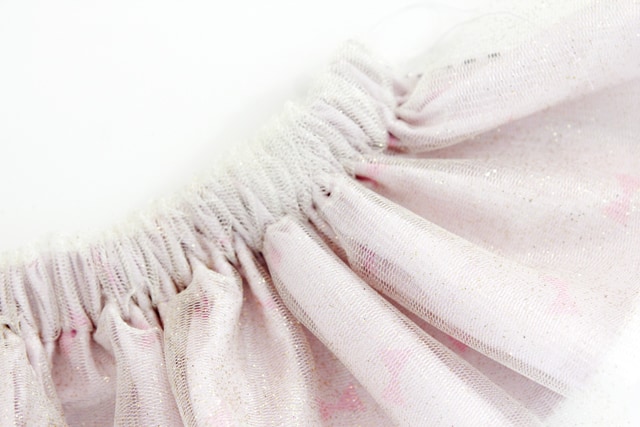
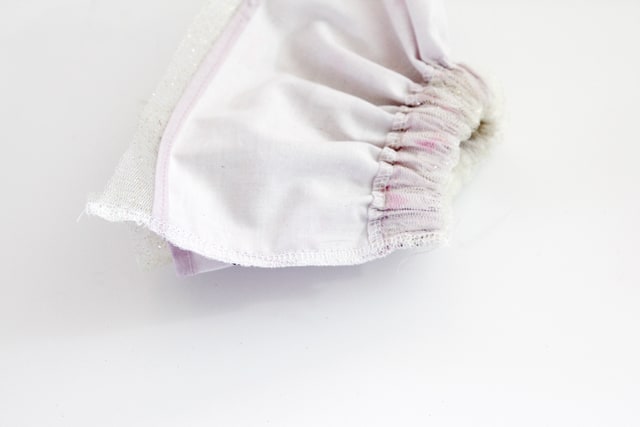
You’ll make a casing, about 1 1/8″ wide to accommodate 1″ elastic. Cut 8″ of 1″ elastic and thread it through the casing. Stitch to one side, gather the skirt and sew the elastic to the other side.
Sew short edges of skirt together with a 3/8″ seam allowance. Serge to finish skirt.
Star Wand Instructions //
To make the star wand, you’ll need a small dowel about 10″ long.
Sew the star pieces together with right sides together, leaving a small 1″ opening. Turn, and stuff.
Glue dowel into the star with a glue gun, attaching it to the back of the star. The glue will adhere to the fabric. Use lots of glue to make sure it is secure.
Sew the opening of the star closed around the dowel using a needle and thread.
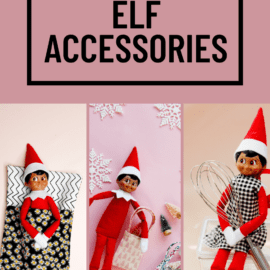
Need more accessories?
Make a doll sleeping bag in 30 minutes or less!
A little doll quilt makes a great accompanying gift.



These are adorable!
I just had a baby 3 weeks ago and her name is Holly. I’m thinking I need to order her the Holly doll for my first post-baby sewing project!
Love your site! <3
Oh I love these dolls! How awesome is spoonflower!