Learn how to install a walking foot, I’ll show you how! This presser foot is so helpful for sewing! This foot is an essential accessory for sewing thick sewing projects, quilting and sewing with specialty fabrics!

A lot of machines come with a walking foot so you may already have one! If not, you can find them at sewing and craft stores or on Amazon. You’ll just have to make sure the walking foot attachment you buy will fit your specific machine. You usually need to know either your brand and model name or whether your machine is a low shank or high shank machine.
What is a walking foot used for?

The walking foot allows your machine to “walk” over your fabric. This is useful when sewing layers of fabric together, such as sewing a quit together, or using thick or slippery fabrics. Sometimes it is hard for a regular presser foot to grip the top fabric well enough to move it through the machine.
The walking foot can also be used on sticky fabrics such a leather, pleather and vinyl that would normally get stuck under the metal of your presser foot. Tricky knit fabrics will also be much easier to sew using a walking foot.
This presser foot lifts over the fabric as it feeds it through your machine, helping to prevent tucks, puckering and pleats. You’ll get more even stitches and less headaches when sewing through multiple layers! It can be a simple solution to sewing bulky projects that will help prevent misalignment.
When quilting layers of fabric with your sewing machine, a lot of times the top layer feeds through the machine unevenly compared to the bottom fabric. This will cause pleats as you sew which isn’t a good look for your quilt! You need a foot that walks over the fabrics and keeps them right where you want them on your batting.
The walking foot can also be used to attach binding to a project. Binding typically binds multiple layers of fabric together and adding binding can make your fabrics even thicker.
How to install a walking foot video
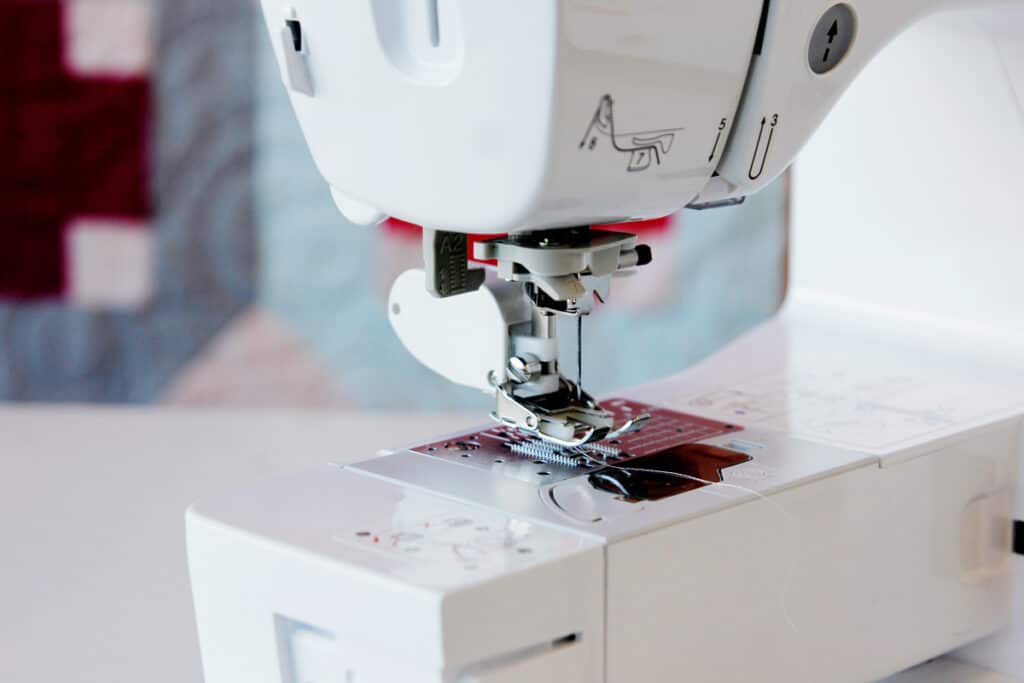
Step-by-step photographs
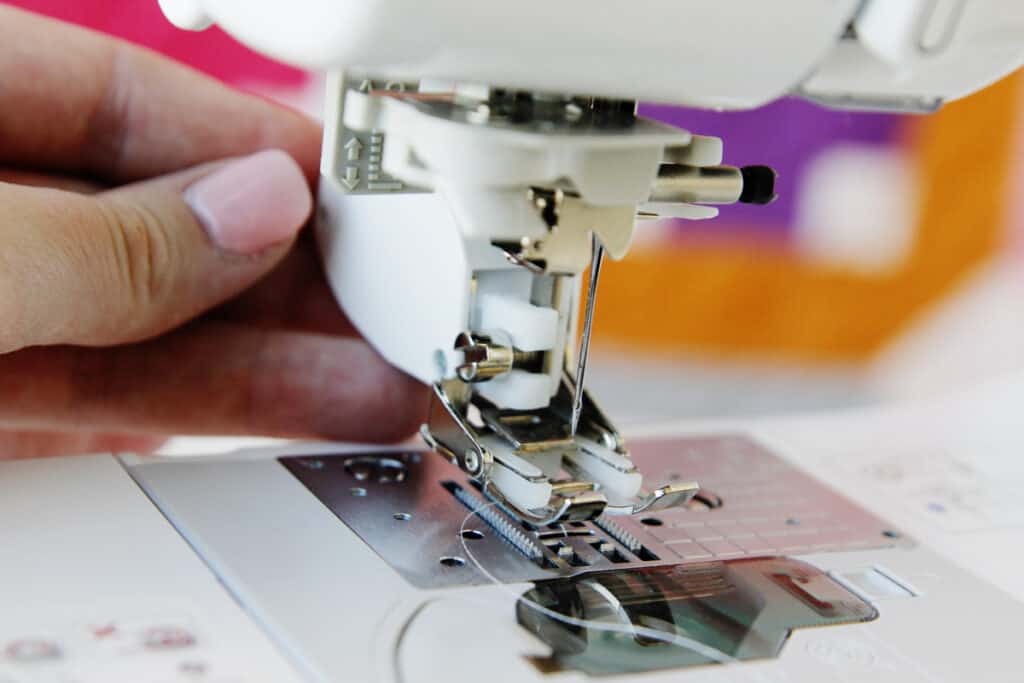
Start by loosening the screw on the left side of your presser foot with a flat head screwdriver. This will release the presser foot holder.

Use the handwheel to raise your presser foot holder to its highest position. This will make installing the walking foot easier since it can get tight in there!
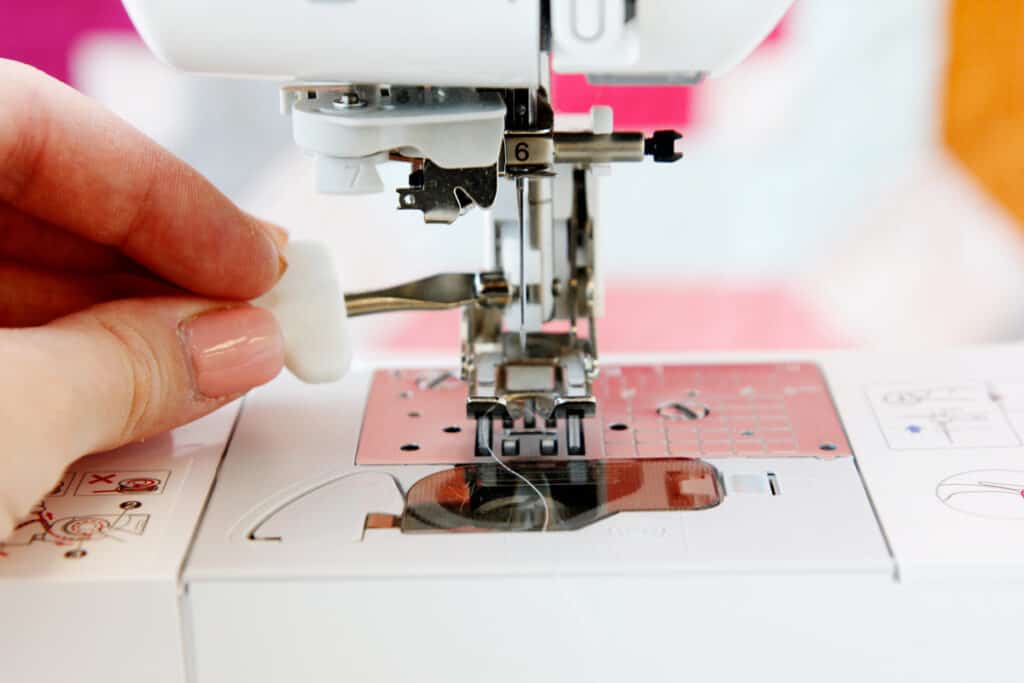
You may also need to press the presser foot lever at the back of the machine up to give you better access to the machine shank.
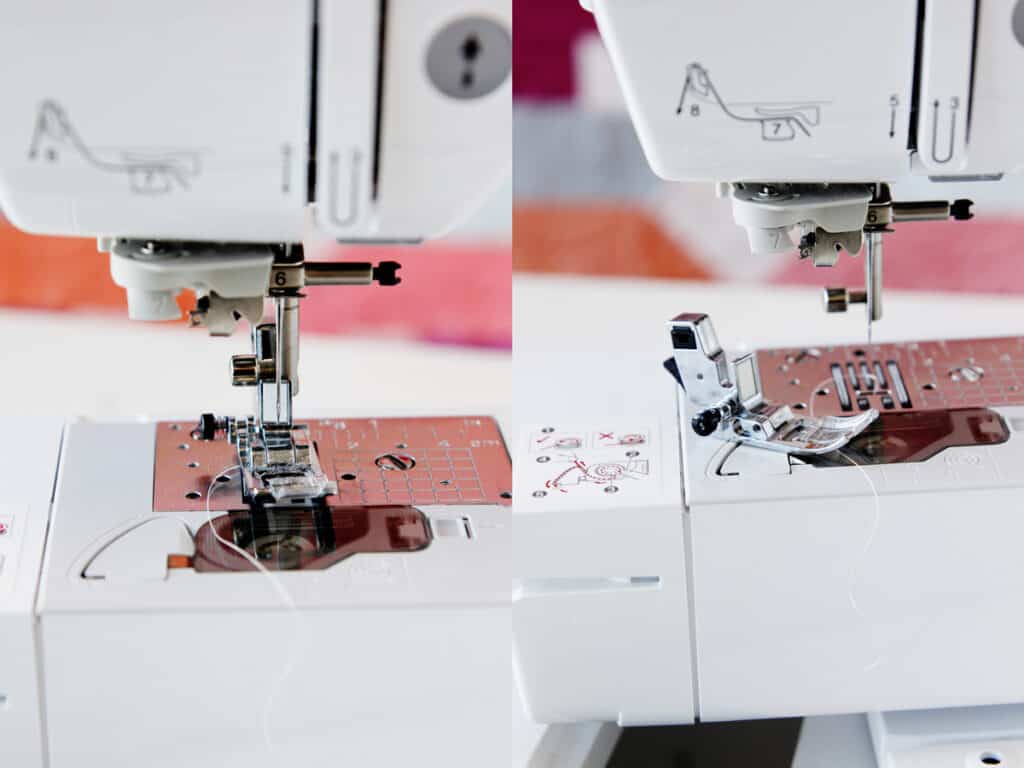
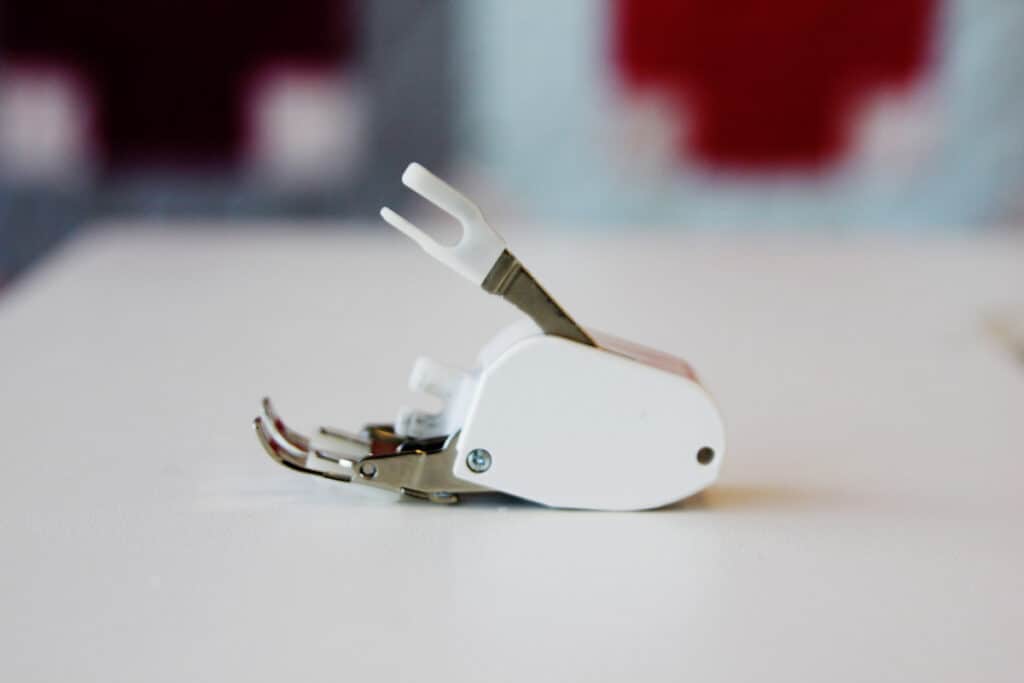
Notice the forks on your walking foot. There is one at the top on the walking foot lever that goes over the needle clamp bar. The needle clamp bar will pick up the foot as you sew.
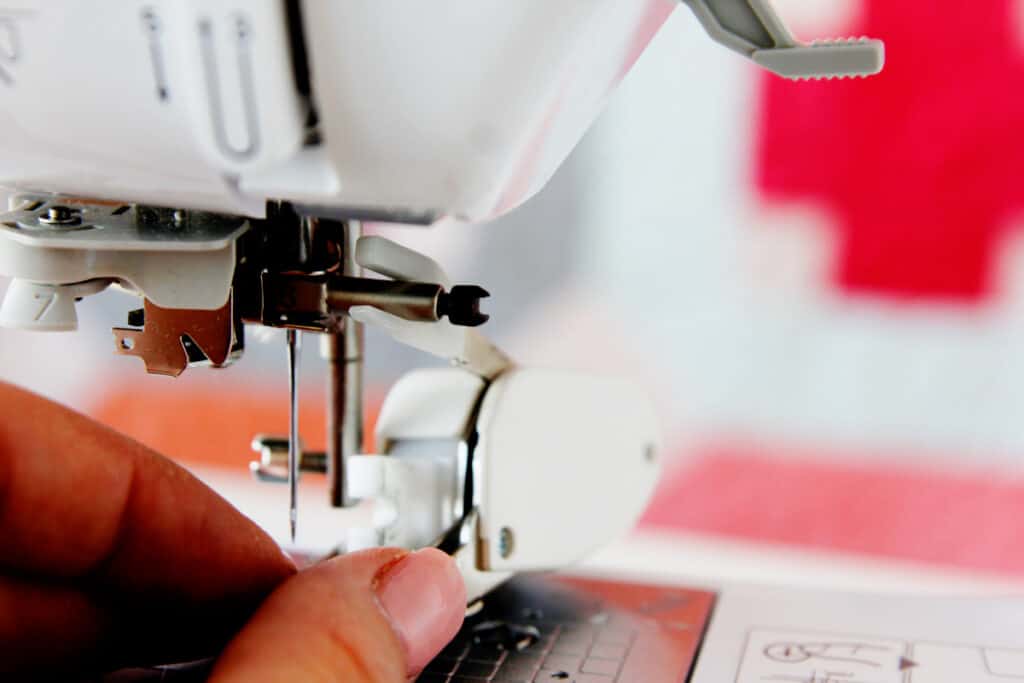
The other plastic holder fork will fit over the screw where your regular presser foot was. Tighten the presser foot holder screw to finish installation.
How to use a walking foot
To use the walking foot, sew normally. You don’t have to modify your stitch length or settings before sewing.
The walking foot should work with any needle position, but since the presser foot is wider you may want to adjust the position before sewing.
The walking foot makes a clicking noise as you sew. It’s sorta loud but also a fun noise! The walking foot works with your machine’s feed dogs to pull all layers fabric through your machine evenly. The walking foot will pull the top layer of fabric while the feed dogs pull the bottom layer of fabric at the same time.
Use the walking foot with a straight stitch or a zig-zag stitch. You won’t want to use any stitches that move backwards to create the stitch. Reverse stitching and also decorative stitches should be avoided with the walking foot. The zig zag and straight stitching are both forward moving stitches so stick to those!
Create straight line quilting or stitch in the ditch of your seams for easy quilting of layers together. You can use this technique for so many projects, such as the quilted cosmetic case.
Here are lots of quilts you can try with this presser foot!
Walking foot tips
- Use a straight or zig zag stitch
- Don’t sew over pins
- Use for sewing knits, vinyls and sticky or slippery fabrics
- Check both forks to properly install walking foot
- Use when sewing multiple layers
More Sewing 101 posts
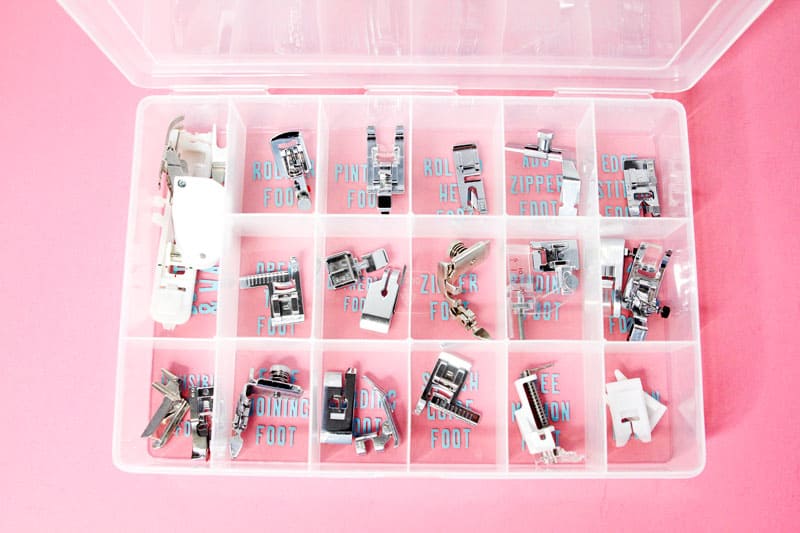
Keep your walking foot in a safe place so you don’t lose it! Try making this presser foot organizer for all your sewing machine feet!
Follow @seekatesew on Instagram!