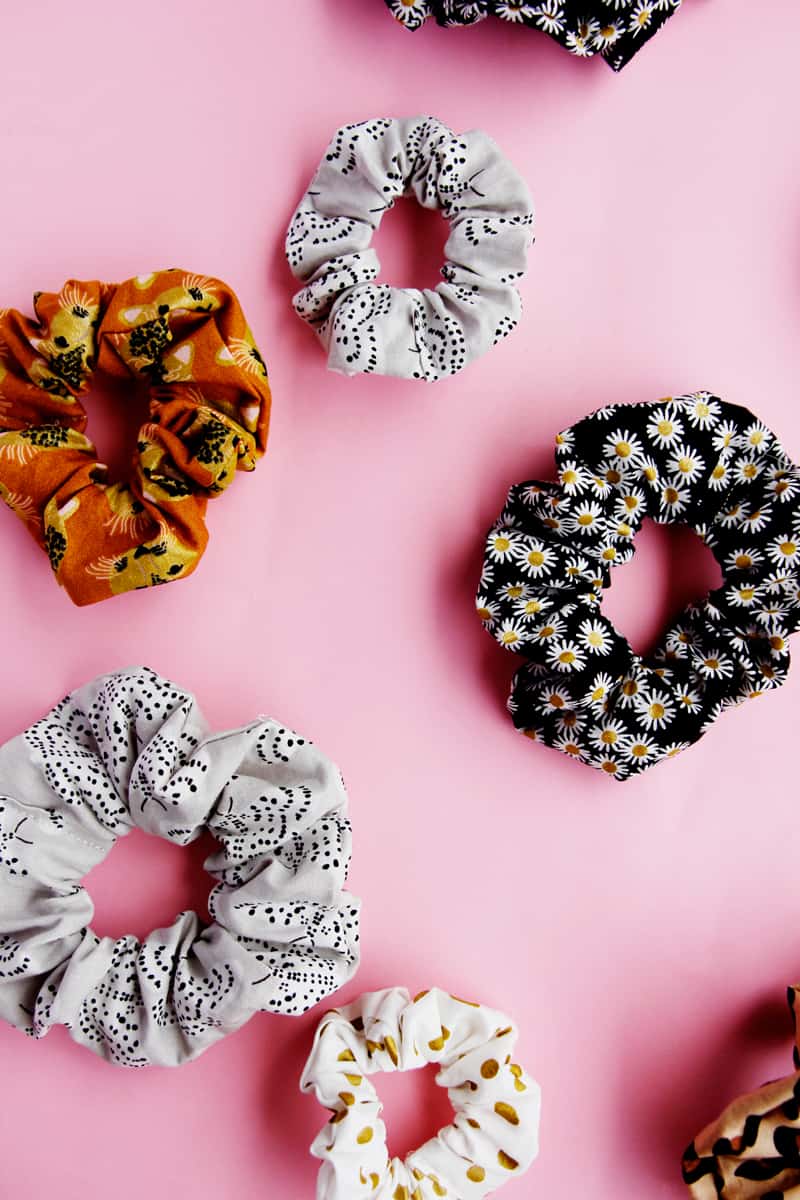
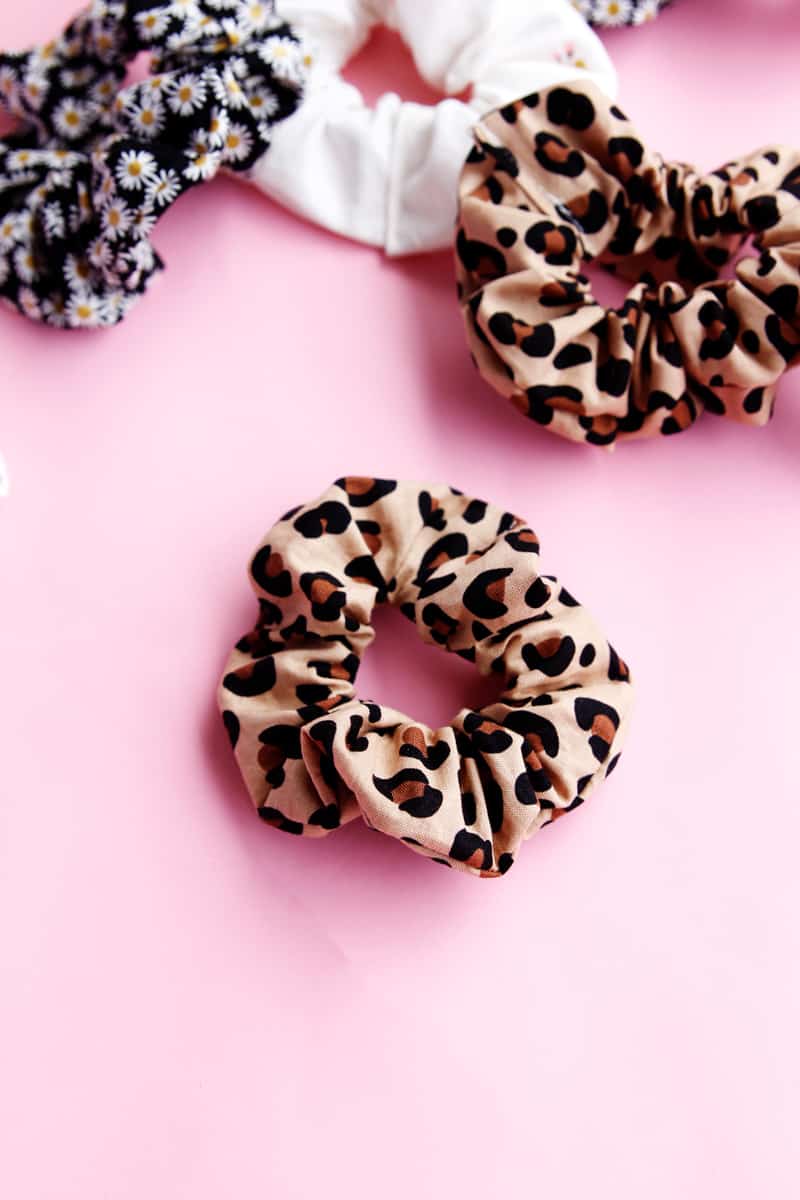
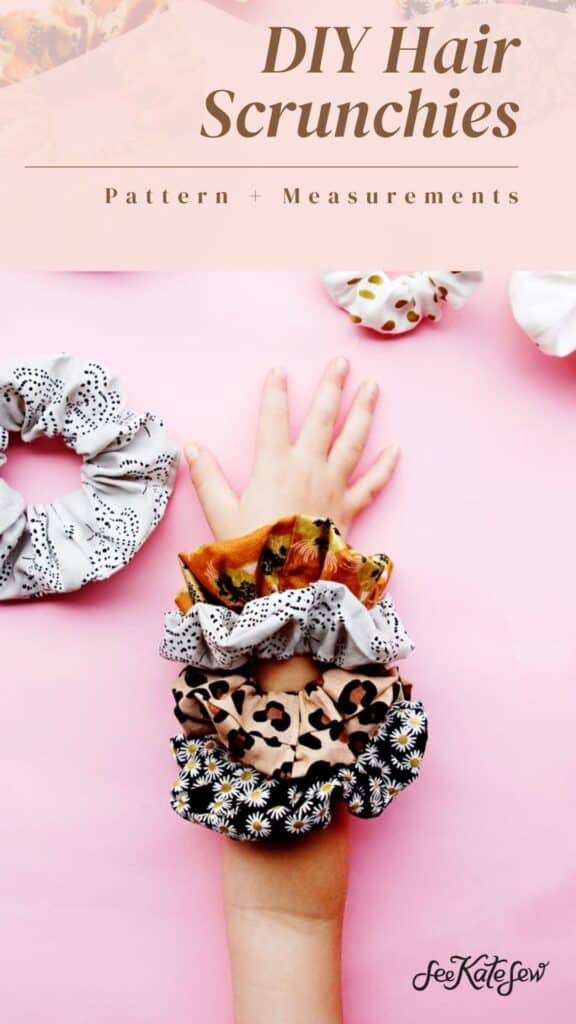
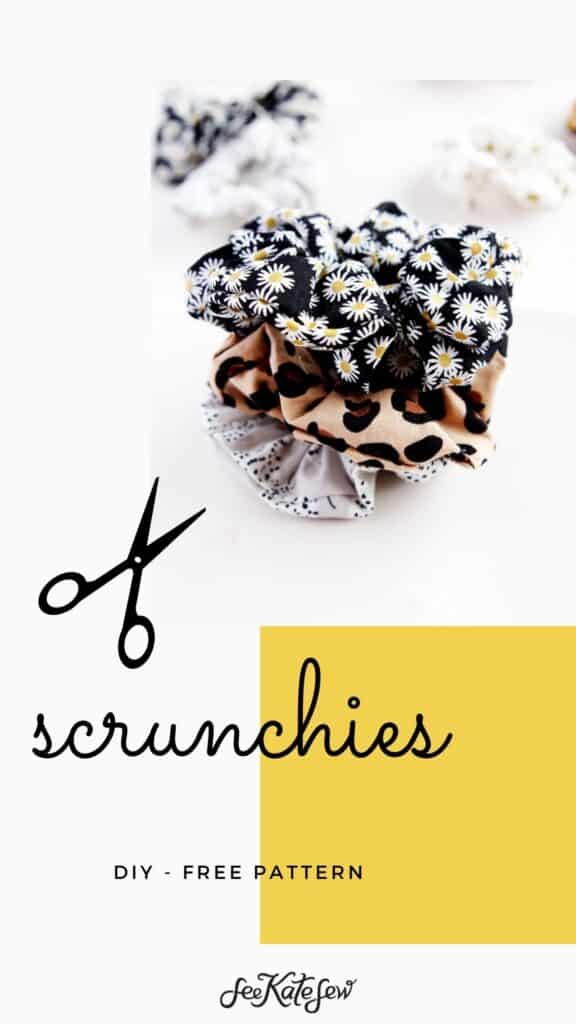
Learn how to sew a scrunchie with this easy DIY scrunchie pattern. Make scrunchies for all your friends with simple instructions. This project is great for a beginner and a great way to use scrap fabric.
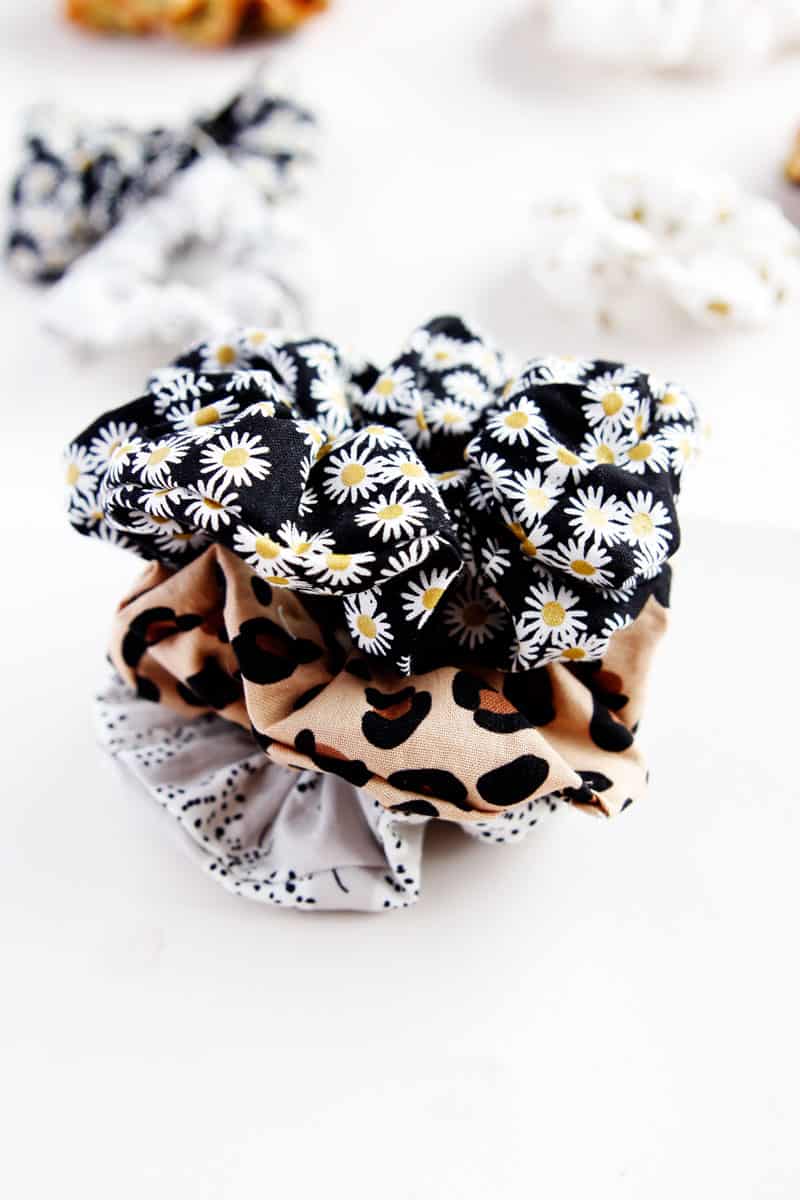
The 90s are back! Sew your own scrunchie with a free scrunchie pattern, scrunchie measurements for kids to adults and lots of tips and tricks. I’ll show you how to sew a professional scrunchie to amp up your ponytail the easy way!
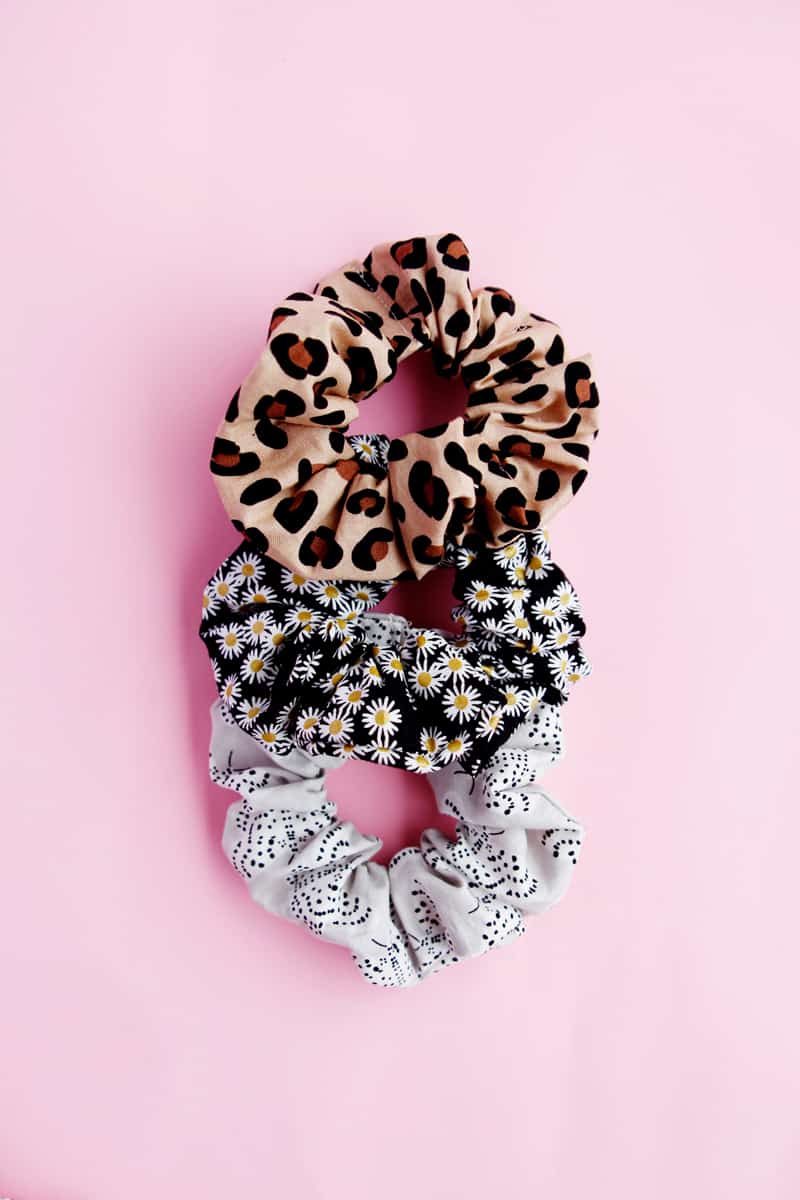
The perfect scrunchies! You will have a great grasp on sewing scrunchies after you’ve read through this post!
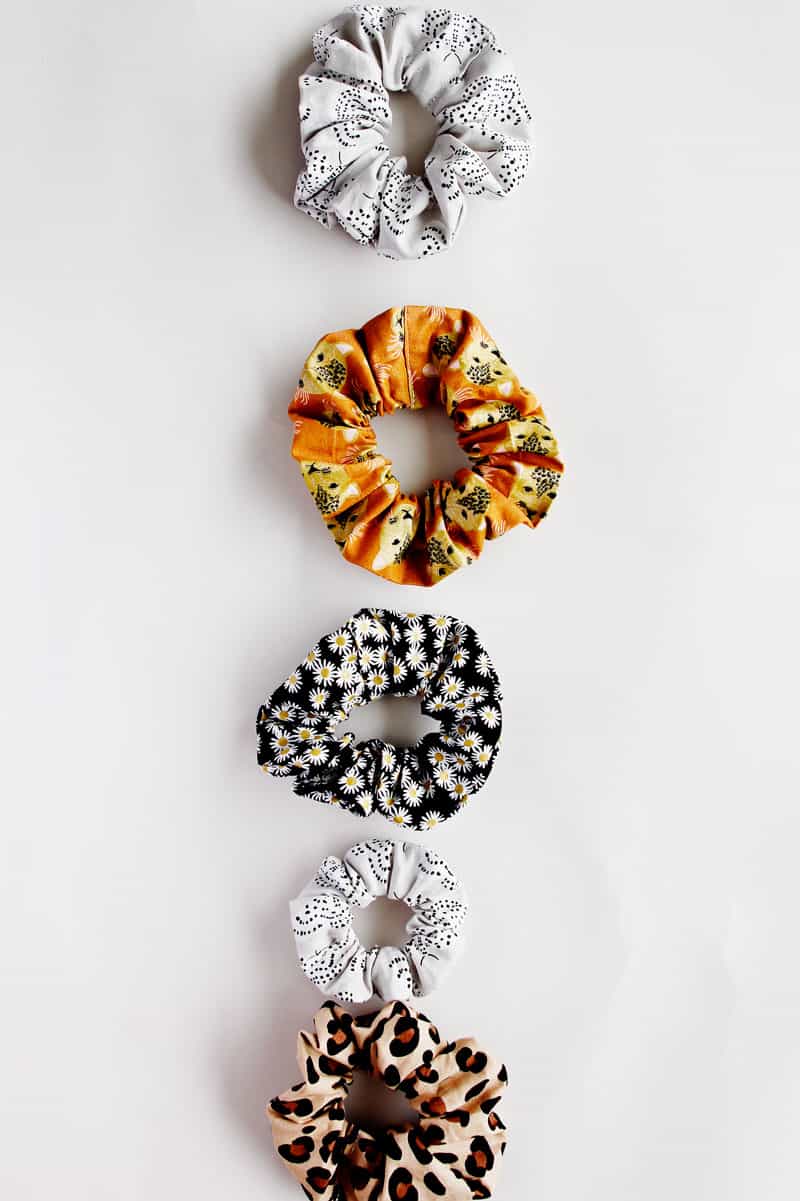
Scrunchies were one of my very first sewing projects and I’m so glad they are back in style again! Hair accessories like scrunchies are not only easy to sew, they require little fabric making them a perfect scrap buster sewing project!

Easy Scrunchie Tutorial
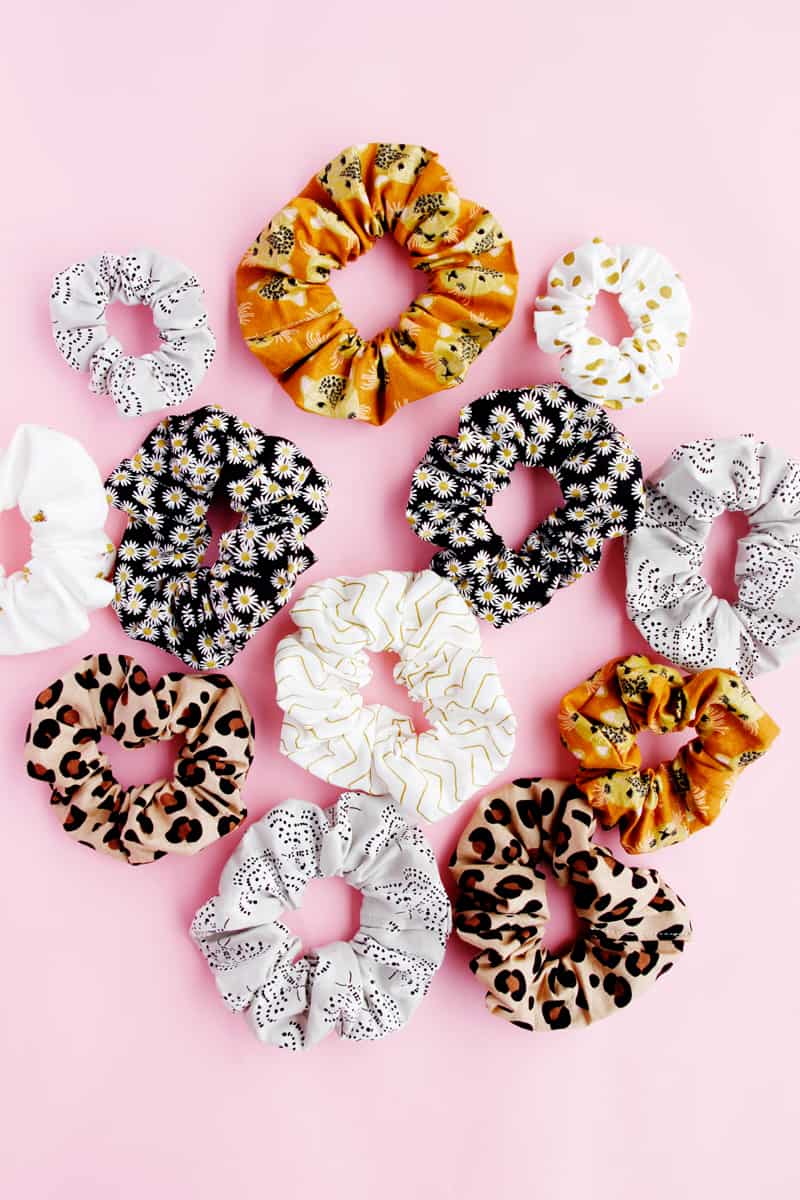
Scrunchies make great gifts, so start making them in batches using this easy tutorial and scrunchie template!
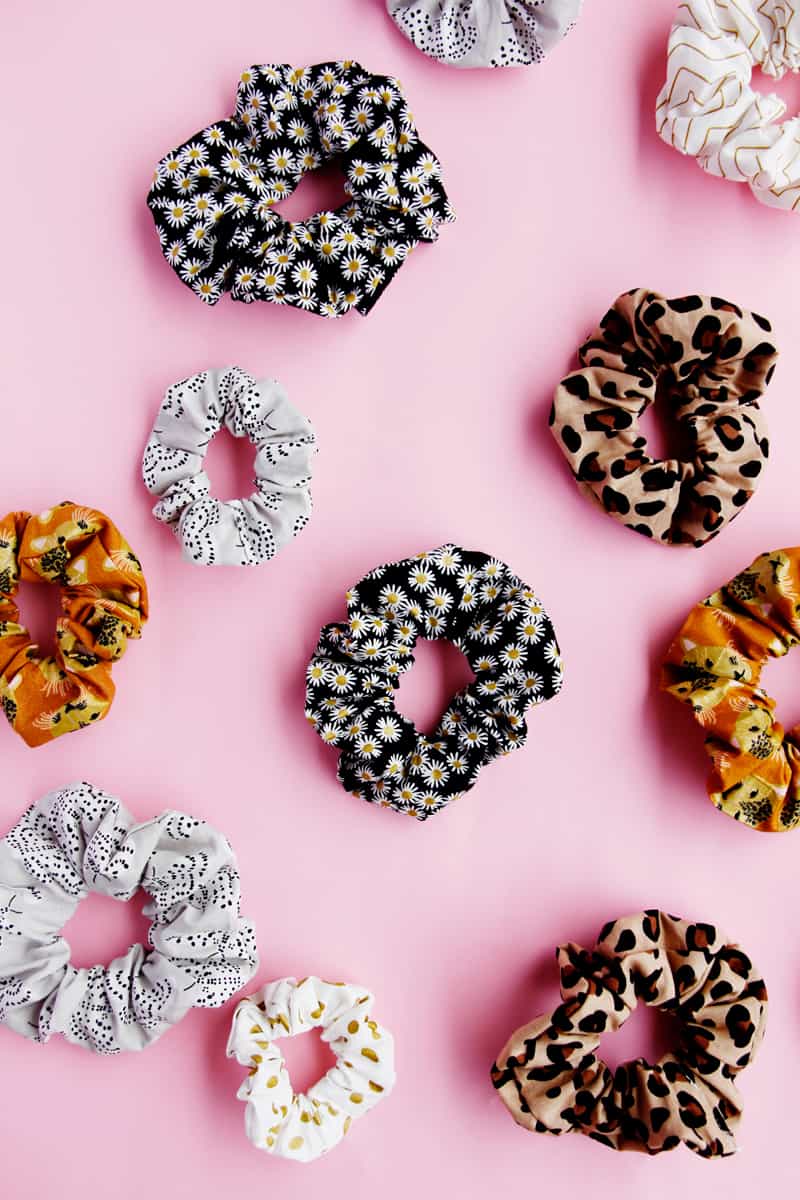
If you want to add a bow to your scrunchie, see the knot scrunchie tutorial.
DIY Scrunchie Supplies
- 1/4 yard fabric, or use scraps from your stash! (affiliate links)
- 1/4″ wide elastic
- Safety pin
- Cardstock for templates
- Iron
- Scissors or rotary cutter, cutting mat and acrylic ruler
- Sewing machine
Elastic for Scrunchies
You can use a few different types of elastic for your scrunchies, depending on what you’ll be using them for.
Regular braided 1/4″ elastic is tough enough for lots of hairstyles like top knots, so I recommend this elastic if you plan to wear these scrunchies in your hair a lot.
I recommend this softer, stretchier elastic if you will be wearing these as a wrist accessory. This type of elastic has a little more give and won’t dig into your wrists as much.
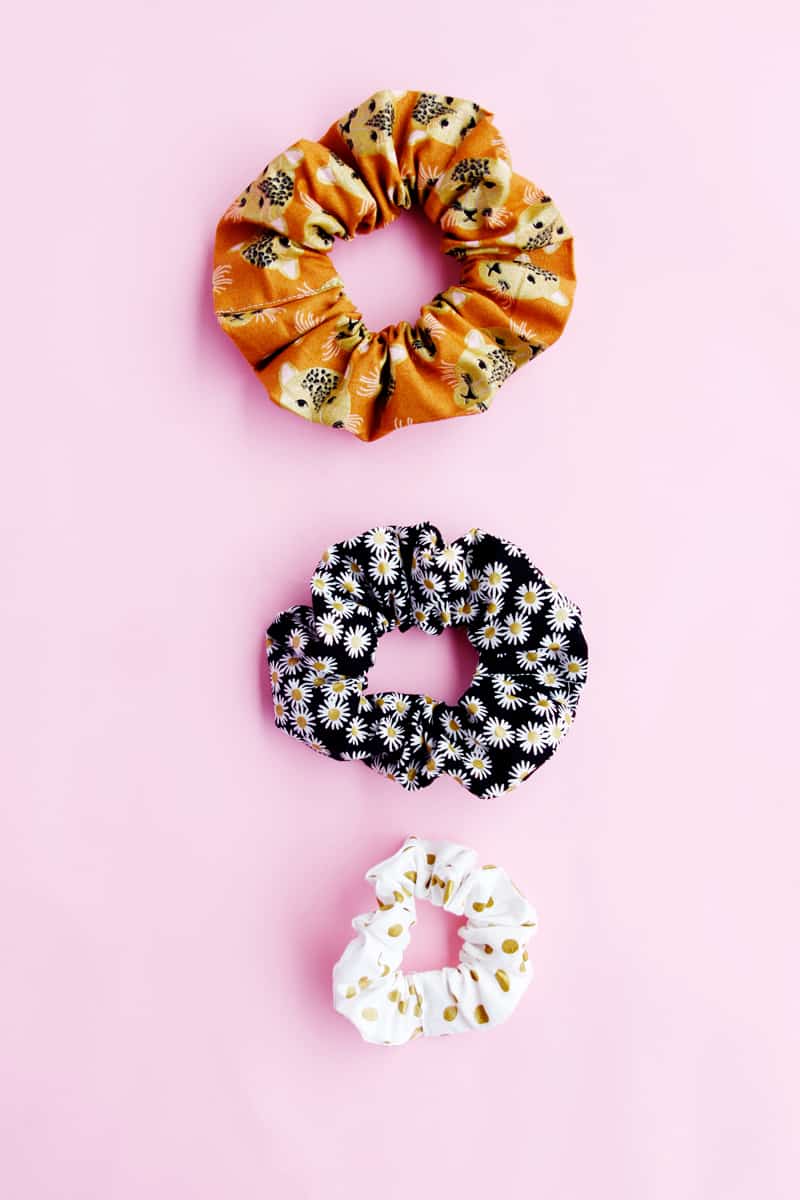
DIY Hair Scrunchie Measurements
You can either print off the scrunchie template provided below or use the scrunchie measurements provided. For each scrunchie cut 1 piece of fabric in the following measurements:
- Small (kid) scrunchies: 3″ by 16″
- Regular: 4″ by 19″
- Large (adult) scrunchies: 4.5″ by 22″
You can adjust the side of your scrunchie by adjusting the width or length of your strip of fabric.
Free Scrunchie Sewing Pattern
Print out the pattern at 100% or DO NOT SCALE. Measure the 1″ box to make sure it is the right size.
Cut the pattern out of the paper. If you plan to make a lot of scrunchies, print the pattern on a thick paper such as cardstock, so the pattern lasts longer.
Scrunchie Elastic Measurements
- Small scrunchies: 6.5″
- Regular scrunchies: 8″
- Large scrunchies: 9″
How to Sew a Scrunchie with a sewing machine
Use a 1/4″ seam allowance.
Place the template on the fold of your fabric and pin in place. Cut out one layer of fabric for each scrunchie you plan to make.
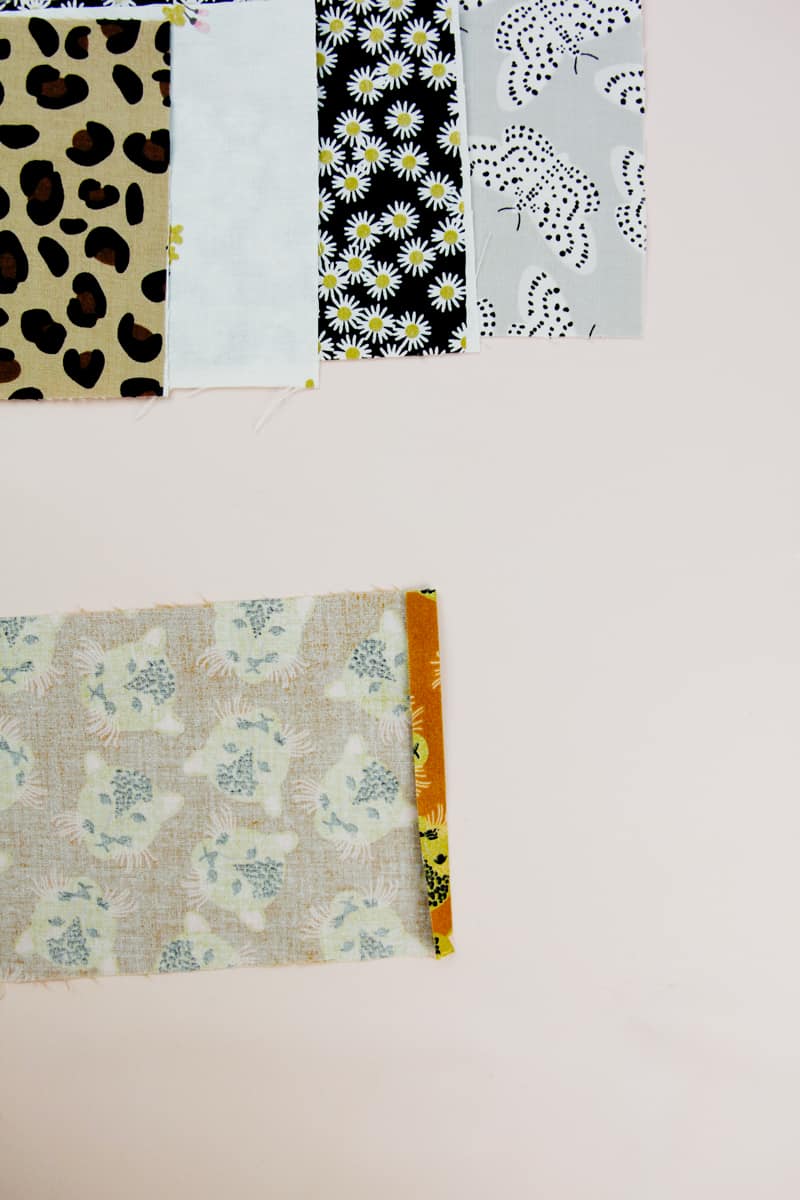
Press 1/4″ on one short edge with the right side of the fabric facing down.
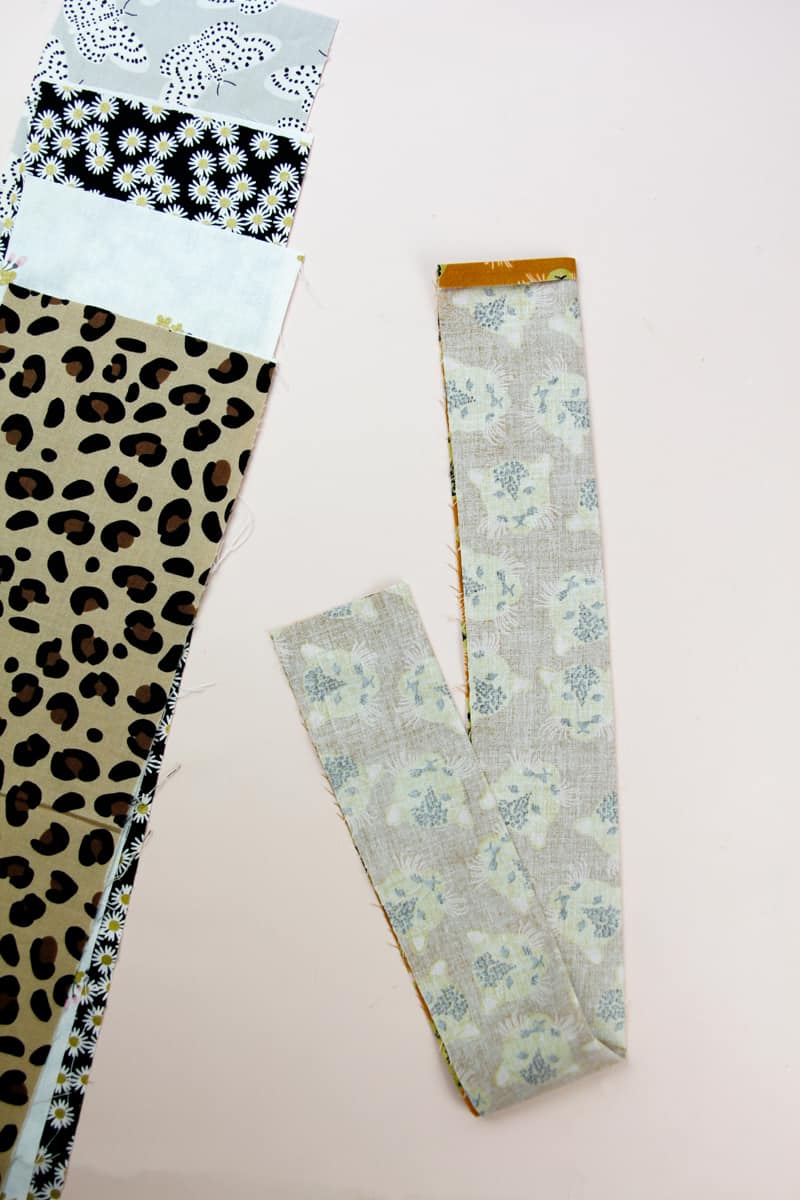
Fold the fabric in half lengthwise with right sides together matching the raw edges. Press. Then sew along the long edge, backstitching at the beginning and end of your stitching line.
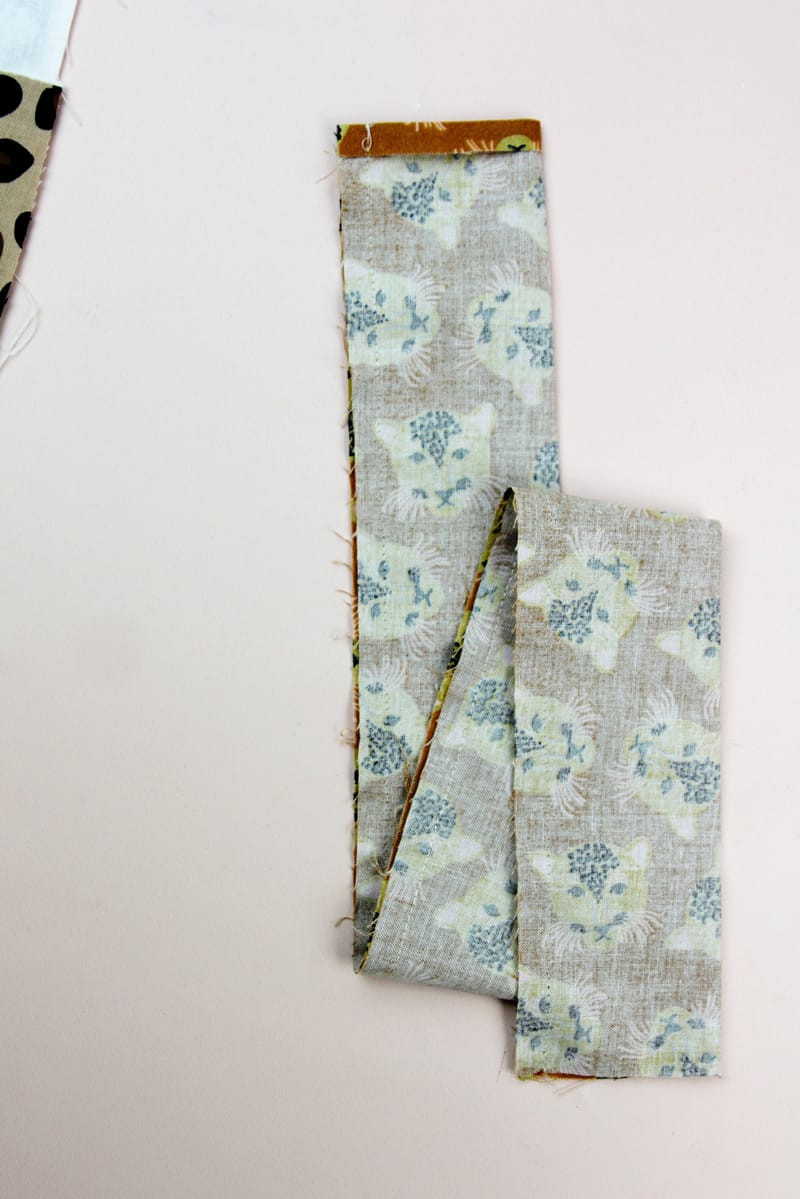
Press scrunchie tube with the seam either on the back or on one of the side folds.
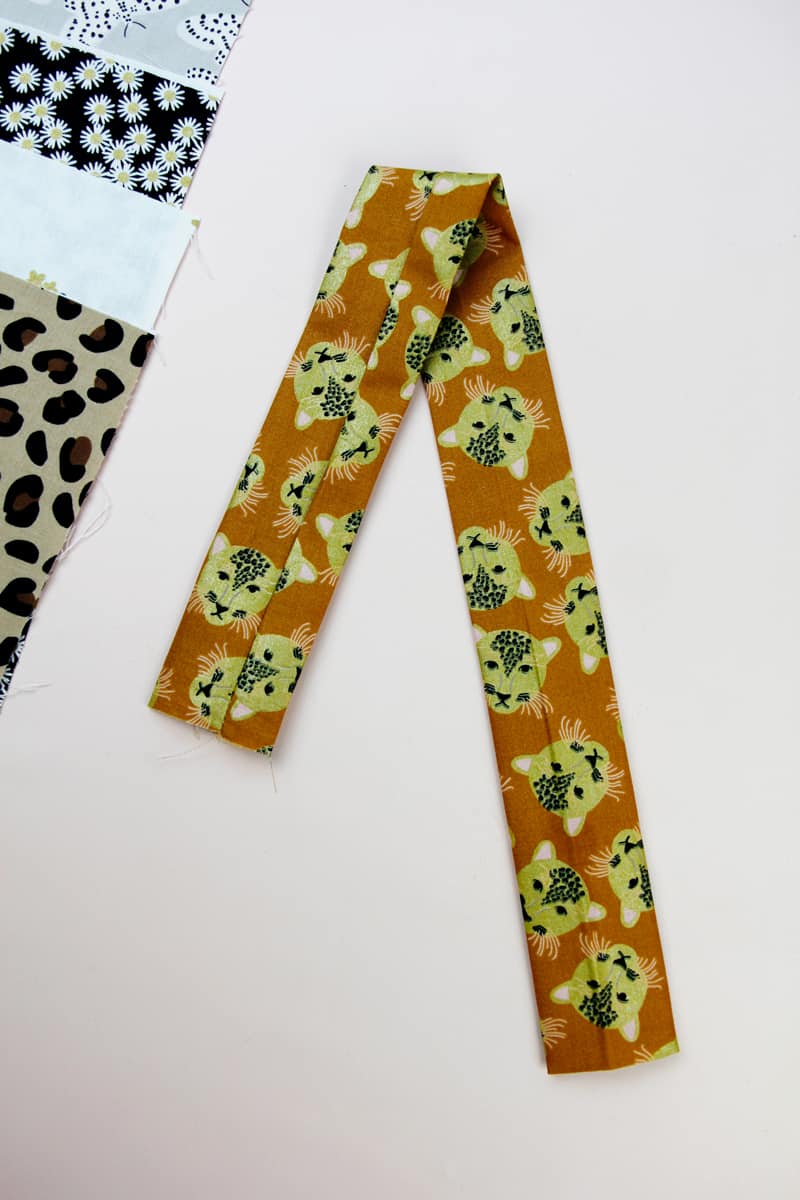
Turn the tube using a safety pin. Cut elastic according to the elastic measurements shown above.
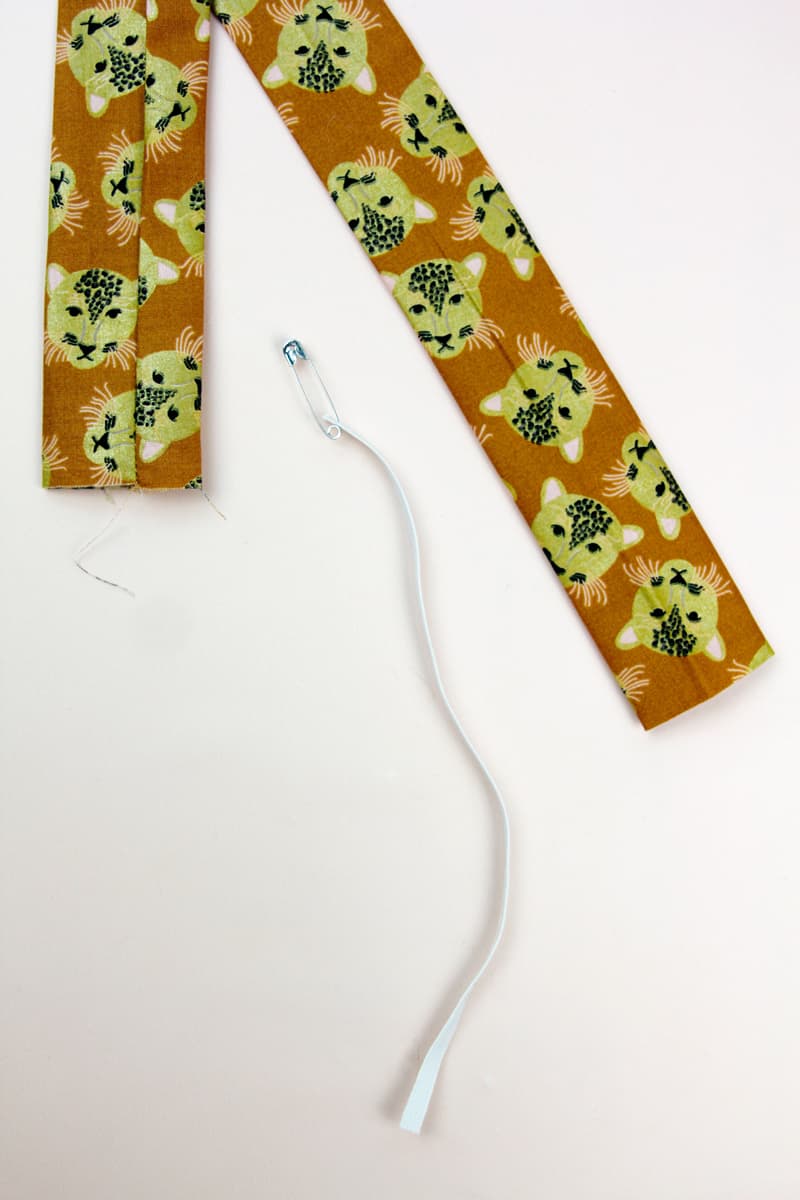
Use a safety pin to thread the elastic inside the scrunchie through the tube of fabric, holding onto the loose end. Gather the fabric tube as you go. When you reach the end, pull out the end of the elastic without letting either go. Tie the two sides of the elastic together in a tight knot.
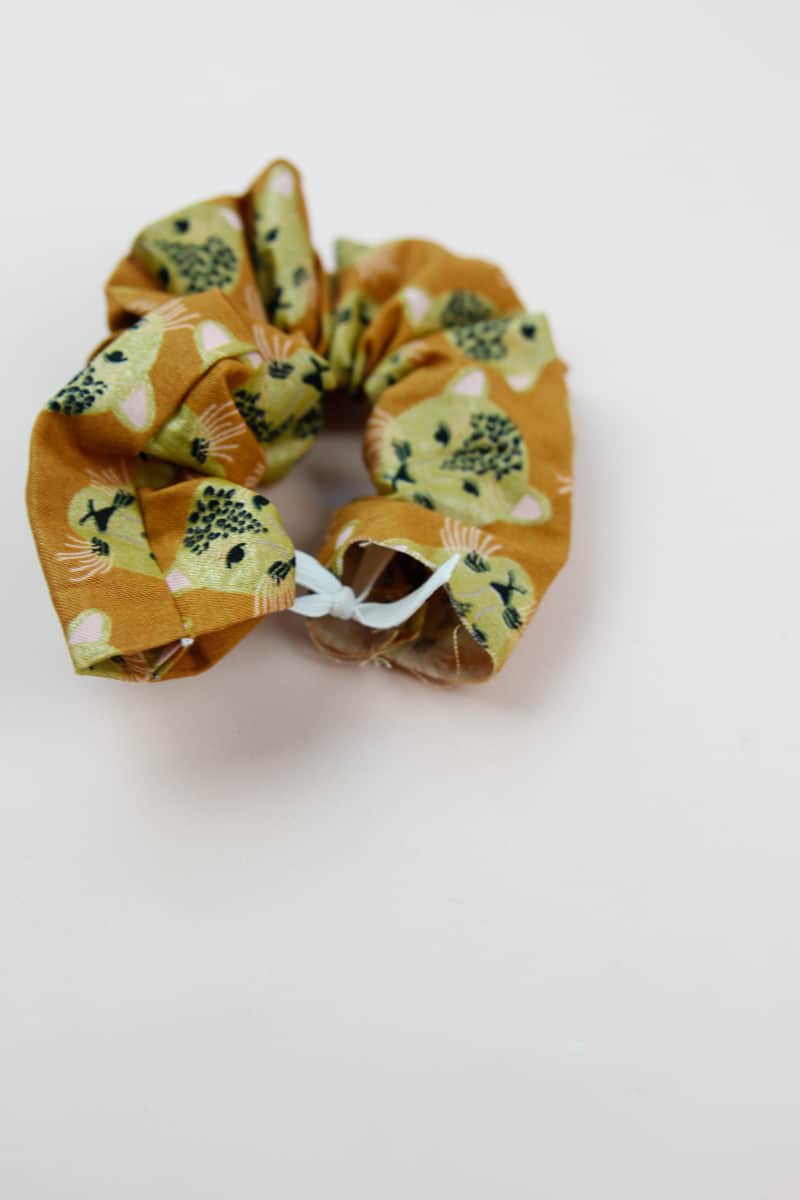
Tuck the unfinished side of the scrunchie tube into the end that is pressed under. Pin the finished edge over the unfinished edge about 3/8″.
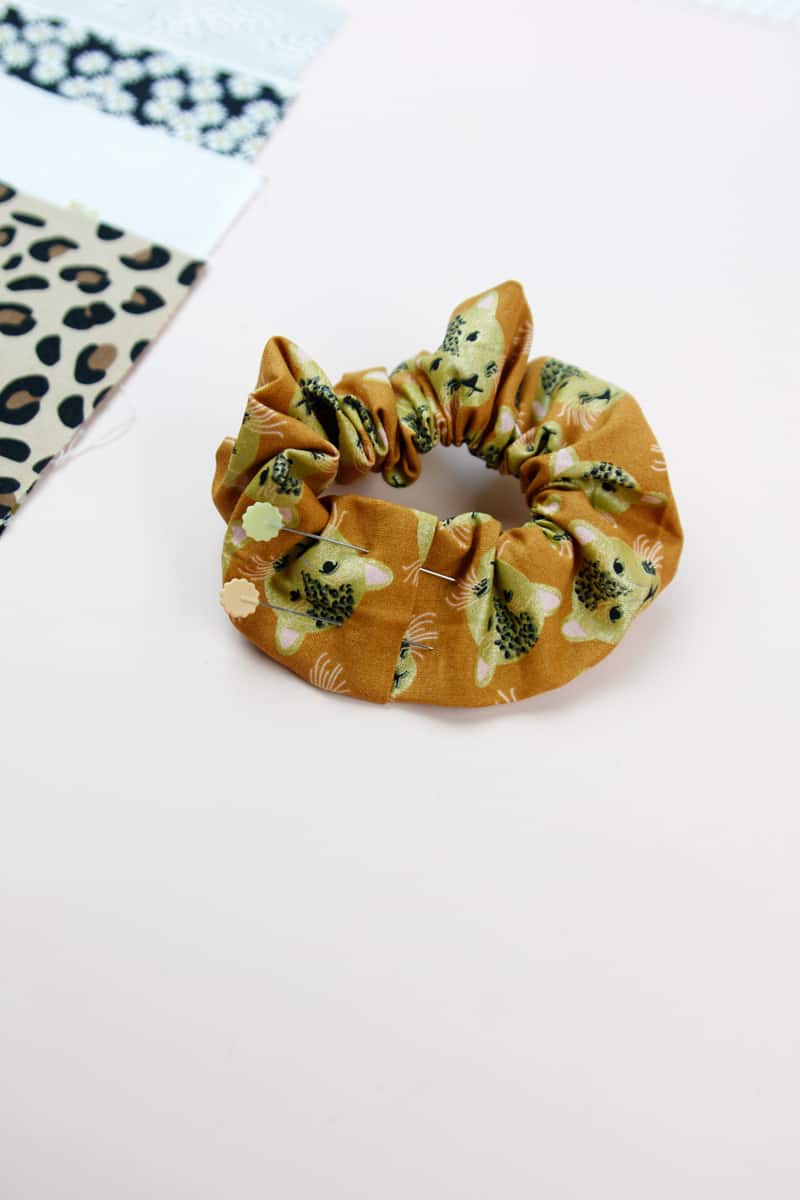
Topstitch the edges together and backstitch at both ends with straight stitching. If you prefer to have a cleaner finish, use a hand sewing needle or fabric glue to finish the scrunchie without topstitching.
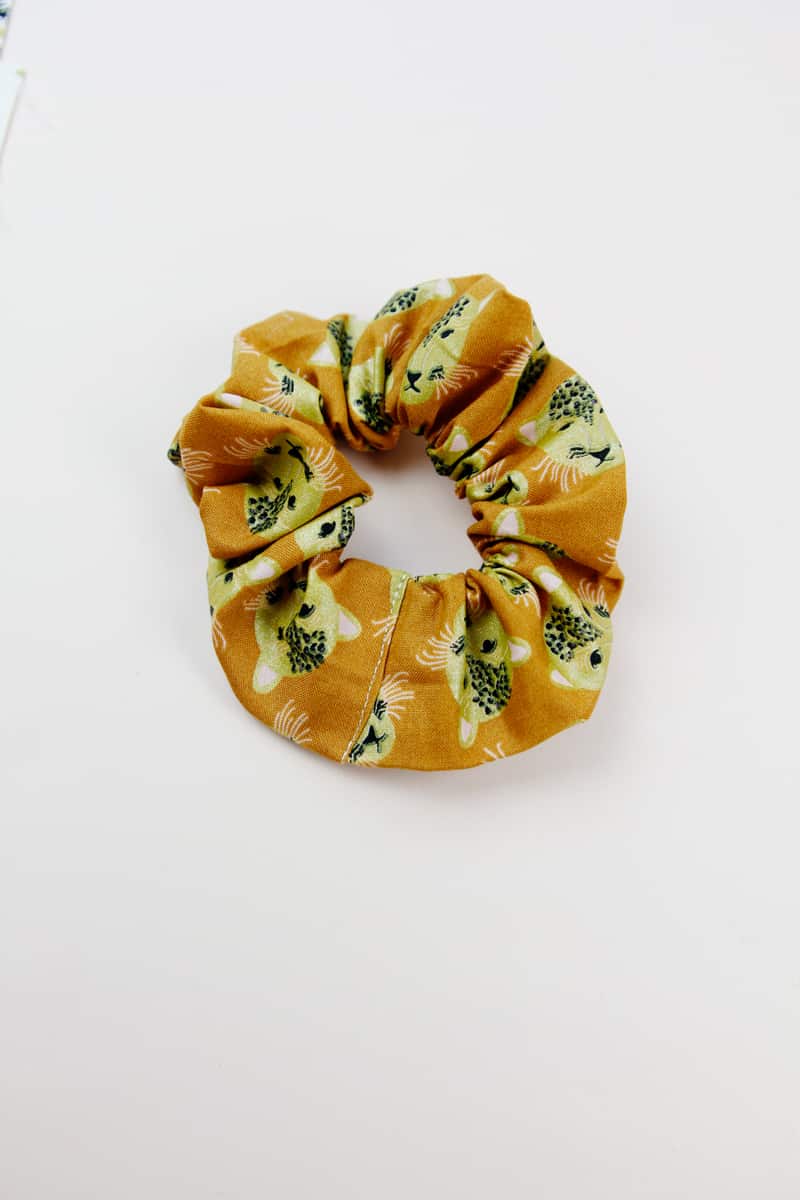
If you prefer, you can handstitch the ends together to avoid having a flat seam.
Best fabric for scrunchies
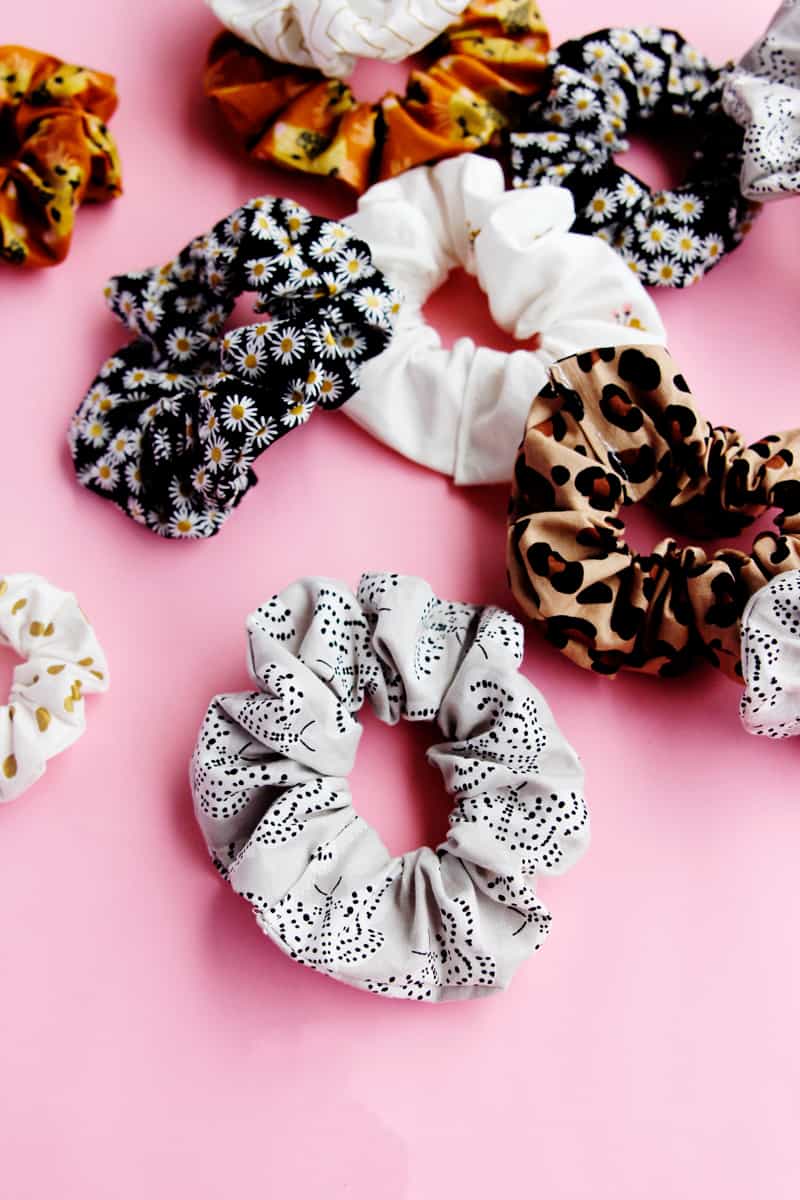
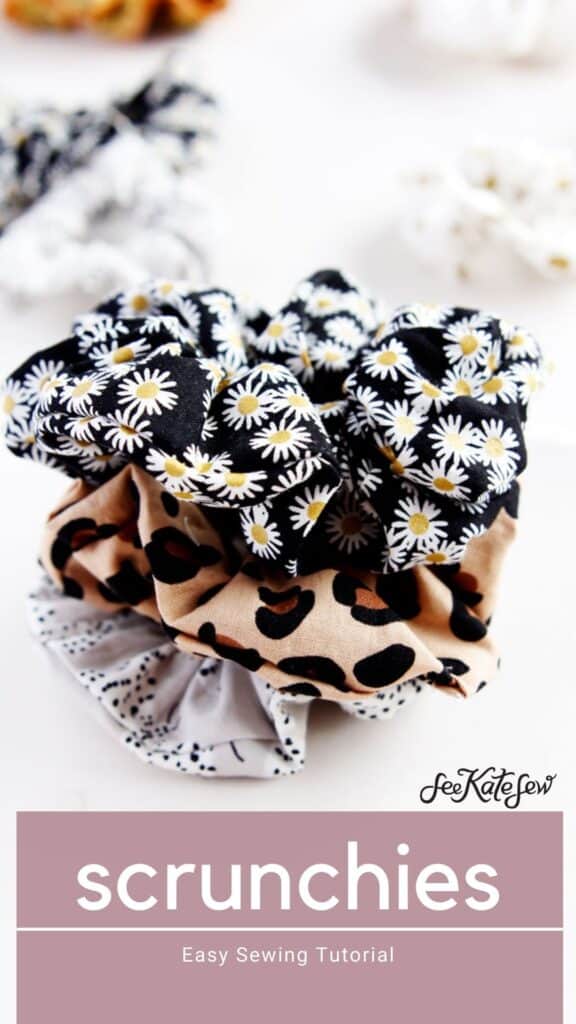
The scrunchie fabric featured in this post is from my new fabric collection Spotted! You can read more about it in this post! And use the affiliate links below to purchase the prints used in this post:
- Leopard Faces Gold *sparkle*
- Zig Zag Gold *sparkle*
- Daisy Fields Black *sparkle*
- Bouquet Gold *sparkle*
- Leopard Print Tan
- Butterflies Grey
DIY hair scrunchies can be made with a wide variety of fabric. Basic 100% woven cotton is my favorite because it is lightweight and comes in fun prints. This type of fabric is also called quilting cotton and is available at all fabric stores. Also read about my favorite online shops in this post!
For a softer scrunchie, use knit fabric in place of woven cotton. The sewing instructions are the same but you’ll end up with a softer fabric. Be sure to check out these tips for sewing with knit fabric if you haven’t sewn with knit before.
Specialty fabrics such a silk, velvet and lace can also be used for extra fun and fancy scrunchies!
I hope this post helped you learn how to sew a scrunchie! For more hair accessories, see this list of 9 hair things to make!




I cannot find the link to the video tutorial for your scrunchies. I want to see how you topstitch the last step.