• Skip to main content
  • Skip to primary sidebar
  • Skip to footer
  • Blog
  • About
  • Contact
  • FAQ
  • Sponsor

see kate sew

sewing, crafts, tutorials, DIY

  • Patterns
    • Free Patterns
    • Pattern of the Month
  • Tutorials
    • Accessories
    • Bags and Pouches
    • Clothing
    • Costumes
    • Crafts
    • Cricut Projects
    • Holiday
    • Household
    • Kids
    • Maternity
    • Quilting
  • Topics
    • Baby
    • Boy
    • Christmas
    • dog
    • Dolls
    • Easter
    • Girl
    • Halloween
    • Lookbook
    • Party
    • pet
    • Printables
    • Training
    • women
  • No Sew
  • Sewing 101
  • Sew4Good
  • Pet
  • Sewing Room
    • DreamBox
  • Reviews
Home
  • Patterns
    • Free Patterns
    • Pattern of the Month
  • Tutorials
    • Accessories
    • Bags and Pouches
    • Clothing
    • Costumes
    • Crafts
    • Cricut Projects
    • Holiday
    • Household
    • Kids
    • Maternity
    • Quilting
  • Topics
    • Baby
    • Boy
    • Christmas
    • dog
    • Dolls
    • Easter
    • Girl
    • Halloween
    • Lookbook
    • Party
    • pet
    • Printables
    • Training
    • women
  • No Sew
  • Sewing 101
  • Sew4Good
  • Pet
  • Sewing Room
    • DreamBox
  • Reviews

02.06

Make your own rubber stamps with a laser engraver

Welcome to See Kate Sew! If you’re new here, sign up for my email newsletter for access to free patterns, tutorials and all the latest sewing news! Tour my sewing room HERE!

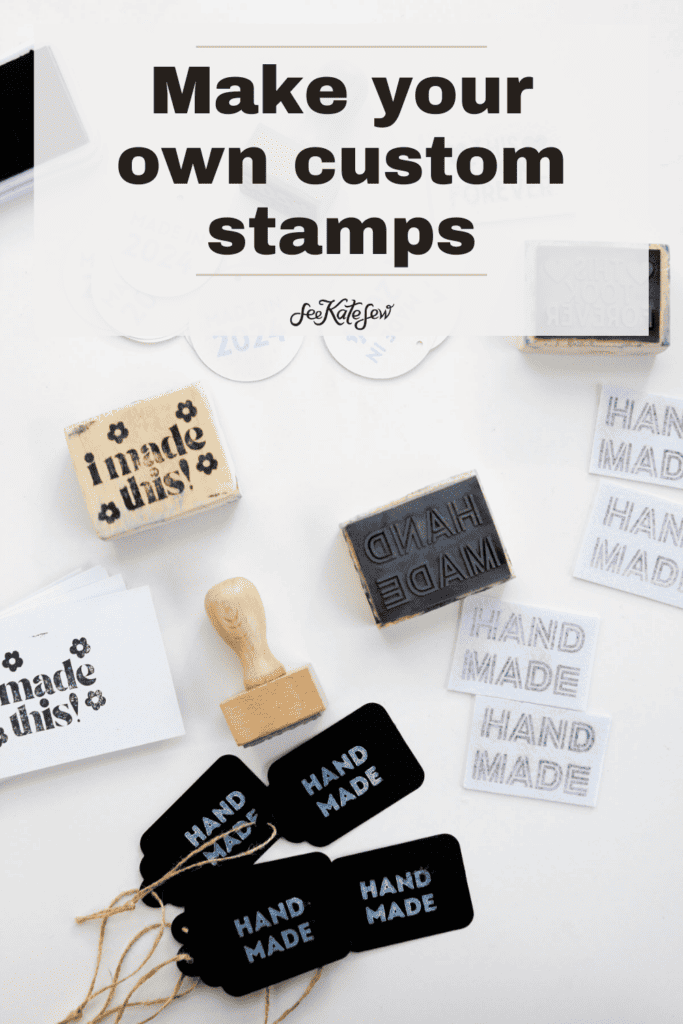
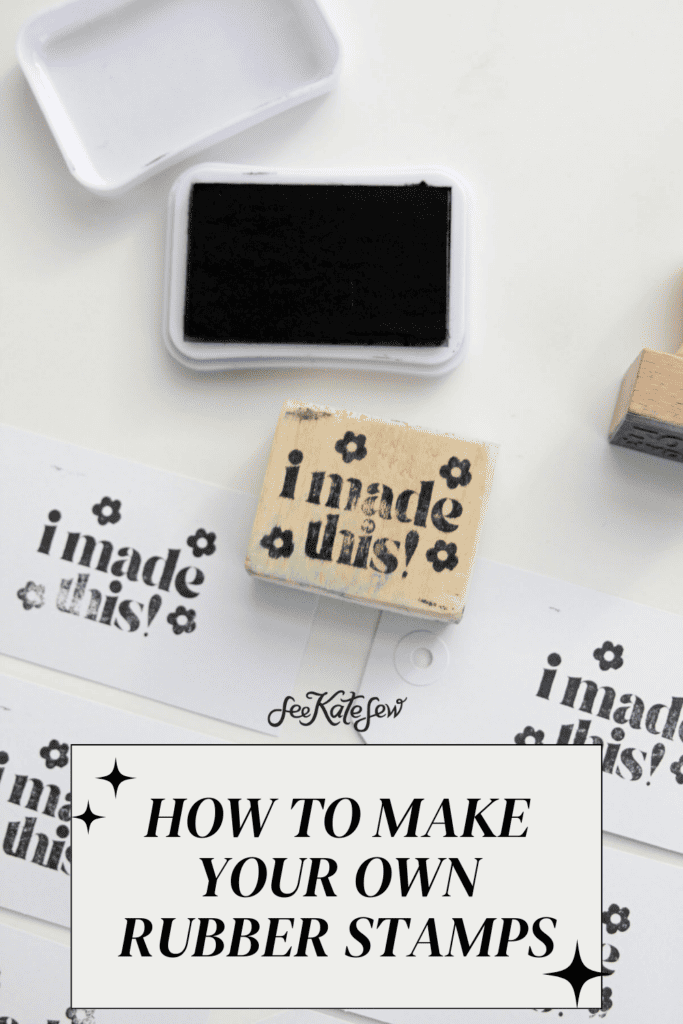
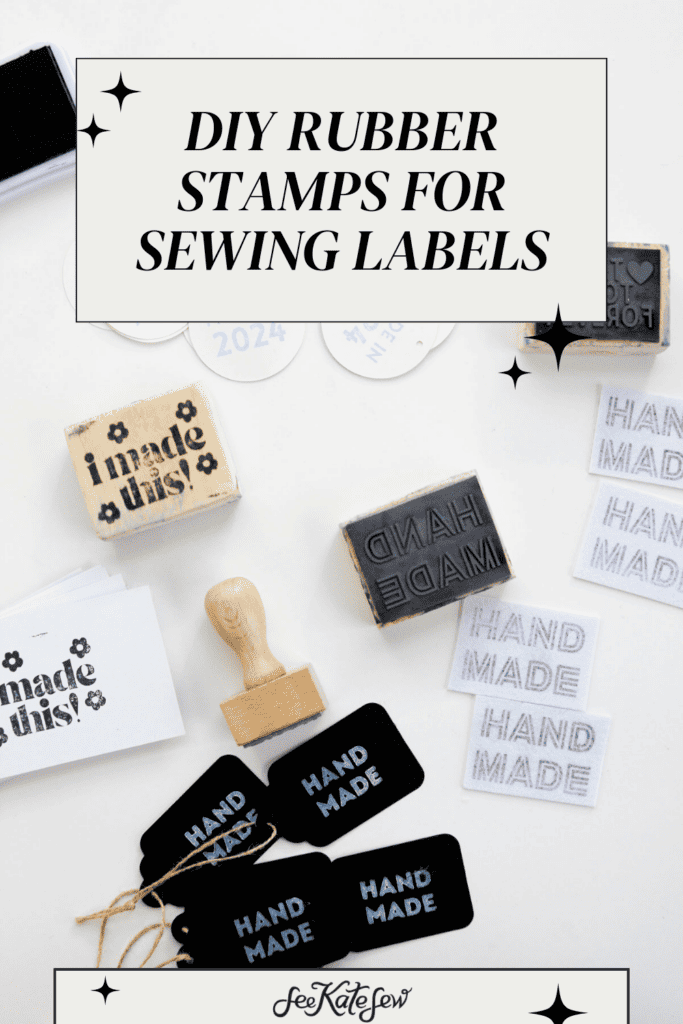
This is one of the coolest projects I’ve ever made – custom rubber stamps! I didn’t think this was something I could do at home (except for maybe with hand engraving) but with a laser engraver you can make your own rubber stamps with any design you want! I’ll show you how!

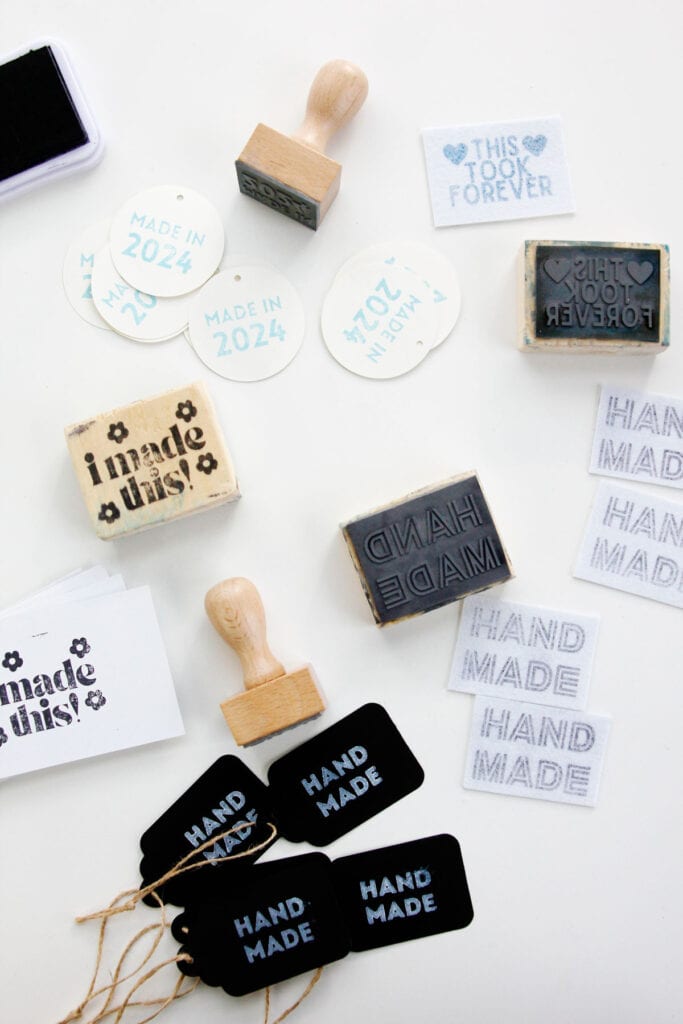
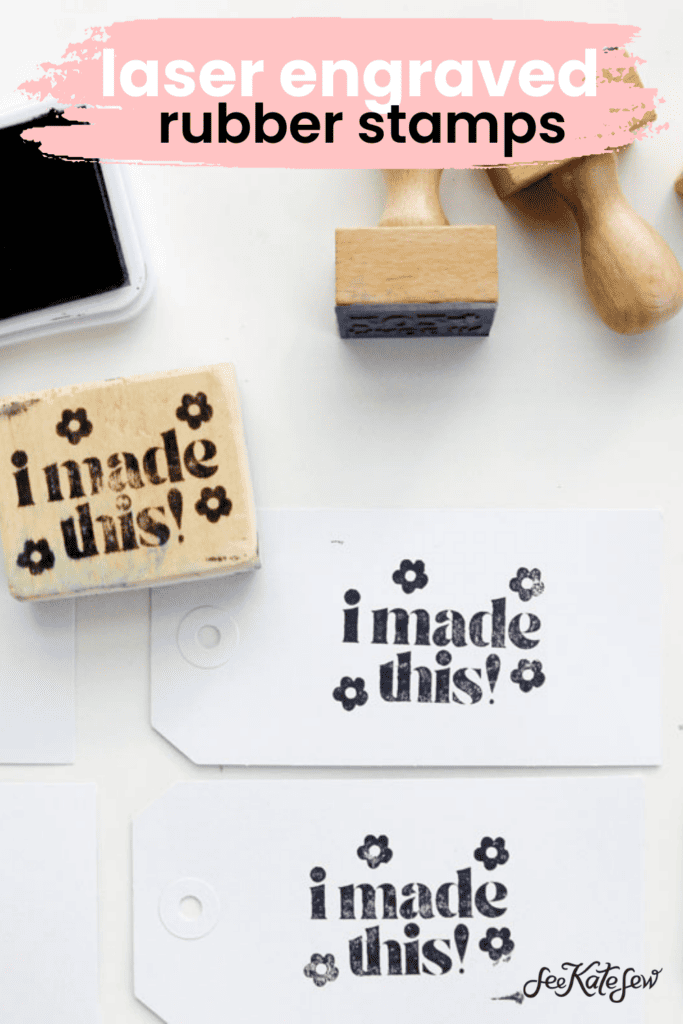
I knew the xTool F1 could make some neat stuff, but this rubber stamp kit made me super excited! With a laser engraver, making a custom stamp is so easy!

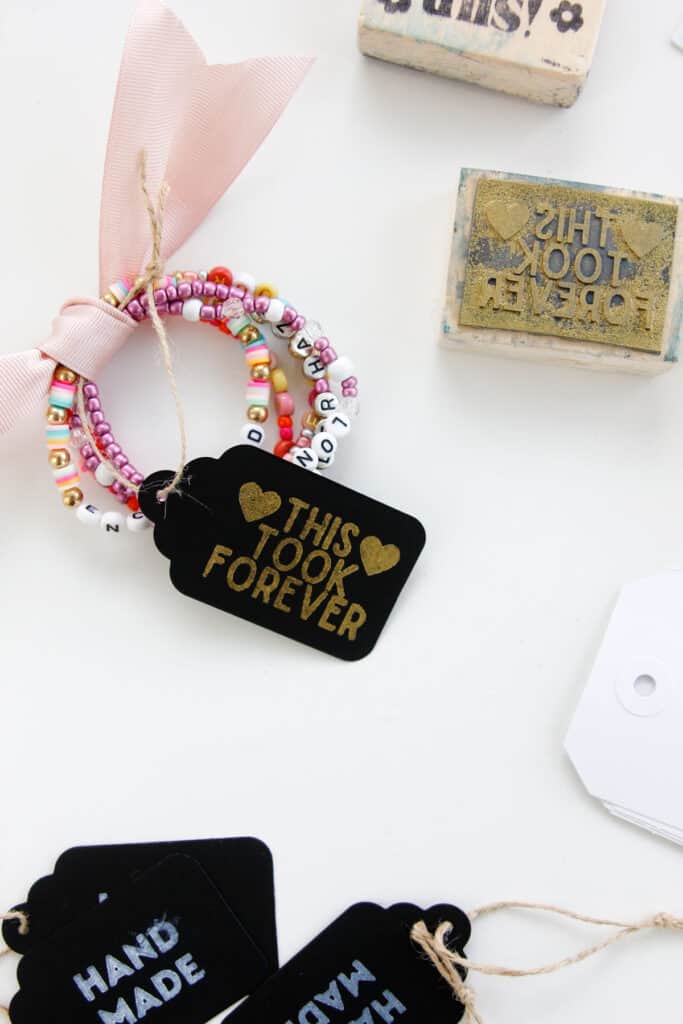
Imagine all the things you can make a custom rubber stamp for – address stamps, custom teacher stamps, logo stamps, just for fun stamps – the possibilities are endless!

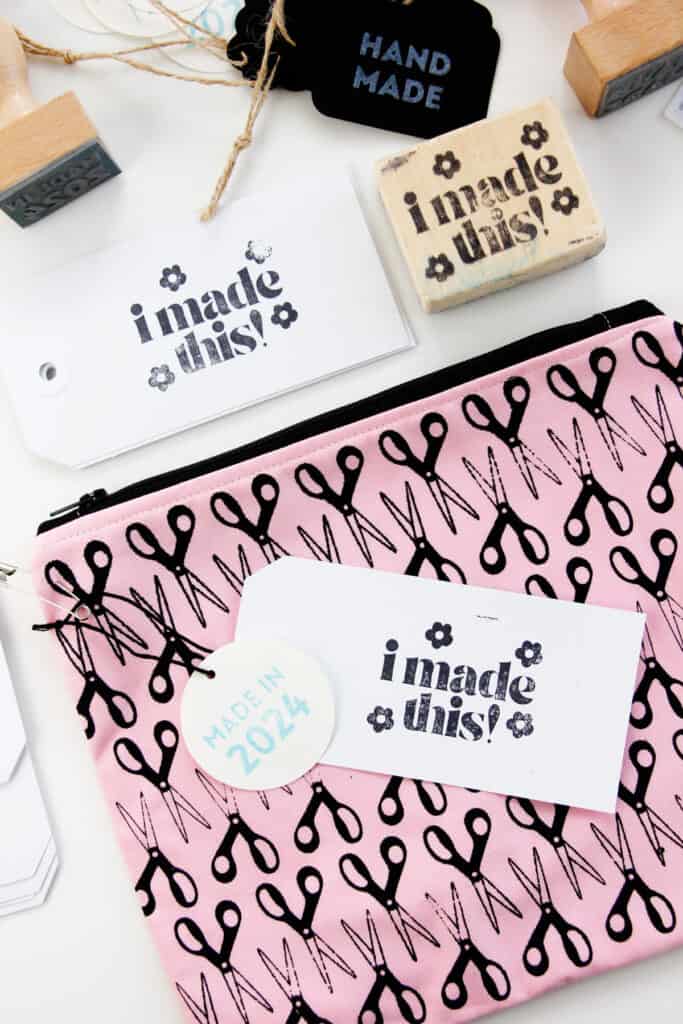
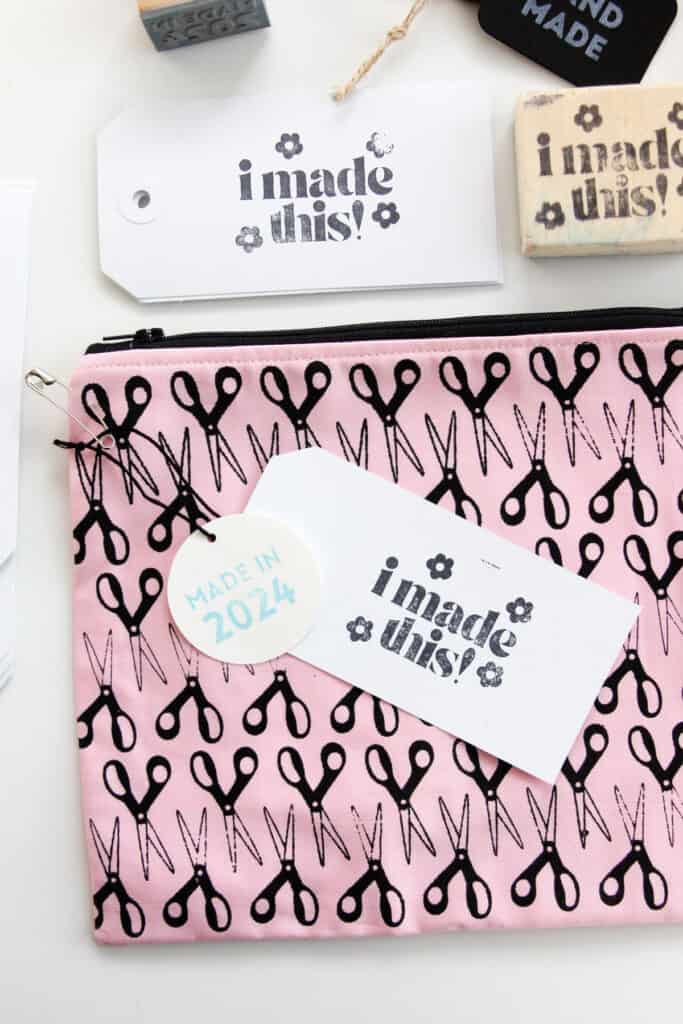
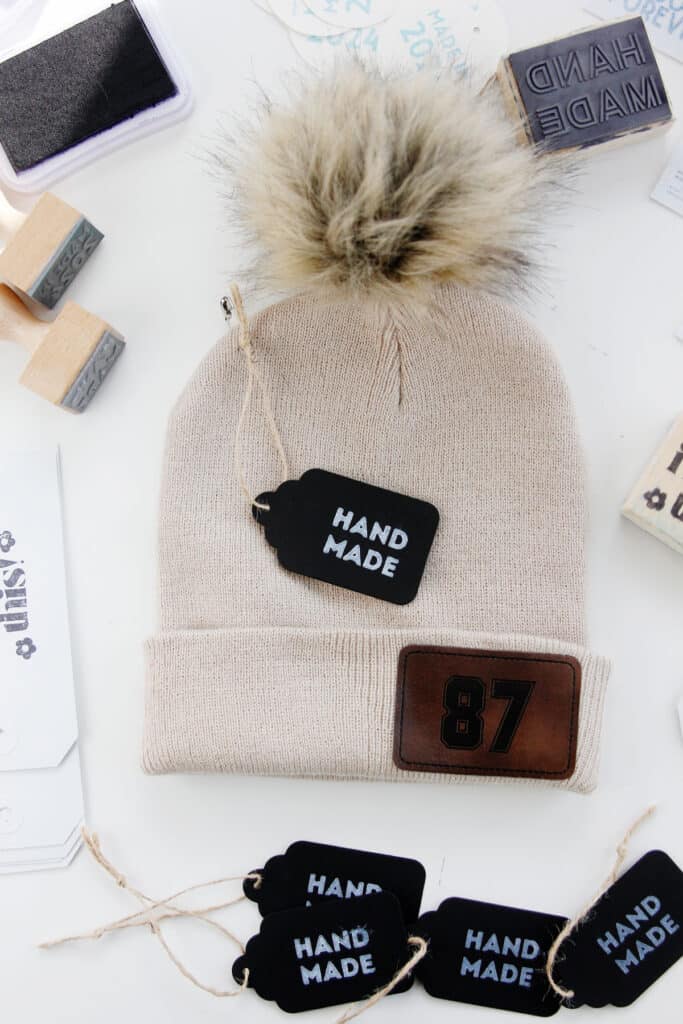
In this post I used my stamps to create custom sewing labels and tags.

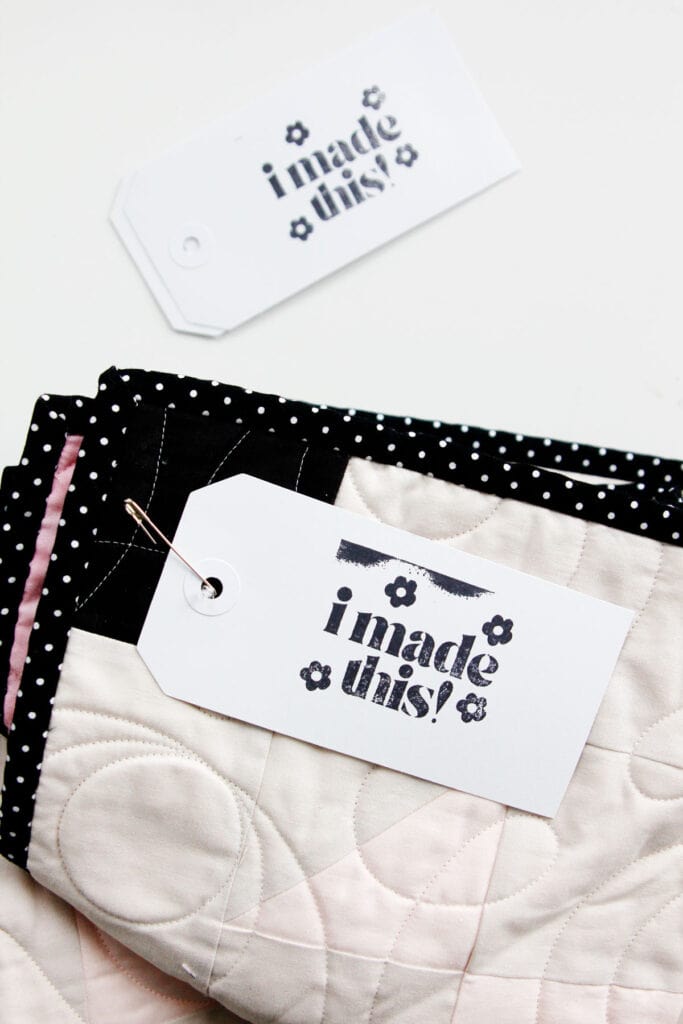
These are great to pin or sew to your projects!

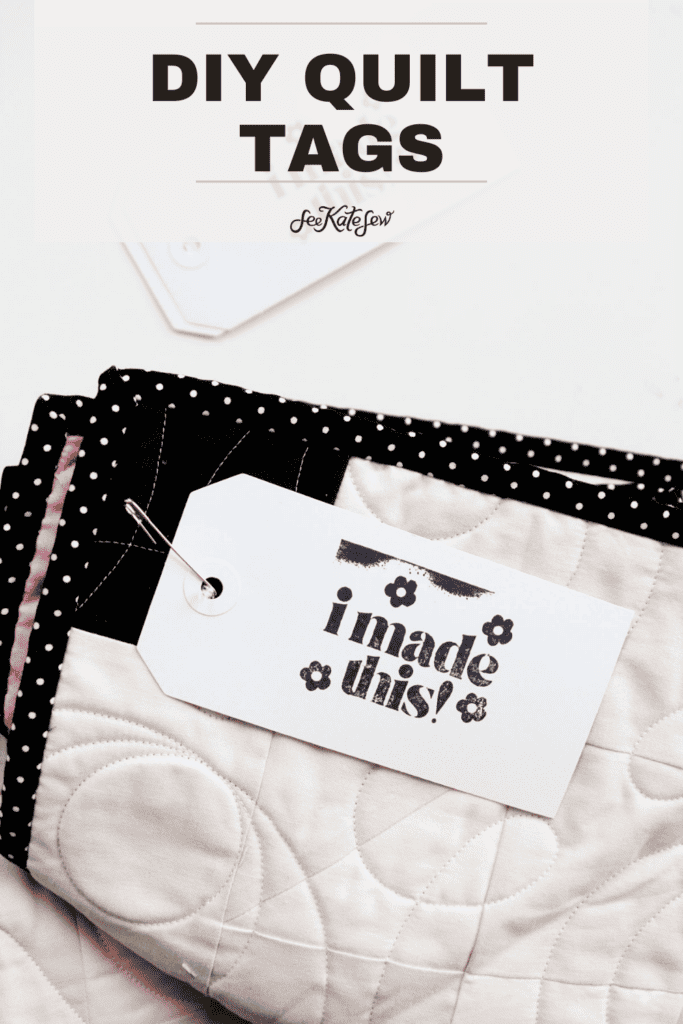
Use a fabric ink and stamp them on scraps of fabric for sew on labels – see this tutorial for more info on that! You can even stamp directly on your projects with the right fabric ink.

They just add a little something special to a homemade items and gifts.

Read my full review of the F1 Laser Engraving machine and see my engraved leather tags here.

make your own rubber stamps | xTool Laser Engraver

Materials for Custom Rubber Stamps

make your own rubber stamps | xTool Laser Engraver
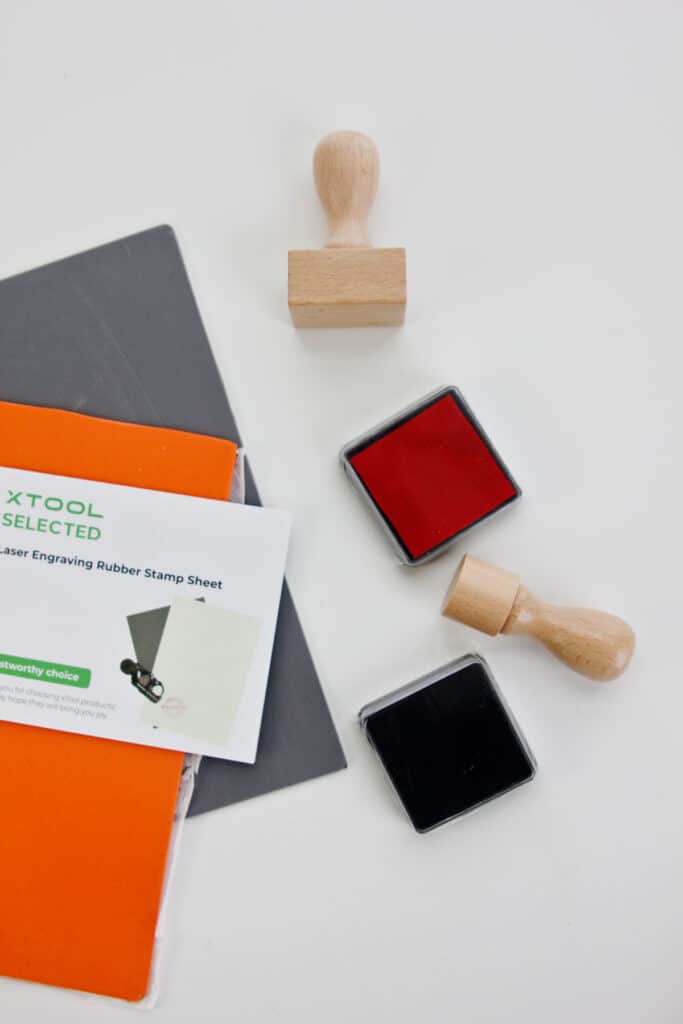
  • xTool F1 laser engraving machine (affiliate links)
  • Laser engraving rubber stamp sheet set from xTool
  • Wood scraps (or use wooden stamps included in kit)
  • Glue, such as Tacky Glue
  • Stamp pads
  • Paper tags or fabric scraps for stamping

I definitely recommend the Desktop Air Purifier when you are engraving rubber, it can be pretty smelly but the purifier helps a ton!

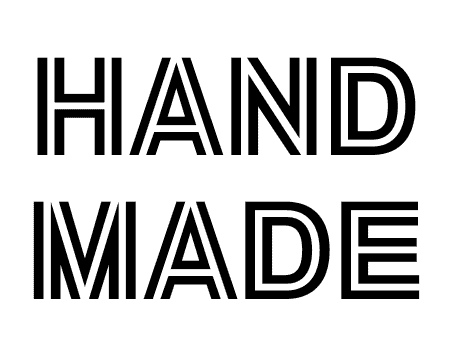
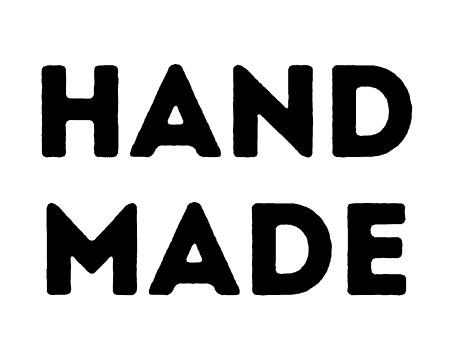
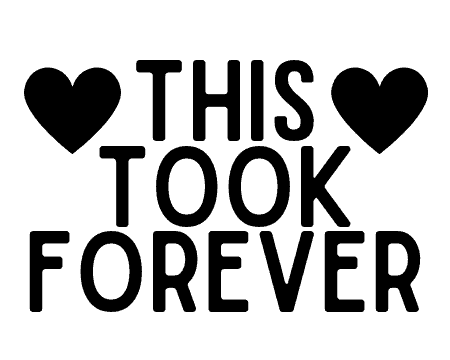
Maker Rubber Stamp Designs

make your own rubber stamps | xTool Laser Engraver

I included a few designs that you can download and use for your handmade stuff! Download the designs below:

i-made-thisDownload
hand-made-2Download
hand-madeDownload
this-took-foreverDownload
made-in-2024Download

How to use the xTool f1 to make your own rubber stamps

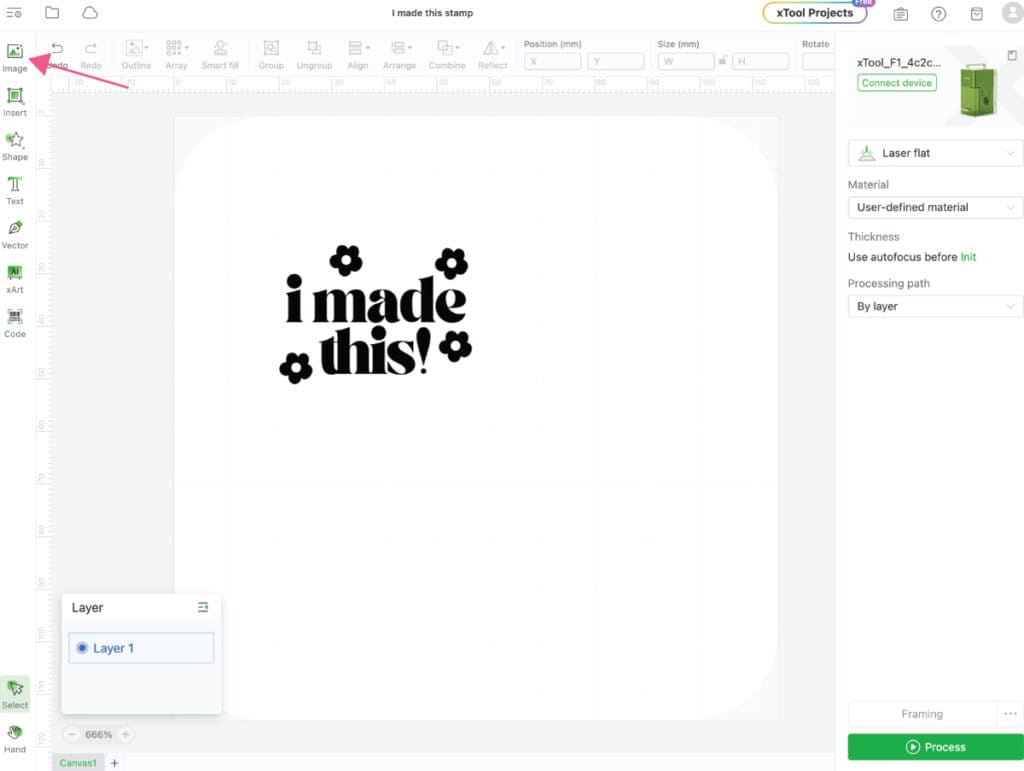
The first step is to open your Creative Space software – this is a free program that works with the xTool machines. Click on Image in the top left corner and upload the design you want to use.

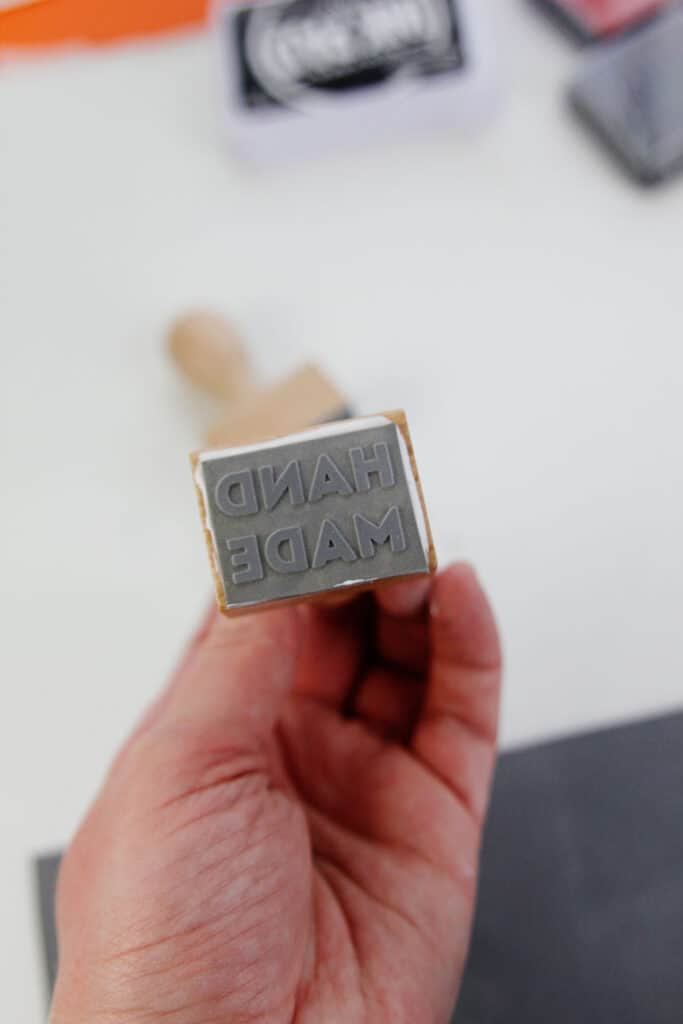
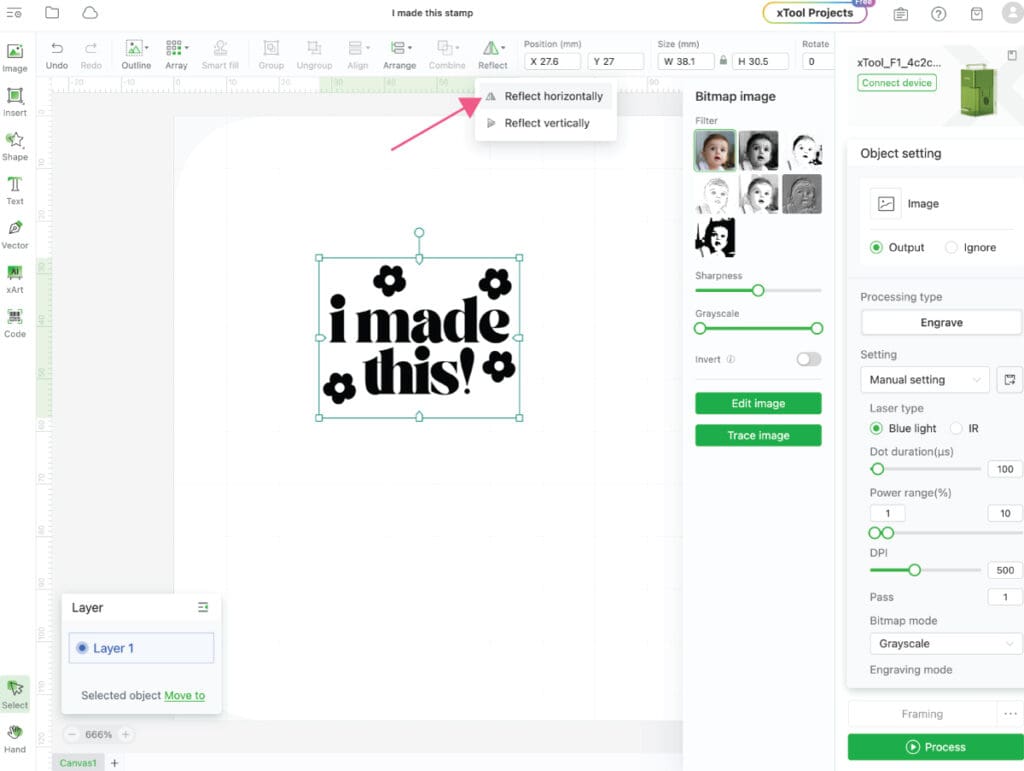
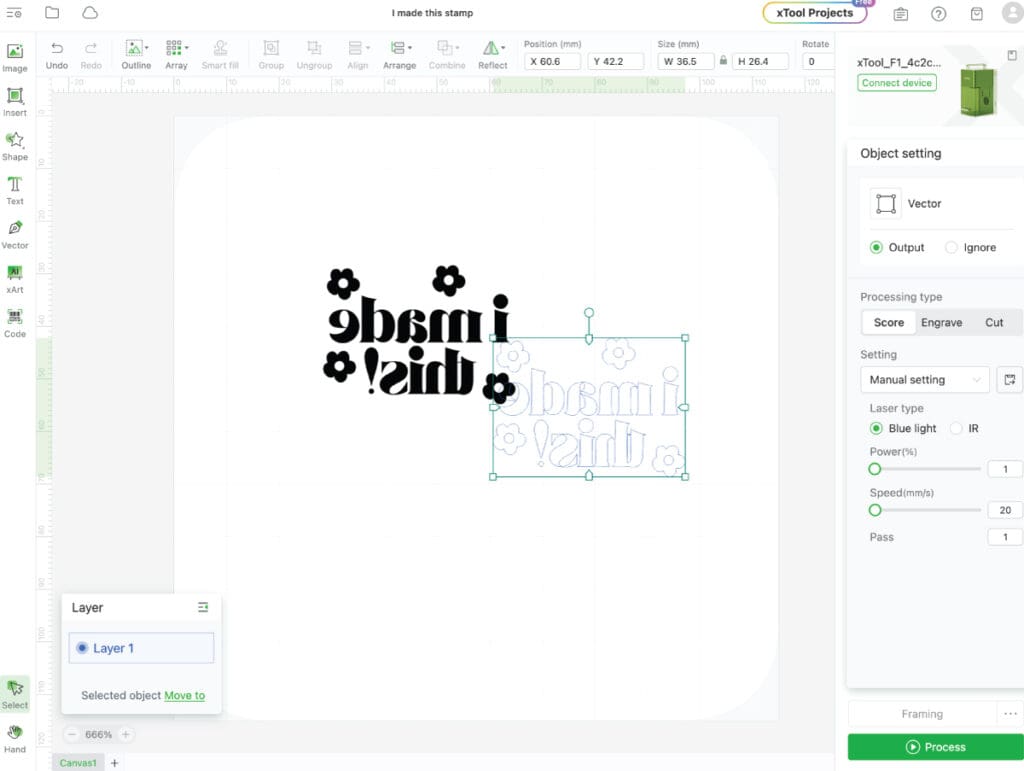
Highlight the design and find Reflect at the top of the menu. Then hit Reflect horizontally. We are doing this so the stamp engraves backwards so when we stamp it the design will be facing the right way.

make your own rubber stamps | xTool F1

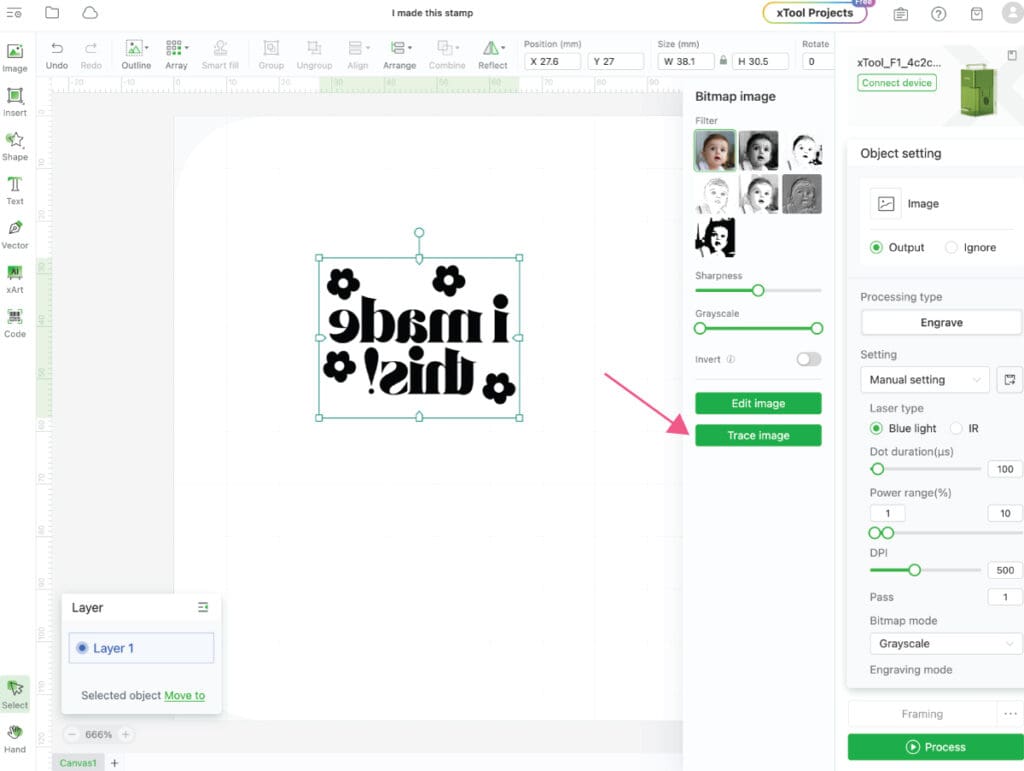
Keep the design highlighted and Trace Image.

make your own rubber stamps | xTool F1

I always use the preset settings and hit Save.

make your own rubber stamps | xTool F1

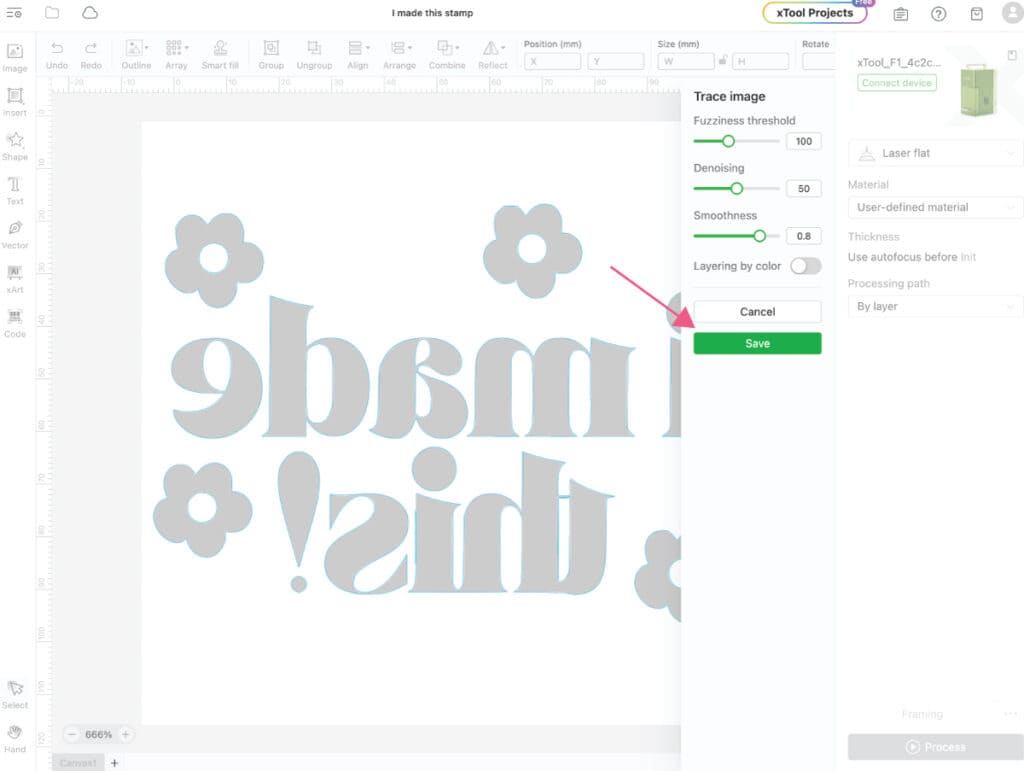
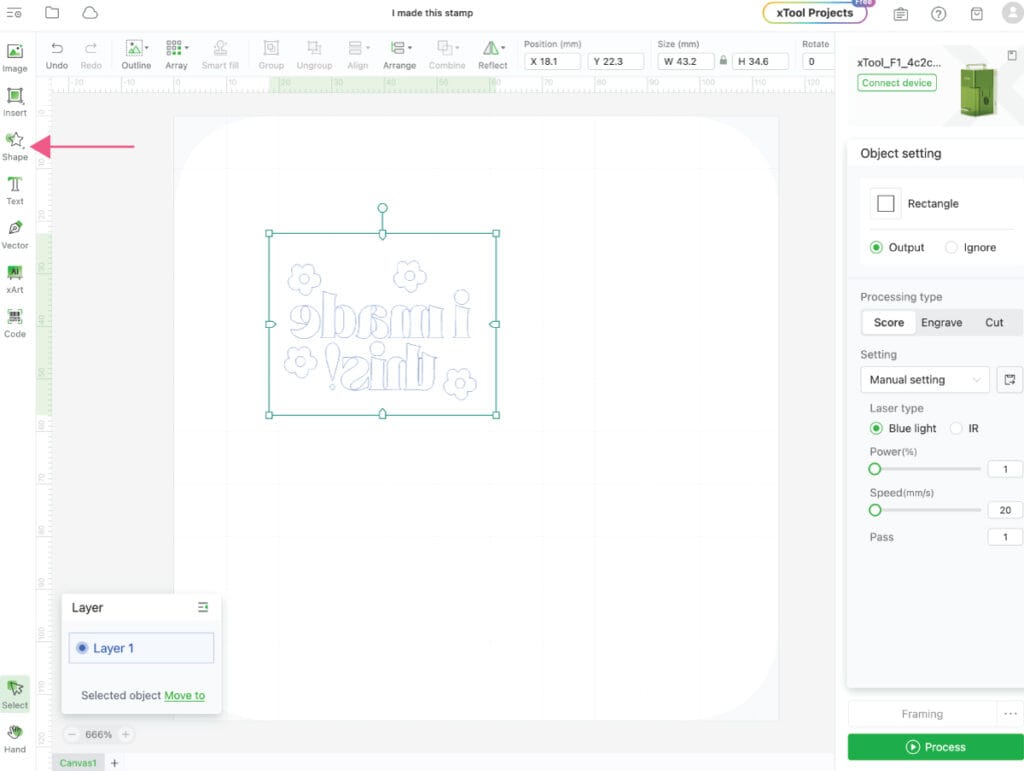
This will make a tracing of the design. You can trash the black design and just use the outline.

make your own rubber stamps | xTool F1

Now create a rectangle around the design.

make your own rubber stamps | xTool F1

Highlight both the rectangle and the design and find Combine > Subtract at overlap.

make your own rubber stamps | xTool F1

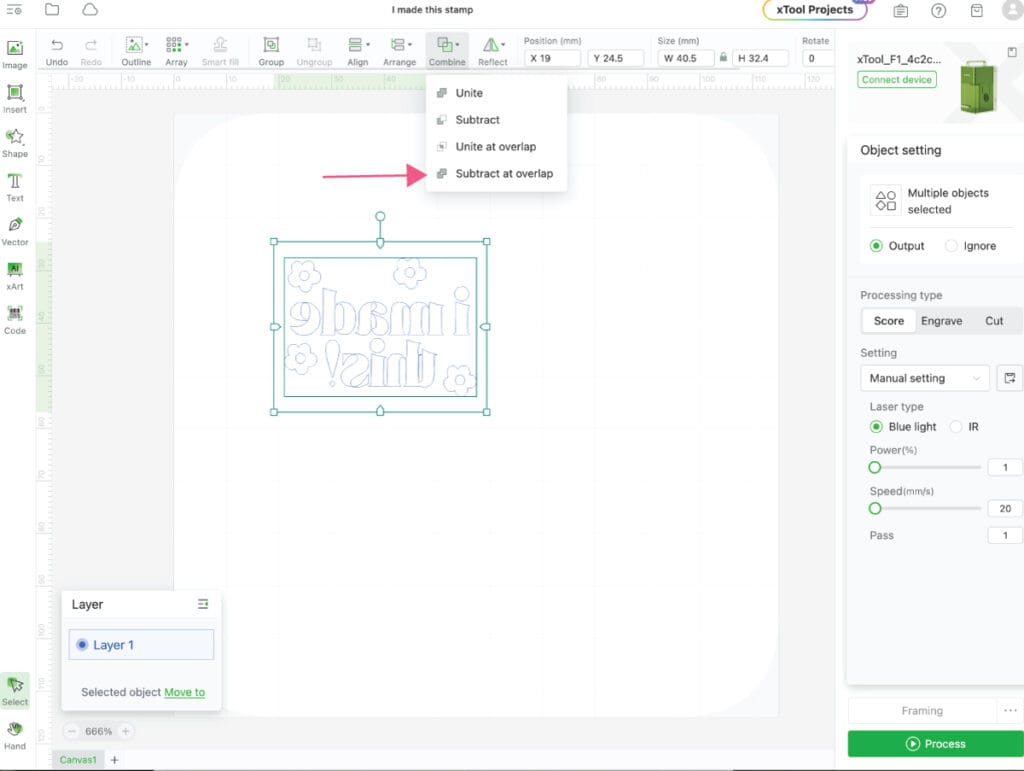
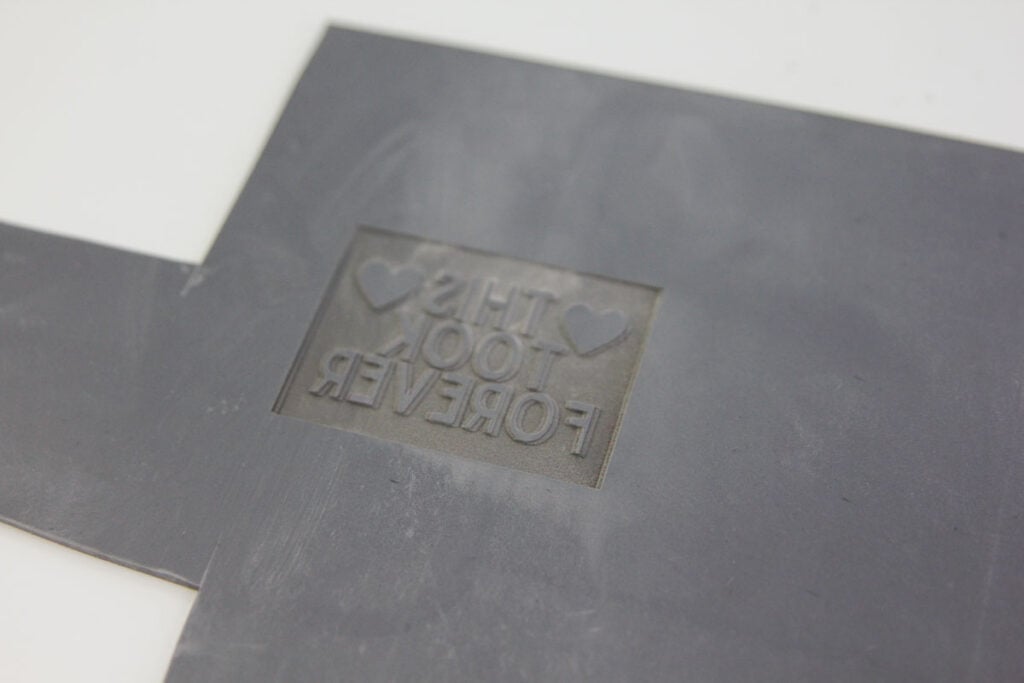
The Combine action will fill in the outside of the design. Then click Engrave at the right. The white parts will be the raised part of the stamp and the blue parts will be what the laser engraves away.

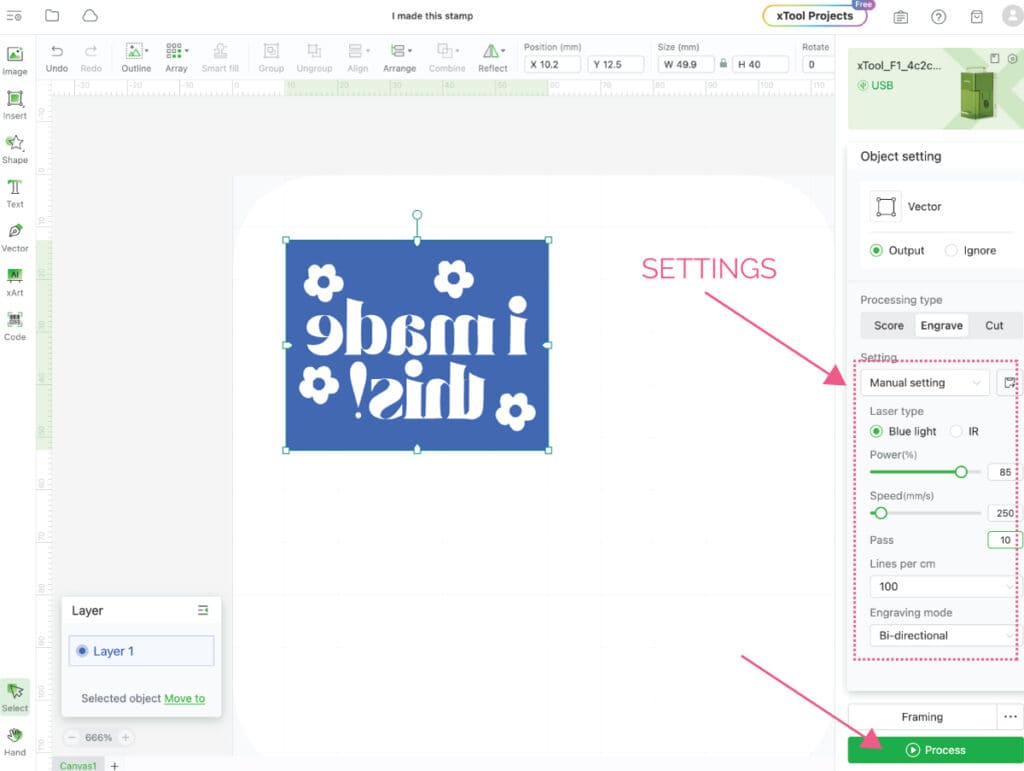
Next use the following settings on the Manual setting menu.

xTool Rubber Stamp Vector Engrave Settings

  • Power: 85%
  • Speed: 250
  • Pass: 10

We will actually do 20 or more passes, but 10 is the max so we will just hit “process again” after each set of 10.

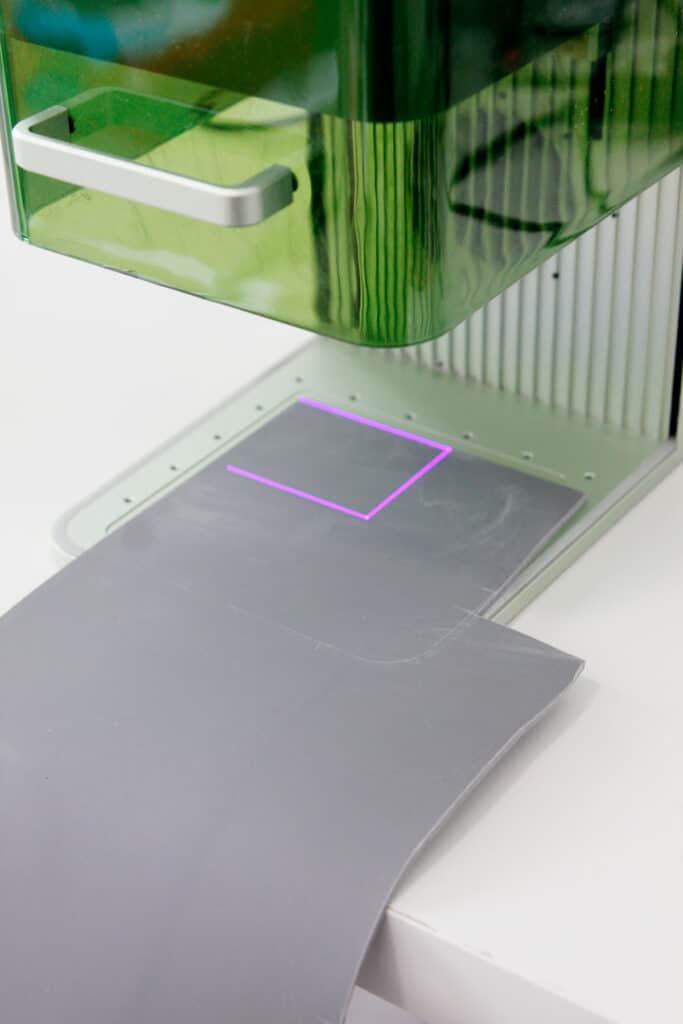
Use the Framing button to get an outline of the design. This light won’t hurt your hands and will help you align your material in the machine. Then pull the green shell down.

make your own rubber stamps | xTool Laser Engraver

Click Process.

make your own rubber stamps | xTool Laser Engraver

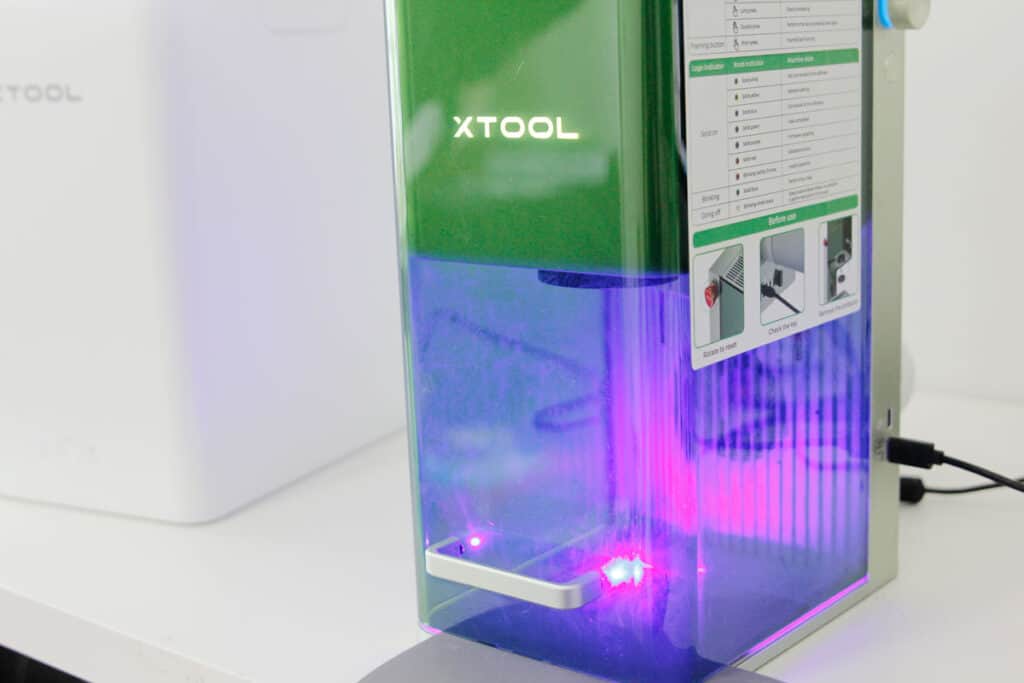
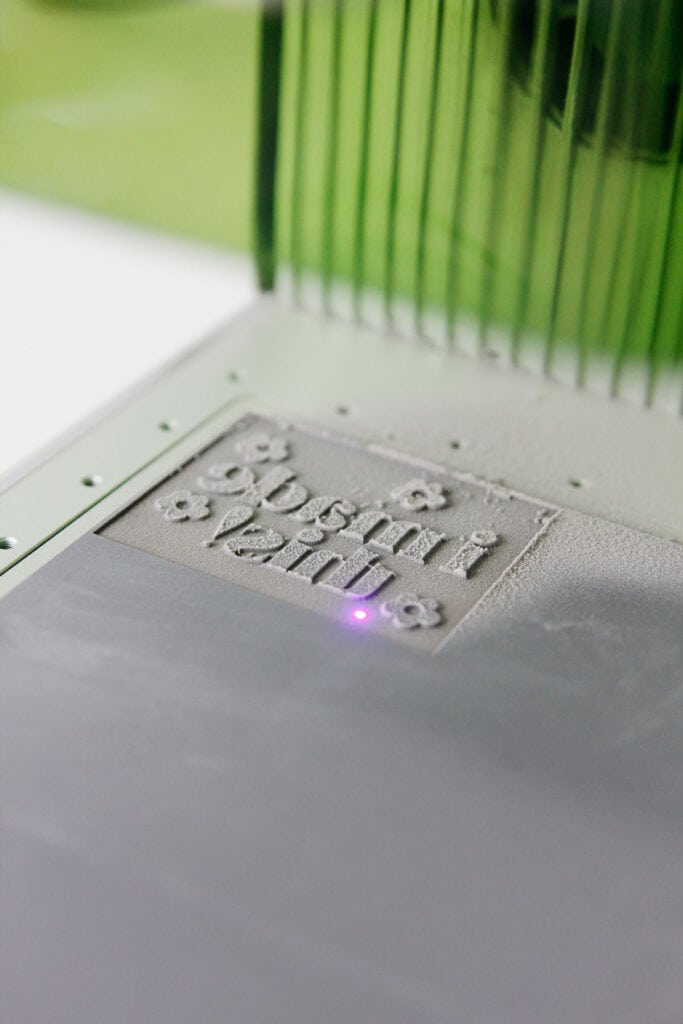
After the first 10 passes are done, click Process Again. DO NOT OPEN THE SHELL in between the passes. If you open it to check, things might shift a little and ruin your stamp, see below:

I did 20 passes on most of my stamps. If you want a deeper cut, you can do 30. Don’t do too many because you will eventually cut through the whole rubber sheet.

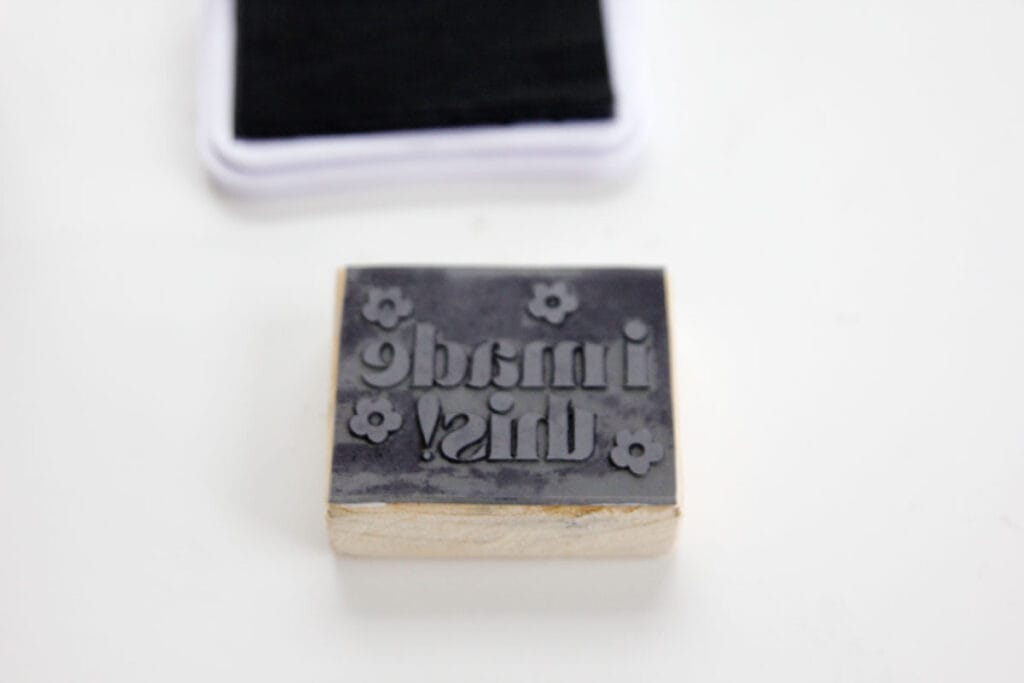
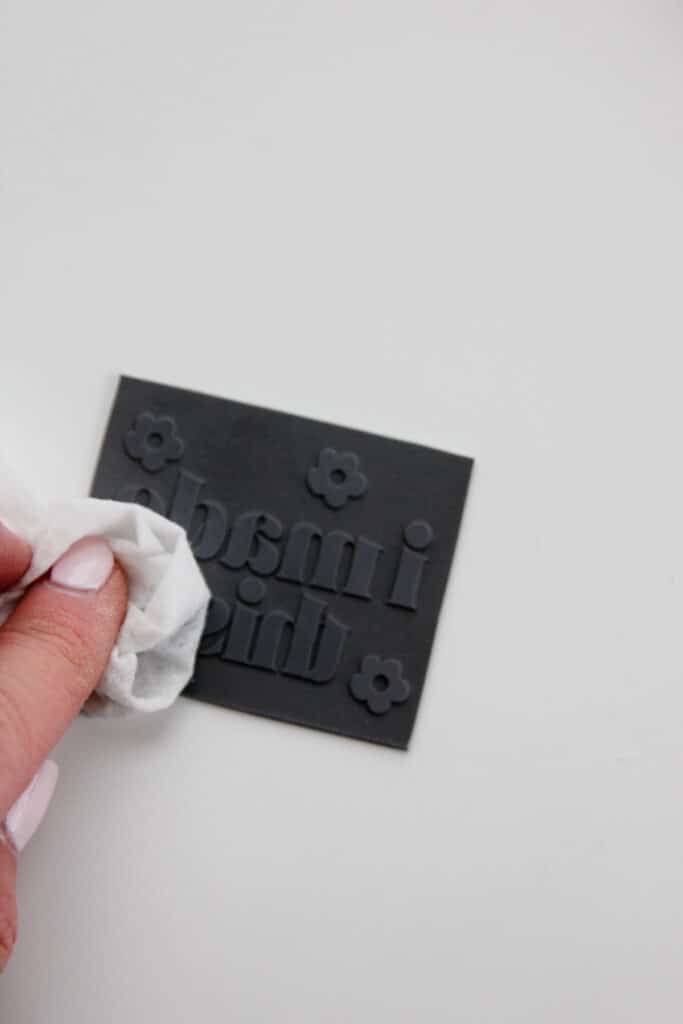
Cut your stamp around the inside of the rectangle making sure to cut off all the outer ridge. Then clean it off.

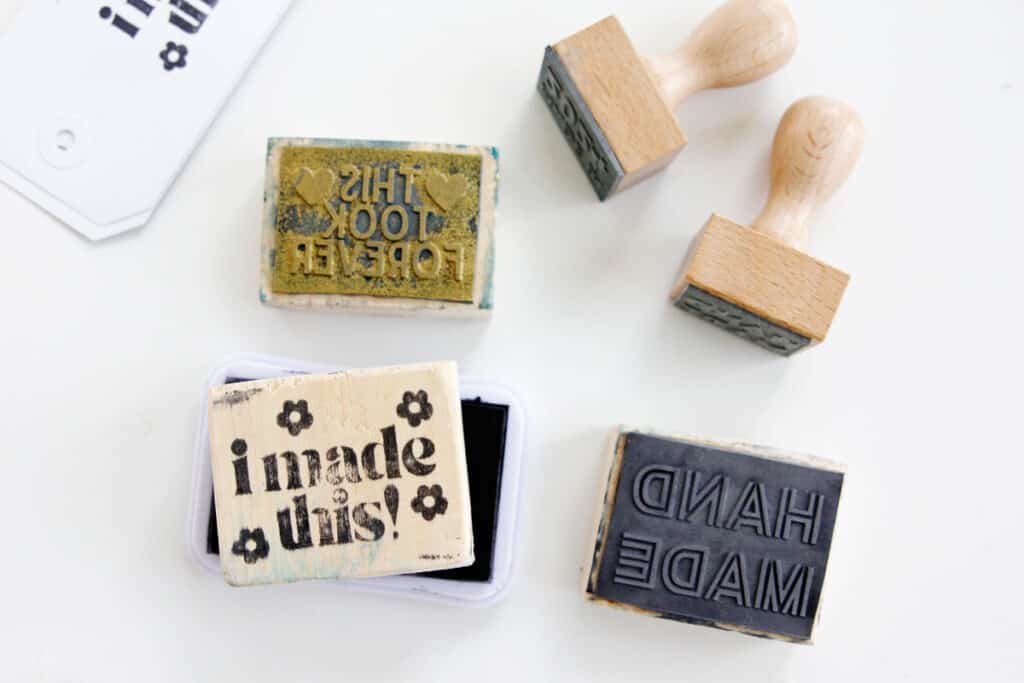
Now we will glue it to a piece of wood or the included wooden stamps, depending on the size. If you are using a block of wood, you can stamp the top before gluing the stamp to the bottom.

Glue it on and let dry.
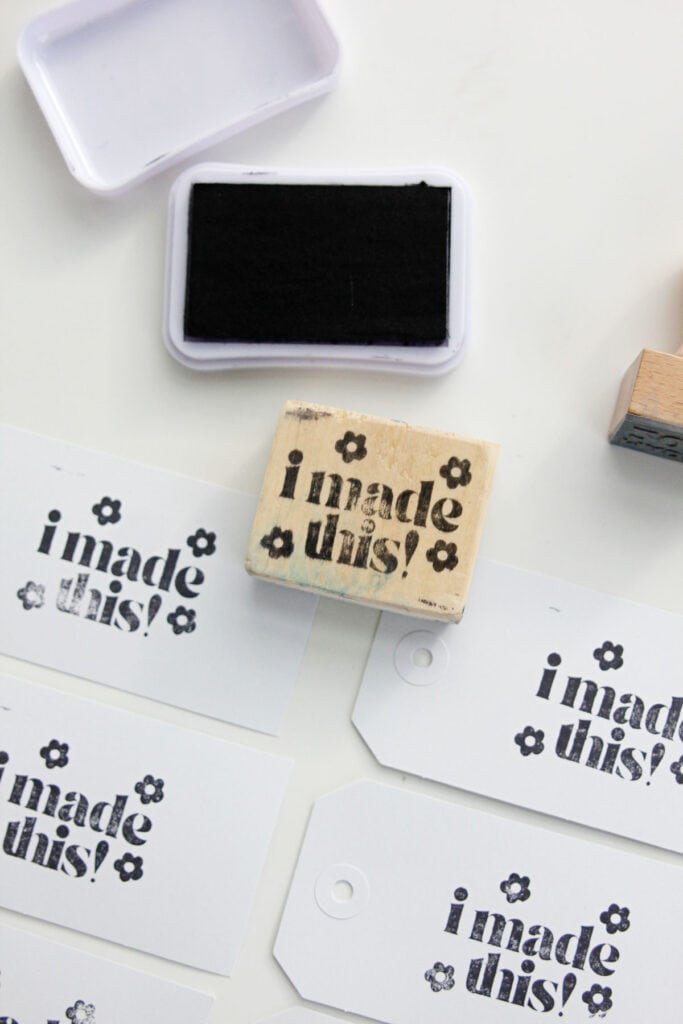
Now stamp away!

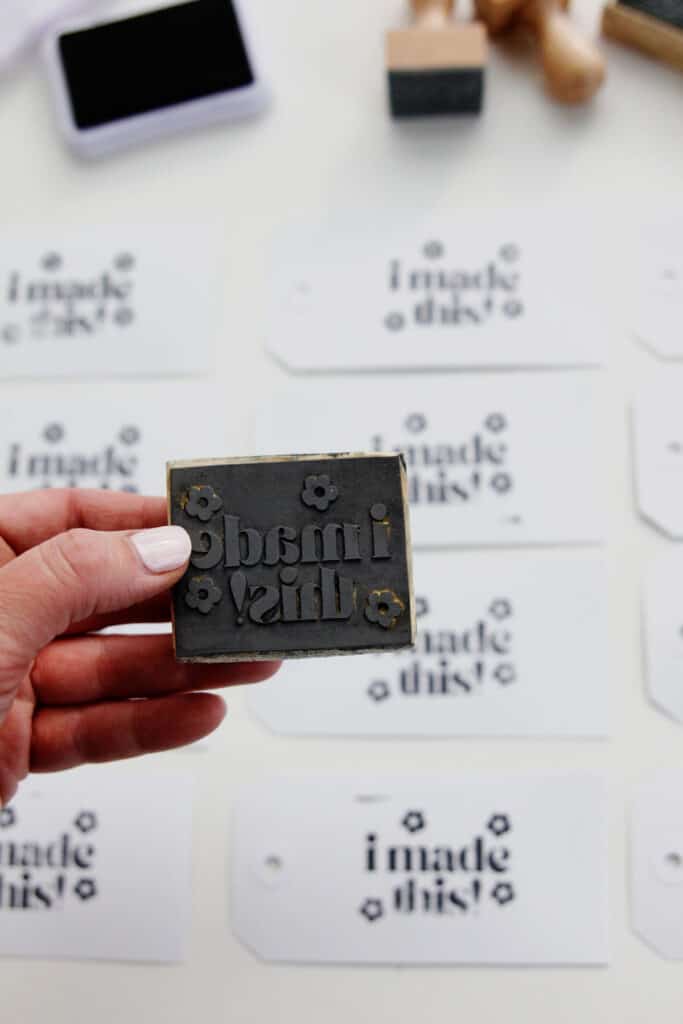
This is a seriously satisfying project!

To see the laser engraved leather tags I made with the xTool F1, see this post!

More projects you might like!

  • xTool M1 Review
  • Learn how to screen print
  • Learn about the Cricut Maker
  • 4 ways to make clothing labels
  • Sewing room vinyl organization labels

1 Comment | Crafts, No Sew, Quilting, Reviews

Exclusive Free PatternRuffled Apron

Sign up for my email newsletter and receive my ruffled apron pattern totally FREE!

We take your privacy seriously. See our privacy policy here. Unsubscribe at any time.

You may also like these posts...

10 BEST SEWING SUPPLIES THAT AREN'T REALLY SEWING SUPPLIES!10 BEST SEWING SUPPLIES THAT AREN’T REALLY SEWING SUPPLIES!The BEST Sewing Machine Table – Sew Station ReviewThanks for holding my quilts Quilt Greeting Card🛍 SIMPLE SEWING – 5 BUDGET SEWING HACKS FROM THE DOLLAR STORE 💰

Reader Interactions

1 Comment

  1. MARILYN NANCE

    02/08 at 10:28 AM

    You made no mention that the engraving tool cost more than $1,500.

Primary Sidebar

  • Facebook
  • Twitter
  • Instagram
  • Pinterest
  • Email

Exclusive Free PatternRuffled Apron

Sign up for my email newsletter and receive my ruffled apron pattern totally FREE!

We take your privacy seriously. See our privacy policy here. You can unsubscribe at any time.

Don’t miss these popular posts!

easy baby dress pattern for the summertime

easy baby dress pattern for the summertime

modern ombre + b/w triangle quilt tutorial + pattern

modern ombre + b/w triangle quilt tutorial + pattern

Fabric

Quilted Cosmetic Case Kiss Me KateKiss Me, Kate FabricOne Hour Granny Square Quilt Tutorial | See Kate SewModern Granny Square Quilt Whole Cloth

Pattern Hacks

Easy Baby Summer Dressthe EMMA pattern | See Kate SewThe EMMA Dress

Footer

Hello friends!

My name is Kate, a twenty something fashion lover and mother of two. When I’m not chasing kids you can find me at my sewing table or daydreaming up new designs. You can read more about me here. Thank you for visiting!

8a918f8da8e0e69102dc0f33a718de85a99c31a57283e0e3e2

FOLLOW ME HERE

  • Facebook
  • Twitter
  • Instagram
  • Pinterest
  • Email
  • Blog
  • About
  • Contact
  • FAQ
  • Sponsor

Copyright © 2025 See Kate Sew  •  All Rights Reserved  •  Privacy Policy  •  Site Design by Emily White Designs