This post is sponsored by Babylock.
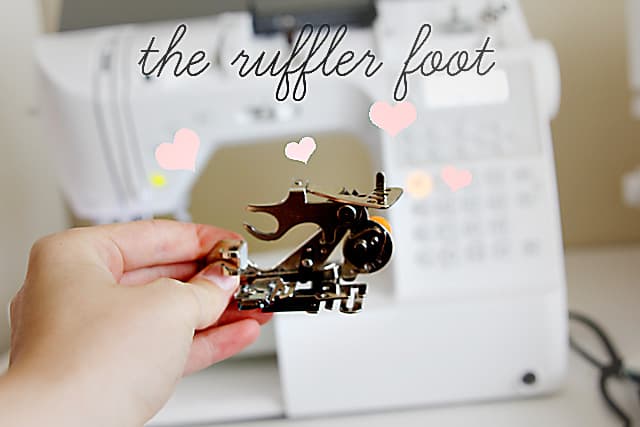
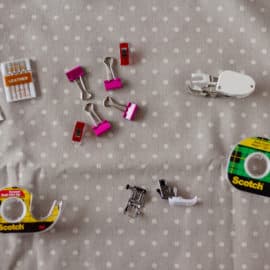
The ruffler foot has yet to make an appearance in Ruffles 2013! What would RUFFLES be without the ruffler foot? I just wanted to revisit with my very favorite machine foot: the ruffler. I wrote a post about this foot in my first ruffles event and showed you some cool things you can do with it. I bought my ruffle foot![]() on Amazon, it’s generic brand and fits a lot of machines.
on Amazon, it’s generic brand and fits a lot of machines.
One of my favorite parts about the Melody machine (and a big reason I got a Babylock) is that it takes all my old machine feet! Yes, the binding foot, ruffler foot, piping(welting) foot, the pintuck foot, the narrow rolled hem foot and on and on! Some dealer machines have specific feet made only to fit their brand and they cost a fortune. But all of my generic feet fit on the Melody! Hooray!
Here’s a little review of how to use the ruffler foot.
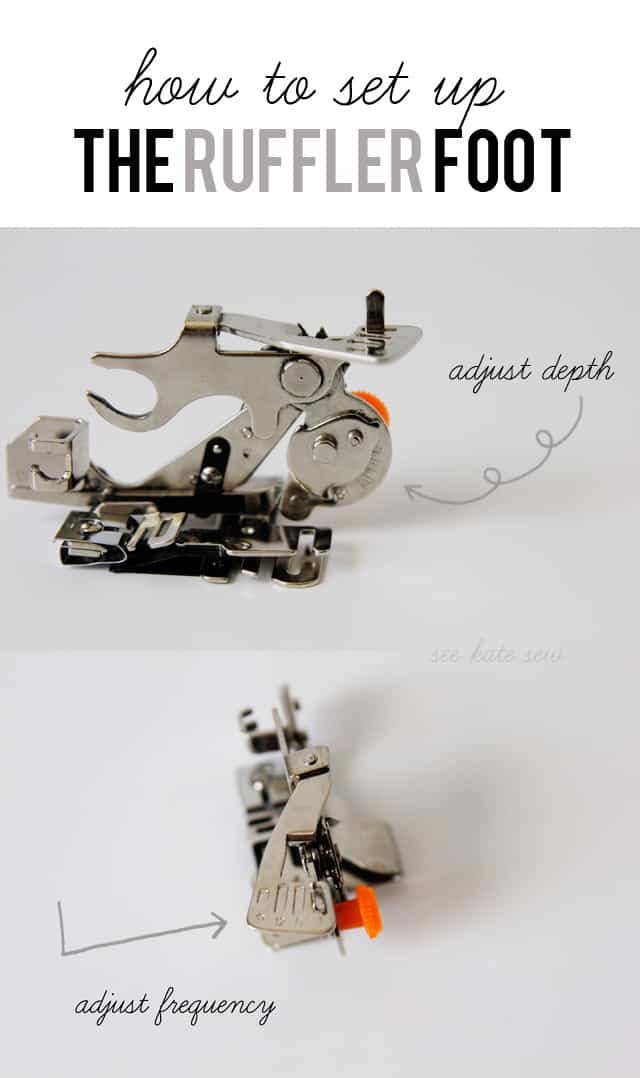
The side of the ruffler foot has an orange knob with a little dial on the other side. Loosen the orange screw and turn the dial to the depth you want your “pleats” to be. The measurement is in mm from 0 to 8mm. I prefer somewhere in the middle so the pleats appear more like gathers.
The top of the ruffler foot has 4 notches and a little bar. Each notch has a number *, 12, 6, 1 which is the frequency of pleats. The star means don’t pleat. 12 means pleat every 12 stitches and so on. Move the bar into the frequency notch that you want. I prefer every single stitch for serious ruffles, so I usually have this bar in #1.
The ruffle foot snaps right into your presser foot holder. Unscrew your normal presser foot, remove it and stick the ruffler in it’s place.
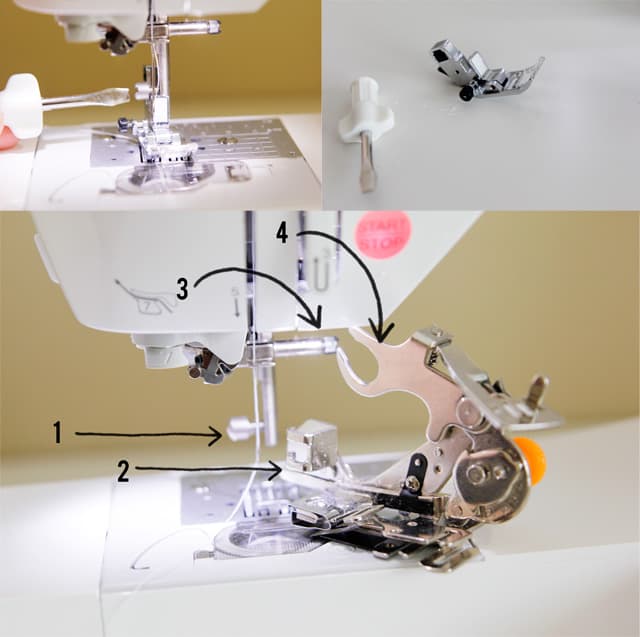
The screw (#1) will tighten over #2 and the claw like part (#4) goes over the bar (#3). It’s really simple to install, but you may have to raise the claw part to make sure it reaches the bar.
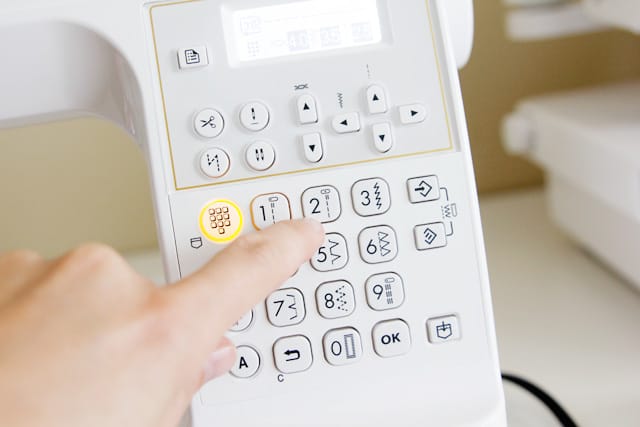
Now make sure your needle is in the CENTER position. I used stitch #2 on my Babylock. This is super important because if you leave it in a left or right position you will break a needle!
Now insert your fabric underneath the plastic black piece and start sewing. The black piece moves as you sew, pleating your fabric in perfect little gathers.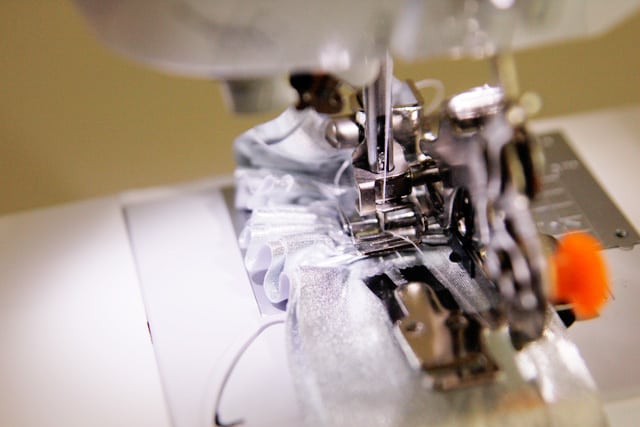
A few tips:
-I recommend threading your needle before installing the ruffler foot as things get tight in there once it is installed.
-Double check that your needle is in the center position so you don’t break a needle!
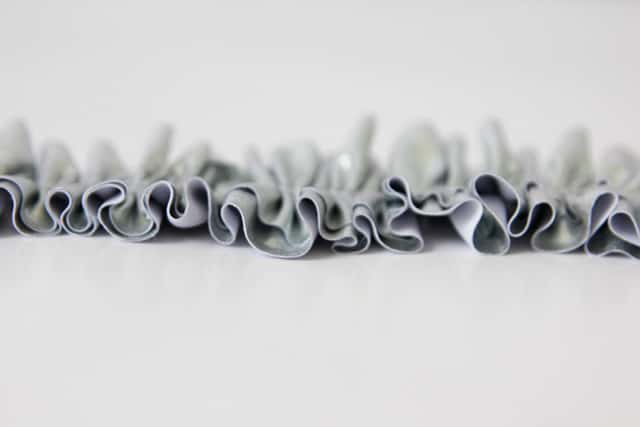
I’ll be back later with a quick and cute project using the ruffler foot and this metallic ruffle seen above!


Great tutorial! That little claw piece makes the ruffler look like so scary! That, and all the pieces and dials. :) I’ve linked to your tutorial over at Craft Gossip:
http://sewing.craftgossip.com/tutorial-using-a-ruffler-foot-to-gather-fabric/2013/09/09/
–Anne
Wish I had seen this a few months ago! The ruffler foot almost made me loose my “religion”! The instructions from the company making them did not open up when I needed it. Be careful as the foot actually rubbed metals off my machine-where #4 hangs over the bar, #3! I kept seeing black, oily stuff on my huge project and couldn’t figure out where it was coming from until I was finished and took the foot off. My machine is 30+ years old so that might be the problem, but then the foot is not universal!
I have a ruffler that came with my purchase of a 1947 Singer Featherweight and until now did not know how to use it. Thank you so much for your blog.
Thank you
Thank you so much for this. I was cleaning out my cabinet drawer and found a really old one. Now to see if it works. Otherwise I was going to throw it out. Thanks!! :-)
I have been using my ruffler (gathering) attachment ever since I started sewing. The first machine that had one was a Singer 401A. I am lucky enough to have one still, and it does a great job with gathering or pleating for me. Your tutorial is on the mark because it is a strange shaped attachment and can be very intimidating to the uninitiated, good job!