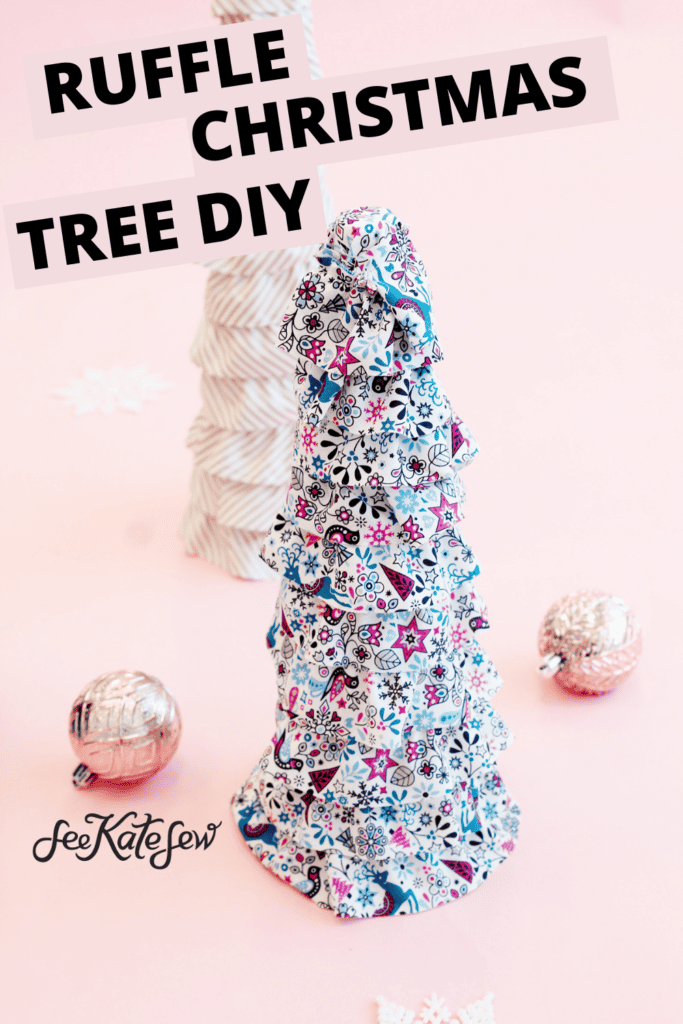
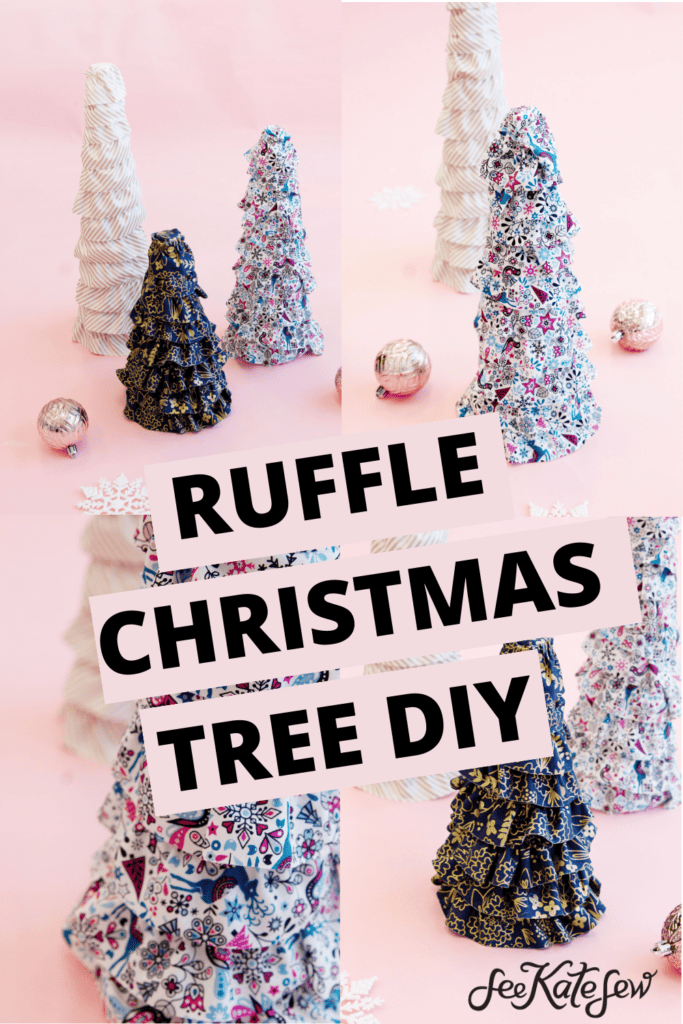
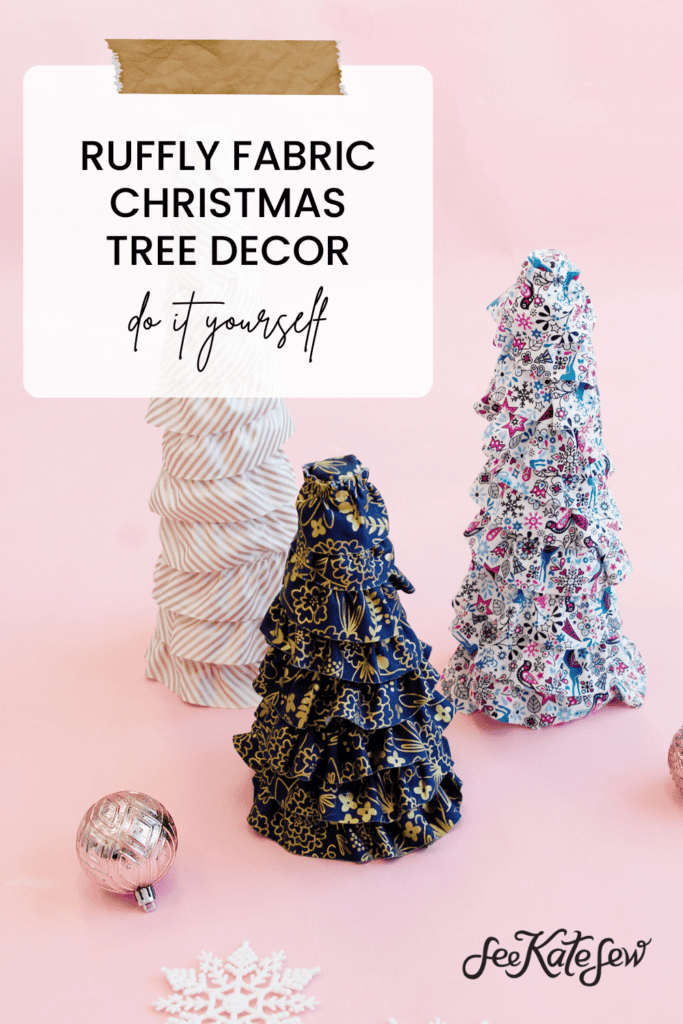
Make an adorable DIY fabric covered styrofoam Christmas tree (or a few!) for your holiday decor this year! These ruffle fabric Christmas trees are fun and simple to sew and are a great backdrop to a Christmas village!

I’ll show you how to make super easy ruffles to attach to your cone. These are simple to make and only require a little bit of sewing.

There are lots of styrofoam Christmas tree ideas, but I had to use fabric! Gluing the ruffles on the Christmas tree cone is really fun, too.

Fabric covered Christmas tree cones are so easy to make! Since we are using bias strips of fabric we don’t have to finish the edges and the edges might fray a little for a shabby chic flair! These will look so good on your mantel!
Fabric Christmas Tree DIY Materials
- 1/2-1 yard cotton fabric
- Styrofoam cones, any size
- Hot glue gun
- Basic sewing supplies such as a sewing machine, rotary cutter, mat and acrylic ruler (I recommend 3″ by 18″ or longer for this project)
Most craft stores have foam cones in a few different sizes. I have heard they have trouble keeping them in stock once holiday crafts start in full swing in December so shop early!
You can also grab ribbon, glitter, beads, bows, yarn, pom poms, buttons or other supplies to add to your tree as ornaments if you want! You can even find a special item for a tree topper.

How to make a Fabric Christmas Tree
To make a fabric covered styrofoam Christmas tree, cut out strips of fabric on the bias. Lots of cutting mats have 45 degree angle lines that will help you cut on the bias grain.
Align your ruler over your fabric and cut strips 1.75″ wide. Trim the angled edge off perpendicular with the strip.
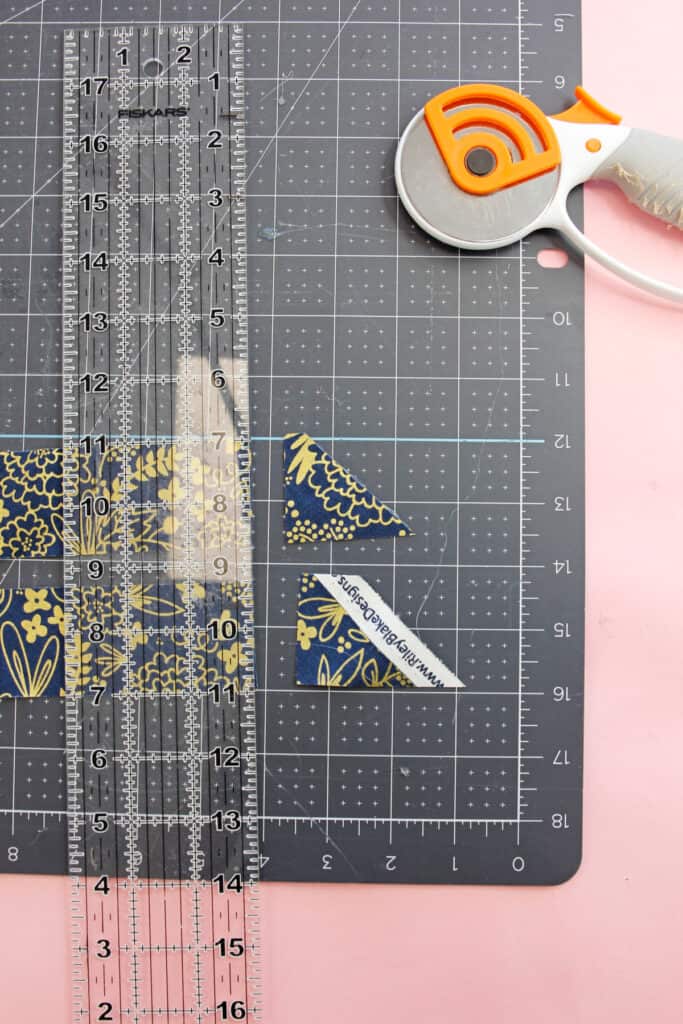
You’ll need at least 10 strips depending on how tall your styrofoam cone is and how long your strips are.
Sew along the top of the strips with 2 gathering stitches, about 1/4″ and 3/8″ from the raw edge. Gathering stitches are wide stitches that allow you to pull the thread to gather the fabric. Use the widest stitch length your machine has.
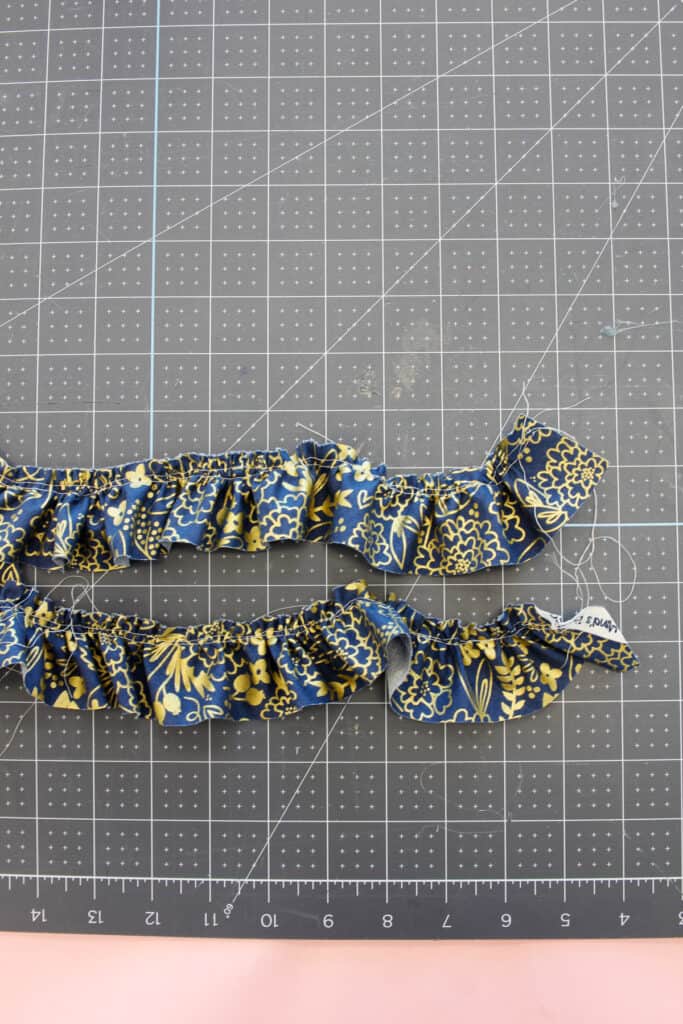
Sewing two rows of gathering stitches will help you get more even ruffles and also prevent the threads from breaking. Read more about creating ruffles here and here.
Pull the threads to gather the fabric. Once your strips are all gathered up, start gluing them. Start at the bottom of the cone and work your way up.
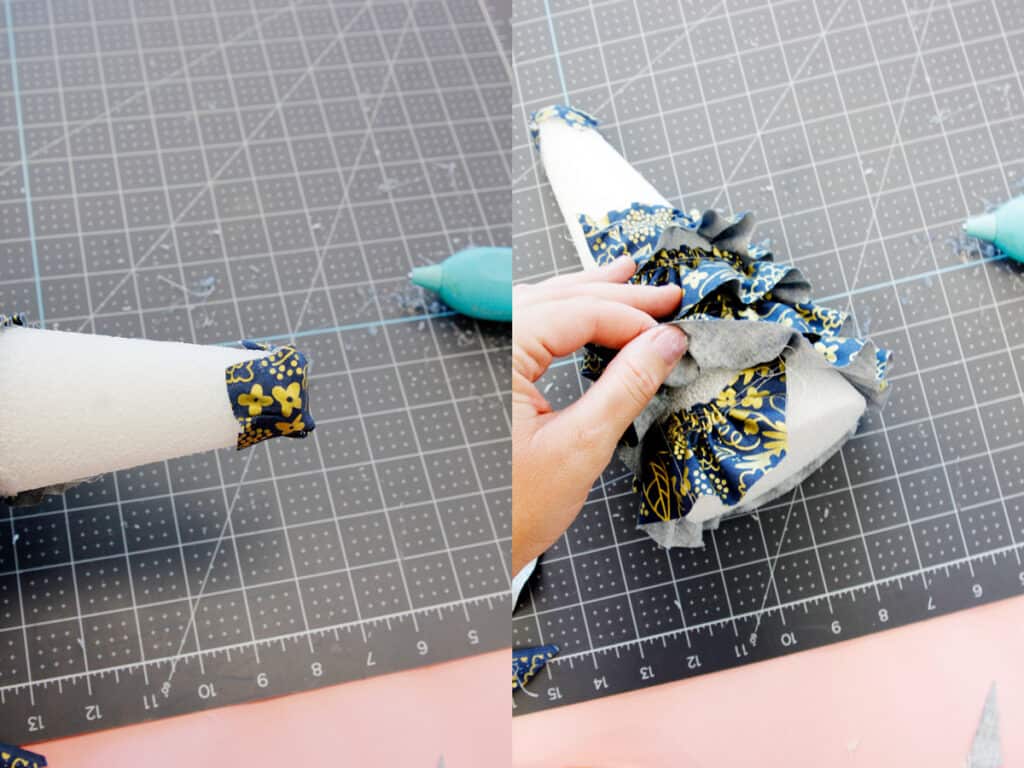
Glue a small fabric scrap at the top of the tree to cover the top.
Glue in a spiral around and up the cone, overlapping the ruffles about 1/4″ to cover the top of the ruffle right below as you go up. When one ruffle strip ends, just glue on another and keep going.
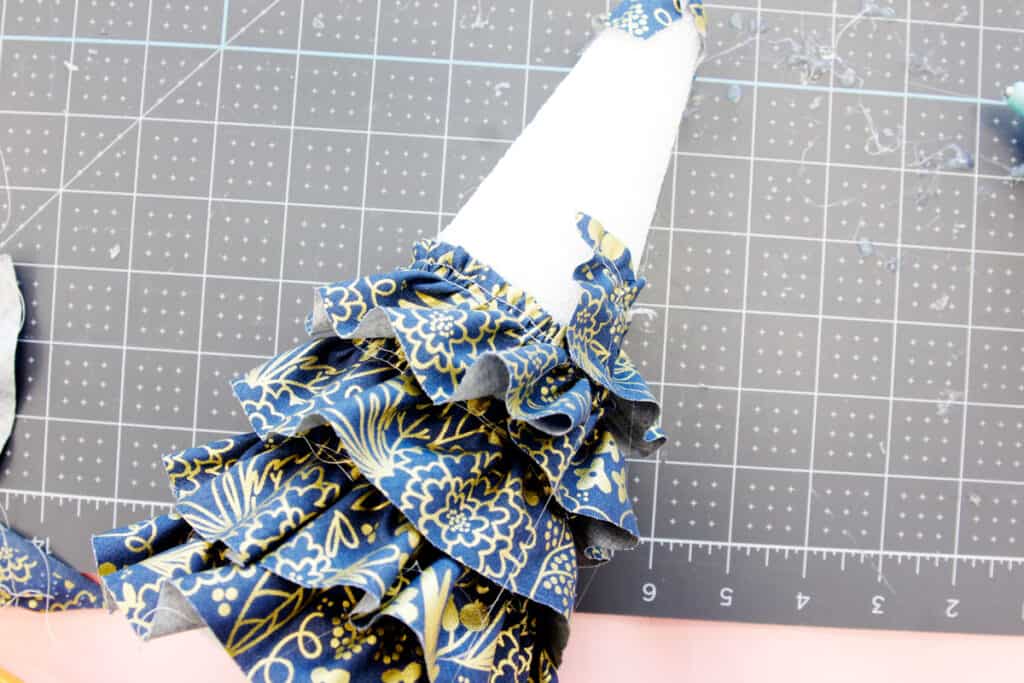
When you reach the top, glue the final ruffle around the top edge. Once the glue has dried a little, but not completely, pull out the gathering threads at the very top of the tree. The others don’t need to be removed since they are covered.
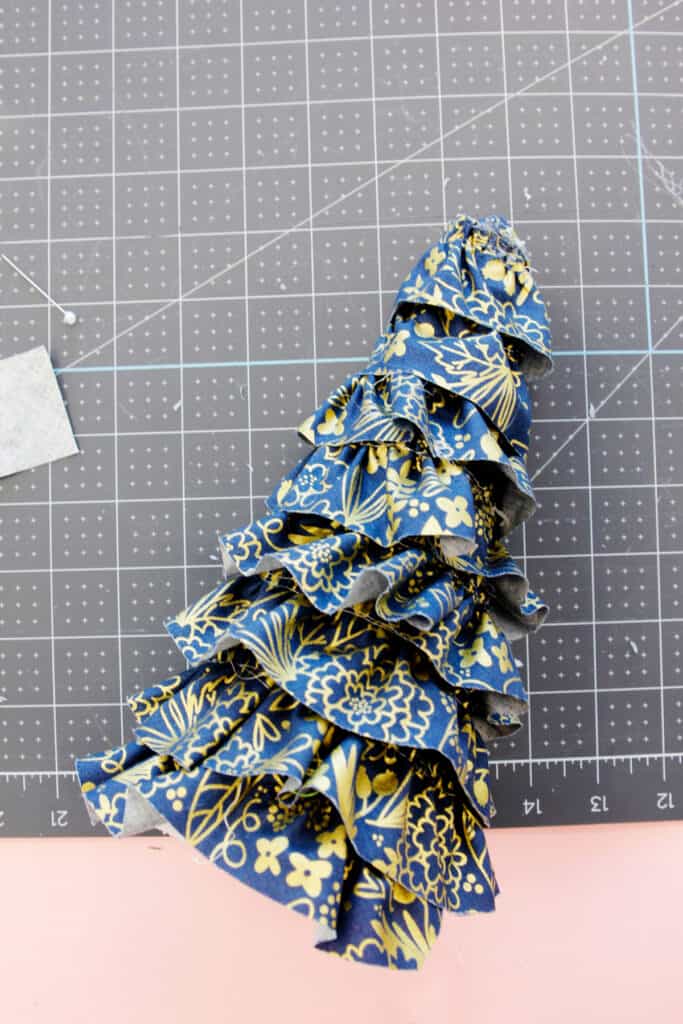
Once the glue is dry you can pull some threads from the bottom edges of the ruffles if you want a frayed look.
No Sew Fabric Christmas Tree
To make this project without sewing, use premade ruffle trim and follow the instructions above.
