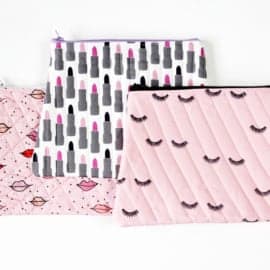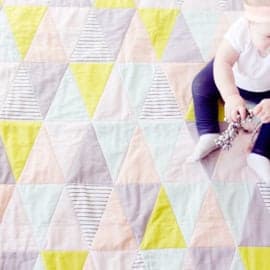
I know that the holidays are over but it's always a good time to be thinking about how to wrap a gift. It's one of my favorite things to do. I got a cute cute(double cute) little gift bag at the store on mega-after-Christmas-clearance and it inspired me to figure out how to make them even smaller. These little bags are about 2.5" wide and 3" tall. Everything is cuter in a smaller version. I drew a template so I can make hundreds more. And made it available for you so you can make hundreds too. Download it here. You need: a ruler scrapbook ...Continue Reading
toy camera tutorial (with LCD screen!)
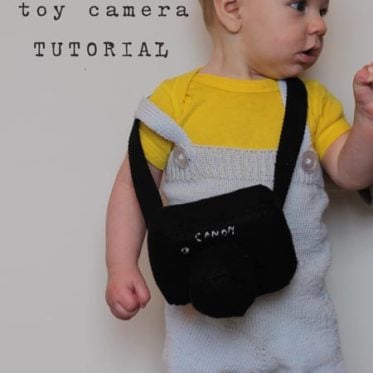
This year's new year's resolution is to take up photography. It's not a traditional resolution, more of a long-term project. I saw a cute toy camera somewhere and had to make one for baby. Had to. So cute. Since he stares at my camera most of the day (what else do you take photos of??), I thought I should get him excited about our resolution.He wasn't too sure about this idea at first. But I think he changed his mind. Or he got hungry. Want one??? Here's a tutorial. You need about 1/4 yard of black felt, a little bit of vinyl and some ...Continue Reading
bead and knot necklace
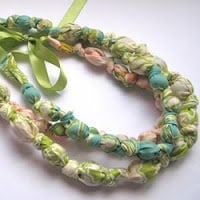
bead and knot necklace tutorial These are so cute to make and not to mention SO easy. Perfect for any girl on your list. And you probably have most of the materials already! I just had to buy some wooden beads. What you need: one strip of fabric 40" by 4 1/2" 10-12 large wooden beads 2 pieces of ribbon 12" long 1. Sew the strip of fabric into a long tube. Turn right side out. 2. Tie a knot in your fabric. 3. Insert a bead into the tube. 4. Tie another knot on the other side of the bead. 5. Keep going until you've used all your ...Continue Reading
ruffled nursing cover tutorial
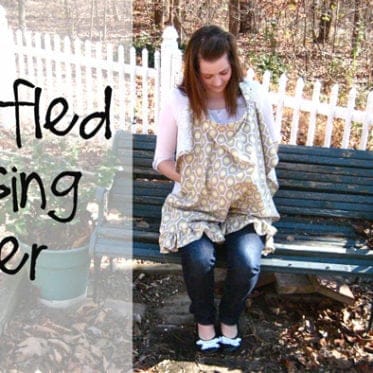
{1 yard} + {1 hour} = {1 ruffled nursing cover} Materials: 1 yard quilter's cotton 2 d-rings 14" boning Cut fabric into these sizes: Piece #1: 38" by 28" Piece #2: 38" by 4" Piece #3: 38" by 4" Piece #4: 24" by 4" Piece #5: 10" by 4" 1. Ruffle Sew pieces 2 and 3 together on the short edge, right sides together so you have a approximately strip 4" by 72". Press seam open. Serge one long edge then fold that edge under 1/2" and press. Stitch in place. Fold under 1/2" on short edge and press. Fold under again and stitch in ...Continue Reading
bucket o’ burpees
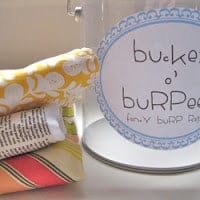
In case you missed this last week at Made by Heidi, here's how to make fancy burp rags and a bucket to put them in. Go over to Made by Heidi to enter to win this one! (It's the last day to enter!!) If you're ever running behind on a baby shower gift, this easy project is fast but oh so cute! I got this idea when I was 10 weeks pregnant and just starting to revel in all the fun things I would get to sew. In a little shop in the mountains Northern California I found the cutest little burp cloths. They were just cloth prefolds with the middle ...Continue Reading
fabric rosette cuff
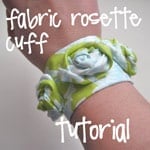
In case you missed this, I'm reposting the fabric rosette cuff tutorial. It was featured on Not JUST a Housewife last week. Fabric Rosette Cuff Materials: Fabric pieces: 1 cuff piece: 4 1/2" by 8" 3 flower pieces: 2 1/4 by 14" 4" of 1/4" wide elastic 1 large (1-1 1/2") button To make the cuff: Fold your cuff piece in half right sides together along the long edge. Sew edge using a 1/4" seam allowance. Turn right side out and press with the seam in the middle of the cuff. Press under 1/4" on both short edges. Pin one edge ...Continue Reading
onesie onesie

I love onesies. And by love I mean LOVE! Baby wears one (or two or three depending on how wet and drooly a day we are having) almost everyday. So when I saw this cute onesie stamp at Hobby Lobby for $1 I snatched it up. I knew it would come in handy someday (think of all the cute baby shower invites and favors you could make!) Then I thought "Why don't I stamp it on a onesie!" Clever, I know. All you need for this project is a onesie, a stamp (bonus if the stamp is onesie too!), and fabric paint. I happened to have fabric stamping ...Continue Reading
oscar de la renta knock-off
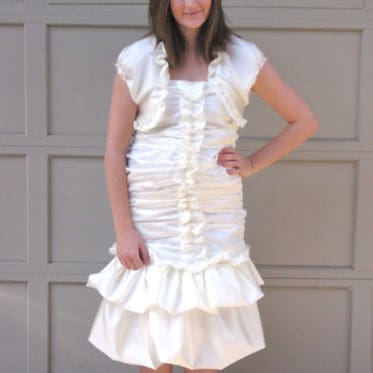
{knocked off the runway} I'm in love with dresses. Expensive ones. (Actually I like most expensive things.) So when I saw that Abby at Sew Much Ado was hosting a Copycat Challenge, my fingers went straight for the toolbar and typed in "Oscar de la Renta." I often browse his recent wedding collections even though I don't need a wedding dress (I'm happily married to a keeper). But there is just so much passion in a wedding dress that can't be found in any other piece of clothing. A "one time, best day of my life, look-like-a-million-bucks" ...Continue Reading
flowerburst bangle
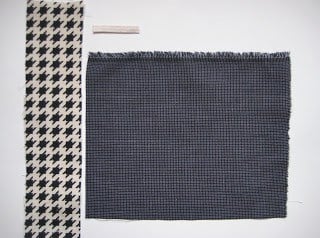
Flowerburst Bangle Tutorial Frayed edges and exposed stitching gives these cute bangles a deconstructed look. Layer them up or wear them alone. I love wearing "flowers" on my wrist, like a corsage. These bangles are made with sturdy fabric and just a little elastic to make them easy to get around your wrist. Materials: 2" by 8.5" rectangle of fabric, home decor weight works best, for the bangle 6" by 6" piece of quilting weight cotton for the flowers 1.5" of elastic 1. Press edges of bracelet fabric until they meet in the middle, ...Continue Reading
soothie pacifier clip
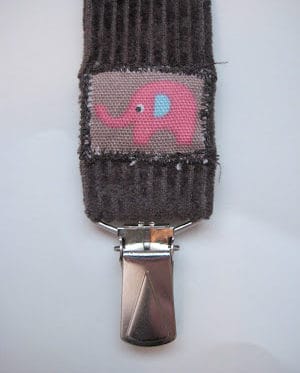
I love pacifier clips because they really reduce mommy paranoia. I never knew I could be so paranoid about something falling on the floor! I've been making pacifier clips for baby's regular pacis. His friend Jackson needed one too, but he likes the Soothies and they don't have a handle so a normal pacifier clip wouldn't work. So here is a solution for our Soothie sucking friends: Materials:2 3/4" by 11" rectangle of your choice fabricsuspender clip8 inches of thin ribbon 1. Sew fabric right sides together down the long edge, using a 1/4" seam ...Continue Reading
book wreath tutorial
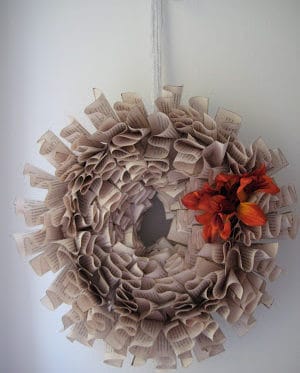
The Recycled Wreath Series #3 The Book Wreath Materials:old bookblack or brown acrylic paint, watered downstraw wreathstaplerflower and glue gun (optional)1. Find a mass market paperback that no one will miss.(I chose a "48-hour mystery". Mysteries scare me and I really don't enjoy reading them so it was the perfect choice. I'm not even sure why I have it...but enough about mysteries.) 2. Paint the edges of the book black or dark brown with a watered down acrylic paint. Let dry. 3. Rip pages out and do the accordion fold without pressing ...Continue Reading