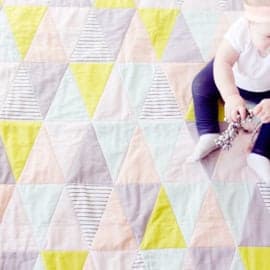
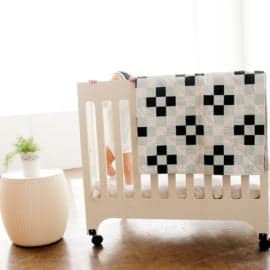
Let's talk about grain.Grain matters. Usually.Every piece of woven fabric has grain. Lengthwise grain, crosswise grain and bias grain. Grain describes the direction of the threads. It's important when sewing, just like woodgrain is important when building. The lengthwise grain is parallel to the selvage edge.Crosswise grain is perpendicular.Bias grain runs at a 45 degree angle from lengthwise and crosswise grain. Bias grain is the stretchiest and has the most give. Crosswise grain is next stretchy. Lengthwise grain tends to have the least ...Continue Reading
CWTS reveal – the book clutch + how-to

Did you see this week's Crafting with the Stars? We got third place- and we're moving on to round 2! Yikes! My project was the book clutch...this is the post:A little vintage book... upon further review is actually a clever clutch. This upcycled clutch is sure to be a conversation starter wherever you go. Made from a vintage book and old bag found at the thrift store melded together to create this little gem of a purse. When your activity doesn't command a large bag, just stash your cell phone, keys and cash in this little clutch. Pair it with ...Continue Reading
DIY ruffle hoodie

Do you have a rainy day shirt? One you only wear on days that are dreary because it always cheers you up? This is mine. I made it about 4 years ago and love to wear it, especially on rainy or sad days. Sometimes I like to hide in the hood. It's hard to fit all my hair in there, but I can stuff most of it in. It's a Forever 21 sweatshirt. Best for winters in California, that aren't really winters. (It's more of a long sleeve shirt with a hood, it's not very thick) I have to wear it under coats now that I'm in the cold south. But ...Continue Reading
a little tutorial for making little books

the japanese stab bind This is an easy technique for making cute little books. All you need is scraps of paper, a hole punch and string of some kind. Step 1: Cut a small stack of paper down to 3" by 3" (or whatever size you want) Step 2: Mark where your holes will go, every 1/2". This sheet will become your template for punching holes. Step 3: Cut covers for your little book from scrapbook paper. Step 4. Put your hole punching template on top of the stack and punch away. Step 5: Get some thread or string. I use waxed linen ...Continue Reading
tiny gift bags
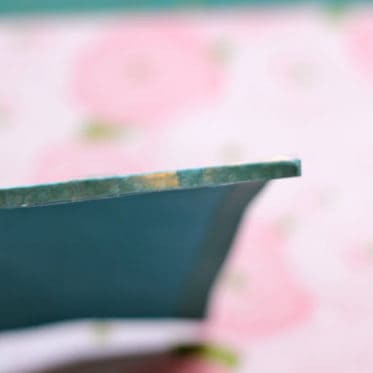
I know that the holidays are over but it's always a good time to be thinking about how to wrap a gift. It's one of my favorite things to do. I got a cute cute(double cute) little gift bag at the store on mega-after-Christmas-clearance and it inspired me to figure out how to make them even smaller. These little bags are about 2.5" wide and 3" tall. Everything is cuter in a smaller version. I drew a template so I can make hundreds more. And made it available for you so you can make hundreds too. Download it here. You need: a ruler scrapbook ...Continue Reading
toy camera tutorial (with LCD screen!)
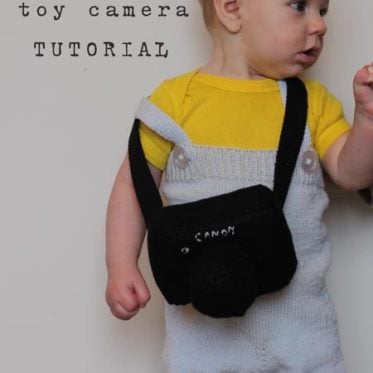
This year's new year's resolution is to take up photography. It's not a traditional resolution, more of a long-term project. I saw a cute toy camera somewhere and had to make one for baby. Had to. So cute. Since he stares at my camera most of the day (what else do you take photos of??), I thought I should get him excited about our resolution.He wasn't too sure about this idea at first. But I think he changed his mind. Or he got hungry. Want one??? Here's a tutorial. You need about 1/4 yard of black felt, a little bit of vinyl and some ...Continue Reading
bead and knot necklace
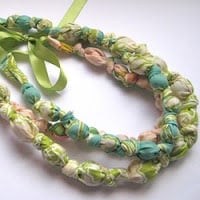
bead and knot necklace tutorial These are so cute to make and not to mention SO easy. Perfect for any girl on your list. And you probably have most of the materials already! I just had to buy some wooden beads. What you need: one strip of fabric 40" by 4 1/2" 10-12 large wooden beads 2 pieces of ribbon 12" long 1. Sew the strip of fabric into a long tube. Turn right side out. 2. Tie a knot in your fabric. 3. Insert a bead into the tube. 4. Tie another knot on the other side of the bead. 5. Keep going until you've used all your ...Continue Reading
ruffled nursing cover tutorial
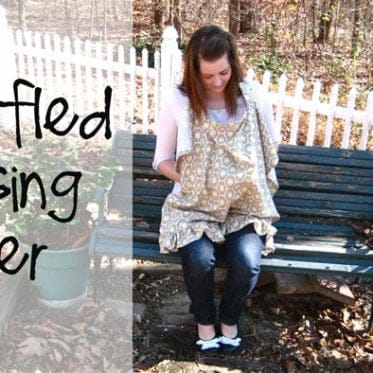
{1 yard} + {1 hour} = {1 ruffled nursing cover} Materials: 1 yard quilter's cotton 2 d-rings 14" boning Cut fabric into these sizes: Piece #1: 38" by 28" Piece #2: 38" by 4" Piece #3: 38" by 4" Piece #4: 24" by 4" Piece #5: 10" by 4" 1. Ruffle Sew pieces 2 and 3 together on the short edge, right sides together so you have a approximately strip 4" by 72". Press seam open. Serge one long edge then fold that edge under 1/2" and press. Stitch in place. Fold under 1/2" on short edge and press. Fold under again and stitch in ...Continue Reading
bucket o’ burpees
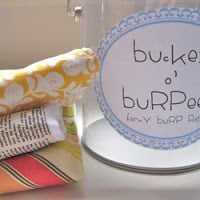
In case you missed this last week at Made by Heidi, here's how to make fancy burp rags and a bucket to put them in. Go over to Made by Heidi to enter to win this one! (It's the last day to enter!!) If you're ever running behind on a baby shower gift, this easy project is fast but oh so cute! I got this idea when I was 10 weeks pregnant and just starting to revel in all the fun things I would get to sew. In a little shop in the mountains Northern California I found the cutest little burp cloths. They were just cloth prefolds with the middle ...Continue Reading
fabric rosette cuff
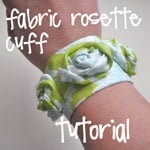
In case you missed this, I'm reposting the fabric rosette cuff tutorial. It was featured on Not JUST a Housewife last week. Fabric Rosette Cuff Materials: Fabric pieces: 1 cuff piece: 4 1/2" by 8" 3 flower pieces: 2 1/4 by 14" 4" of 1/4" wide elastic 1 large (1-1 1/2") button To make the cuff: Fold your cuff piece in half right sides together along the long edge. Sew edge using a 1/4" seam allowance. Turn right side out and press with the seam in the middle of the cuff. Press under 1/4" on both short edges. Pin one edge ...Continue Reading
onesie onesie

I love onesies. And by love I mean LOVE! Baby wears one (or two or three depending on how wet and drooly a day we are having) almost everyday. So when I saw this cute onesie stamp at Hobby Lobby for $1 I snatched it up. I knew it would come in handy someday (think of all the cute baby shower invites and favors you could make!) Then I thought "Why don't I stamp it on a onesie!" Clever, I know. All you need for this project is a onesie, a stamp (bonus if the stamp is onesie too!), and fabric paint. I happened to have fabric stamping ...Continue Reading