1. cutting fabric
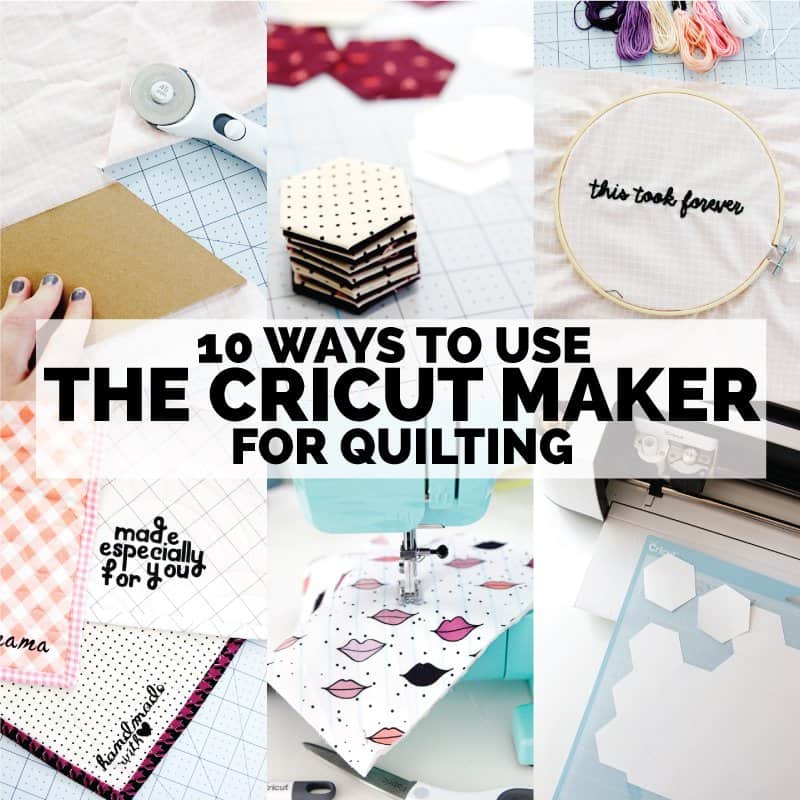
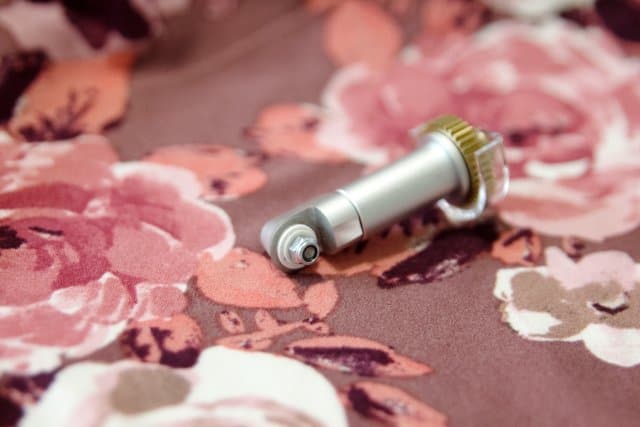
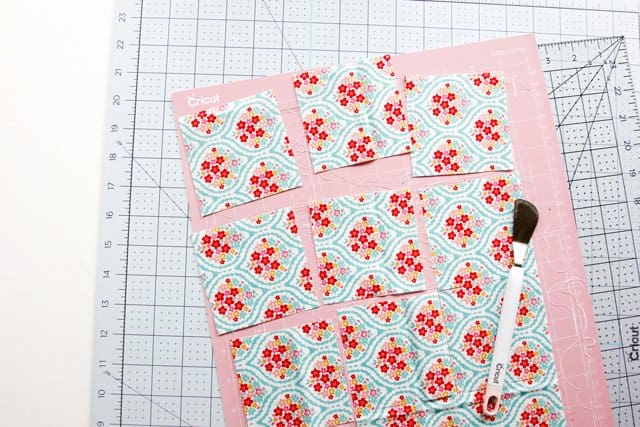
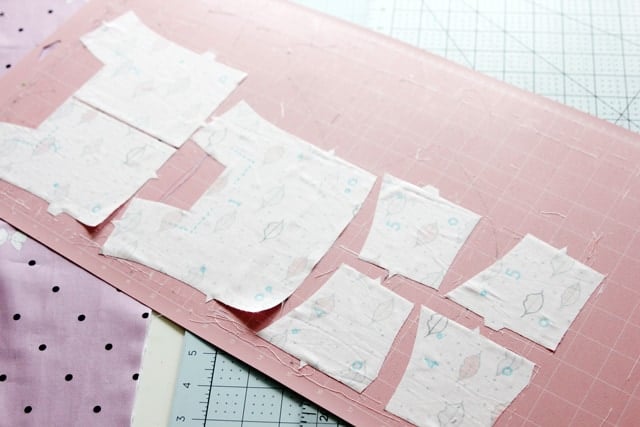
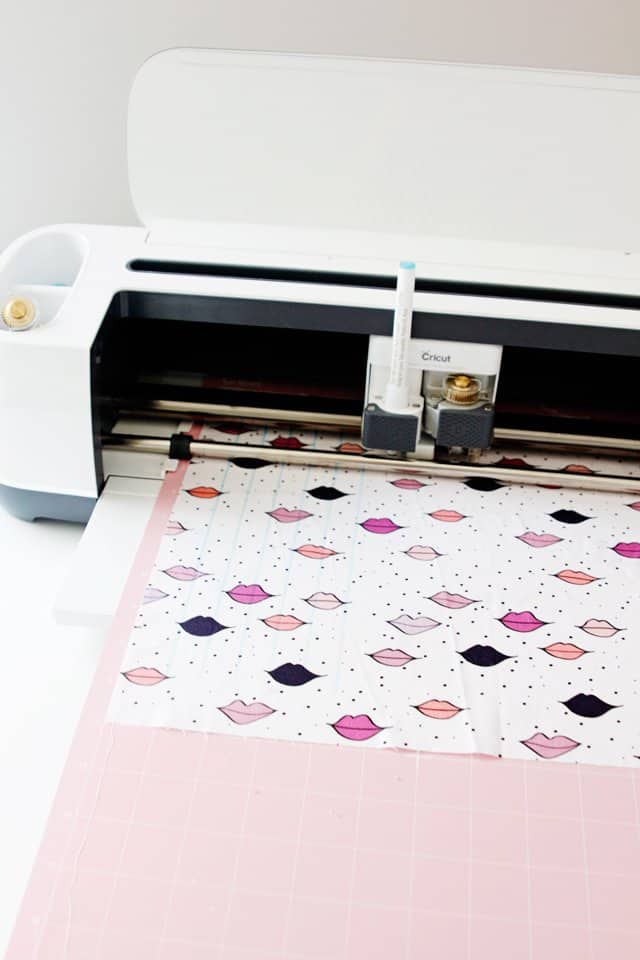
If you’ve read a few of my blog posts in the last year, you’ve probably seen the Maker featured! The Cricut Maker cuts out fabric without the fabric needing a backing with a brand new rotary cutter blade! You can just stick it right on – pretty much any type of fabric! This is the first machine from Cricut that does this and it’s pretty revolutionary for the sewing and quilting world! The Maker not only has the rotary cutting blade, but also special mats for fabric and the cutest sewing accessories to go with it! Hundreds of types of fabrics have been tested on the machine and I’ve tested quite a few myself! Read this post about Cutting Fabric with the Cricut Maker to learn all about how the machine cuts fabric, how to care for the FabricGrip mats and more tips!
2. adding iron-on labels to QUILTS
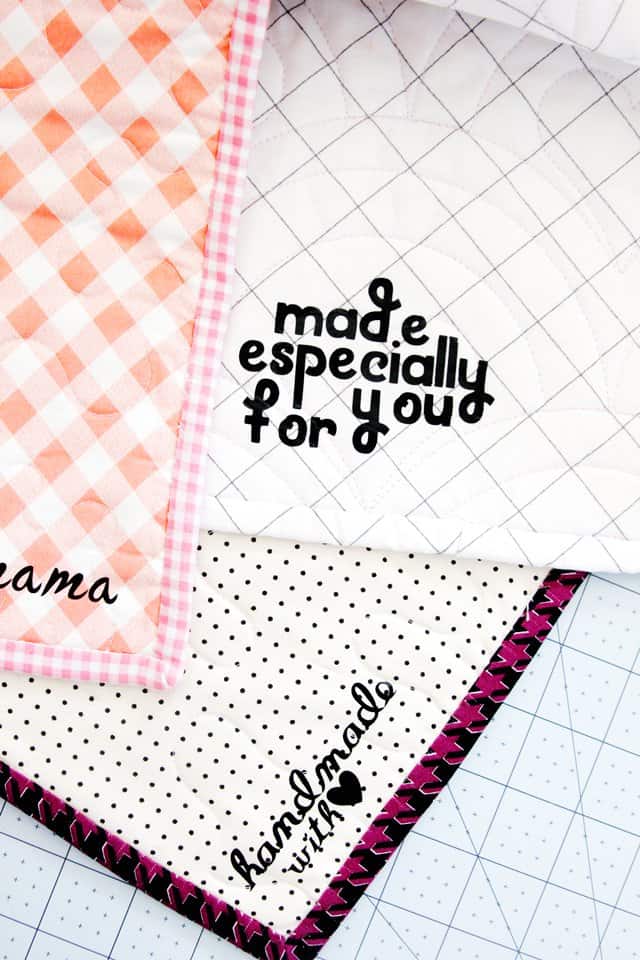
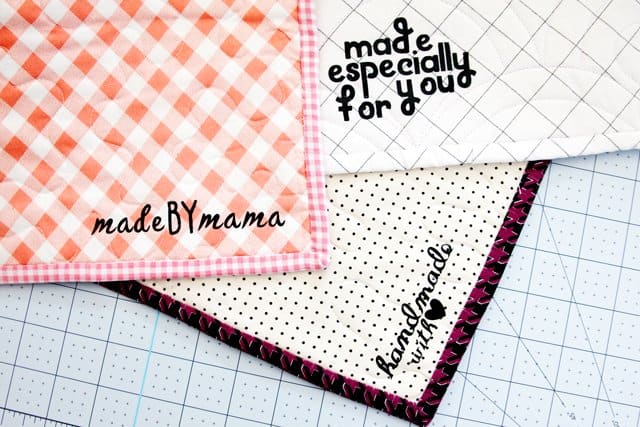
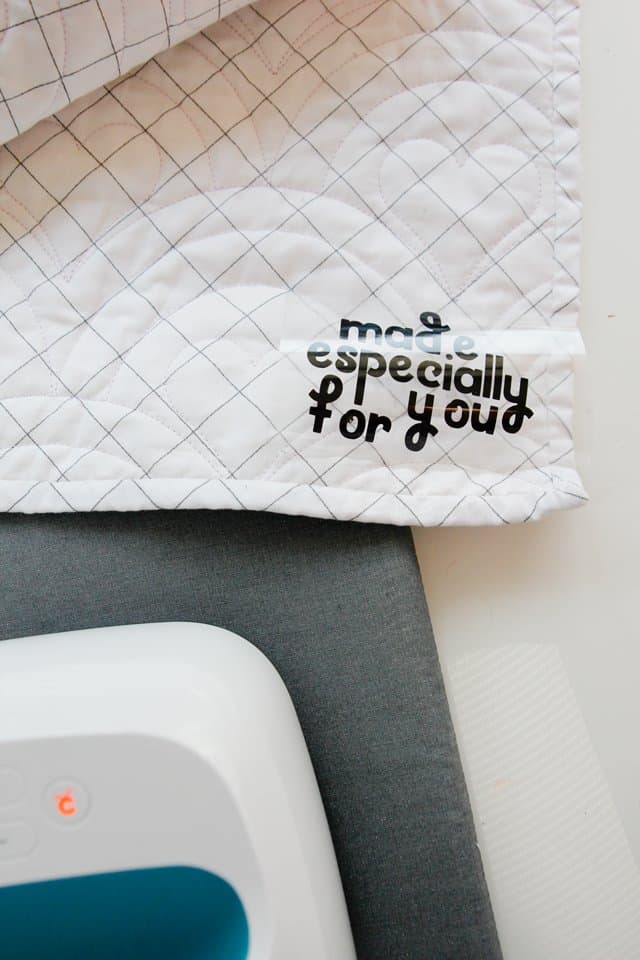
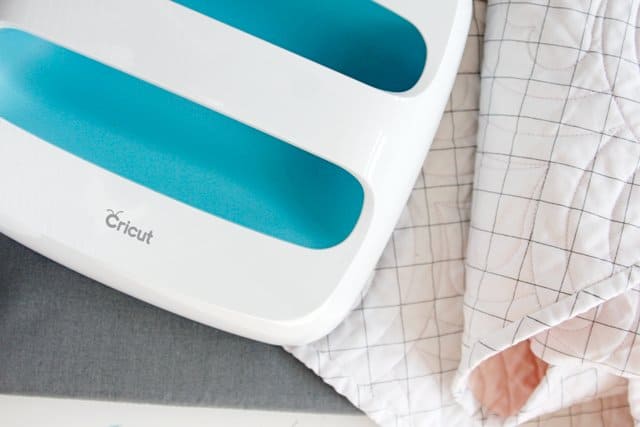
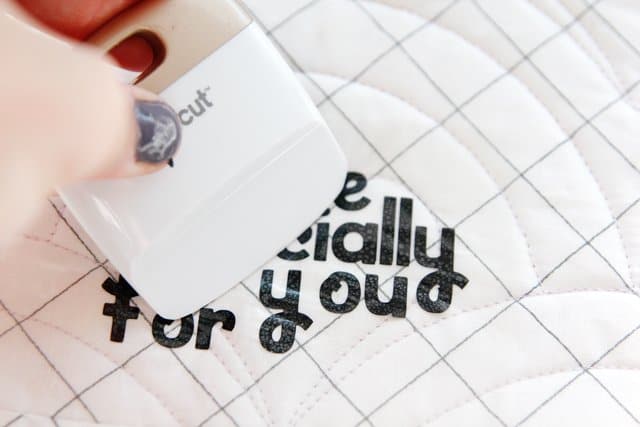
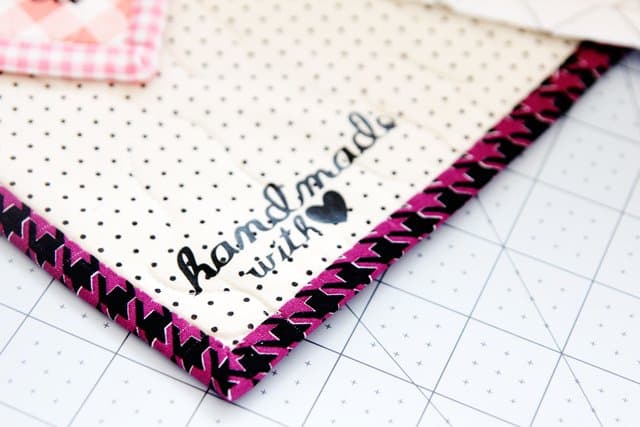
This is a fun one! With a tiny scrap of iron-on vinyl, you can cut a label and add it to your quilt or other project. Since the Cricut Maker also cuts vinyl and paper like any other Cricut machine, I find myself using it for much more than just cutting fabric. These little labels are available on Cricut Design Space, just load up iron-on vinyl and cut them out. I used my EasyPress to fuse them to my project and love the personal touch they add! The little set that I created includes the following:
- Made especially for you
- Made by Mama
- Handmade with <3
- THIS TOOK FOREVER
–Handmade Quilt Labels Project on Design Space
–Black Iron-on Vinyl
–Cricut EasyPress
–Cricut EasyPress Mat
Always make sure to “Attach” the design to the canvas before proceeding. And then click “Mirror Image – ON” so it turns out right. The settings of the EasyPress will depend on the fabric you are using, you can review the heat and timing settings chart here.
You can fuse these directly onto your project or fuse them to a piece of cotton or canvas and create an attachable label! I use the little scraper tool to make sure to press the label down well. Since I attached these after quilting the entire quilt, it is a bit thicker and trickier to get it to stay. To make it easier, add the vinyl label before you add batting and backing!
If you’re sewing apparel you can also use the same idea to create size labels (so helpful when sewing for kids!) Just make your own using the text function in Design Space, cut them out and iron them on.
3. drawing with washable fabric pen FOR EMBROIDERY DESIGNS
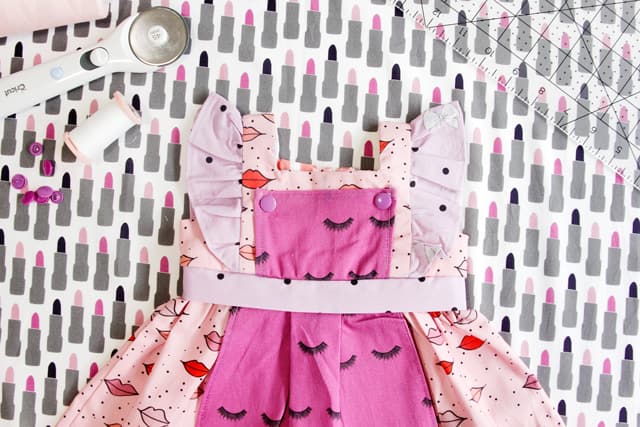
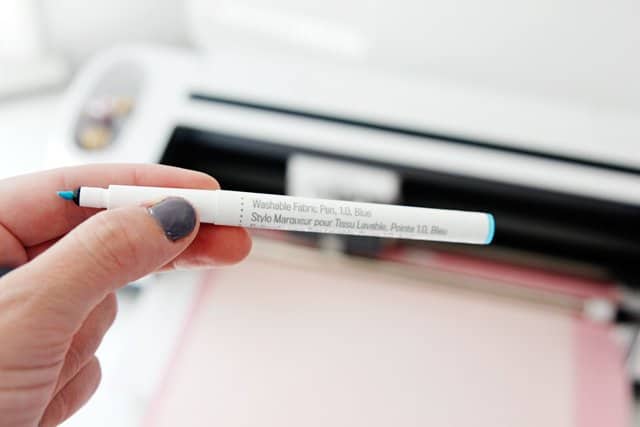
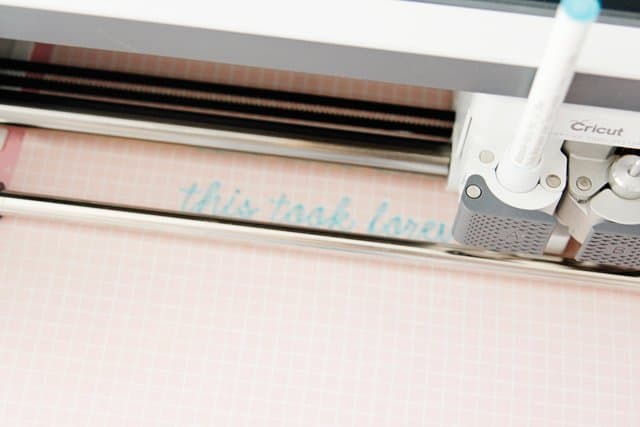
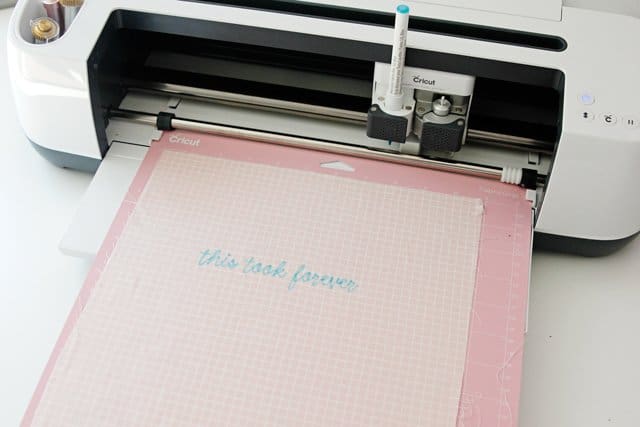
The washable fabric pen blows my mind every time! This marker has a spot in the Maker’s adaptive tool kit. When you’re cutting fabric you can just snap it in and the maker will mark fabric points that you need. This was incredibly helpful when I made this simplicity baby dress but can also be super nice for adding cute designs to a quilt top!
–-Washable Fabric Pen
-Embroidery Needle + Thread
–-“This Took Forever” Design in Design Space
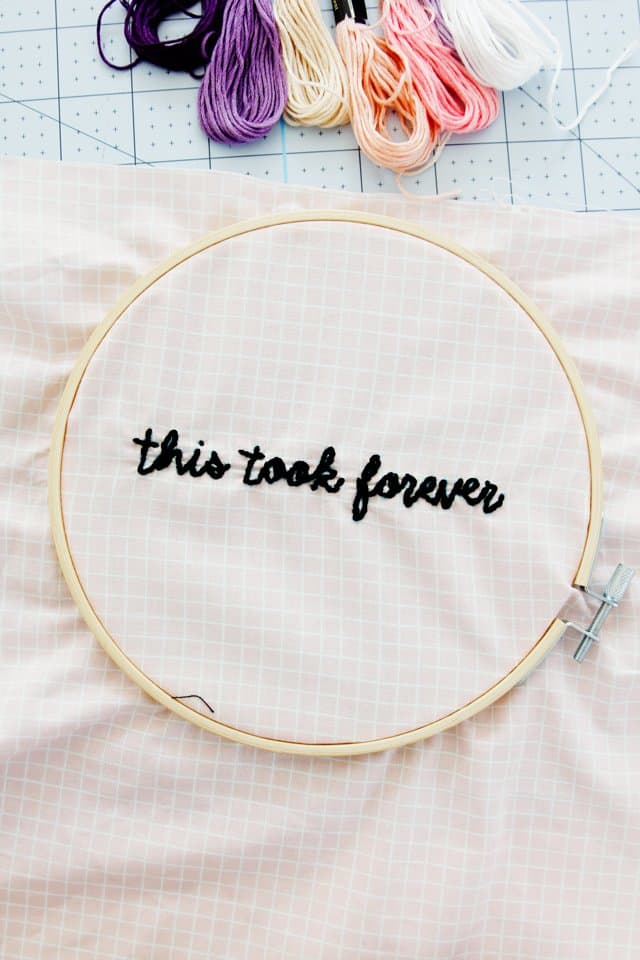
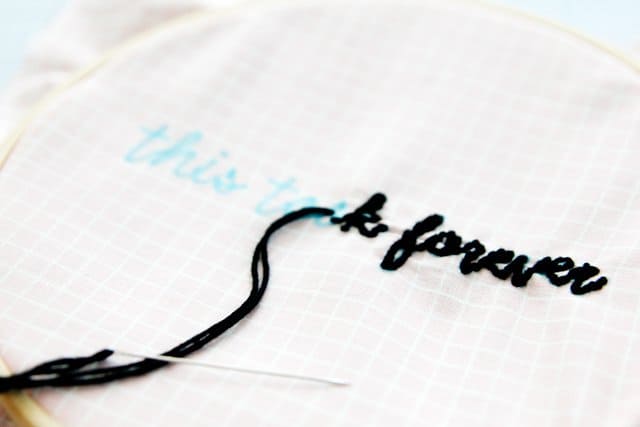
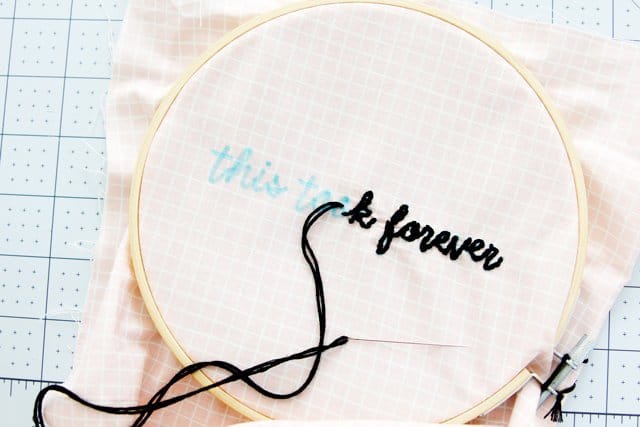
I created the “this took forever” design using the font Emiline in Design Space! It’s a perfect cursive font for tracing with embroidery thread. Use it to create your own design!
For this, use the washable fabric marker to write on your fabric before piecing it together! I like to do this on a piece that will be in a little corner of the quilt.
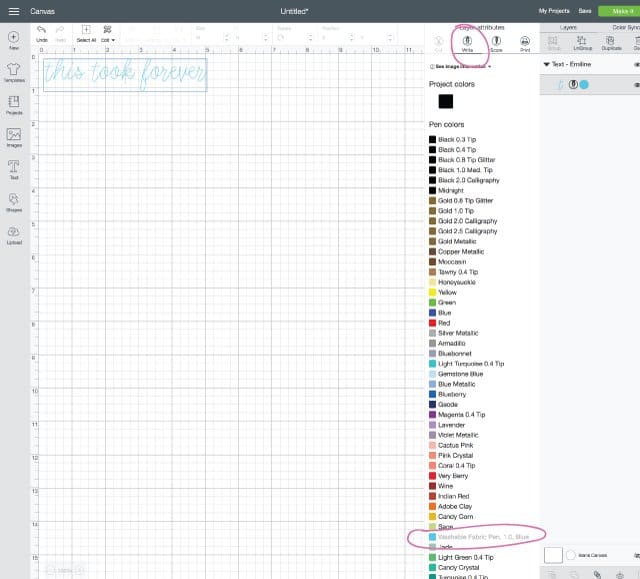
Change the black cut or write line to a blue marker line in Design Space. To do that, click on the colored box and find the light blue color that means “washable fabric marker”.
This tells the machine to WRITE with the washable fabric marker instead of cut.
Load the fabric on the mat, making sure you place the design where you want it on the canvas in Design Space. I like to put it kinda in the middle so I can get an embroidery hoop around it!
Use the lines the Maker drew as an embroidery pattern and then turn it into a quilt block! The blue will wash off when you wash the quilt.
4.cutting hexagon paper piecing pieces LIKE A BOSS
-Hexagon Shapes in Design Space
-Cardstock
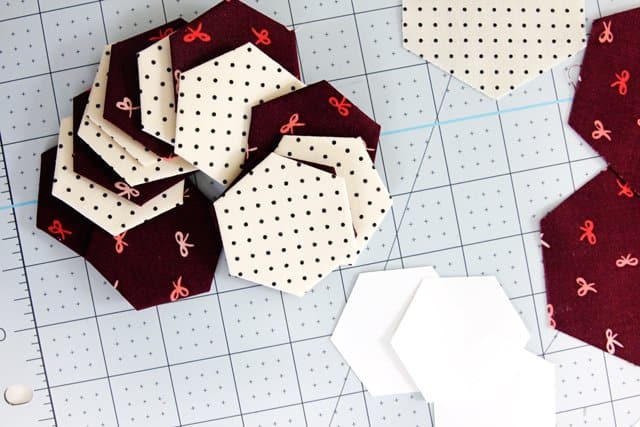
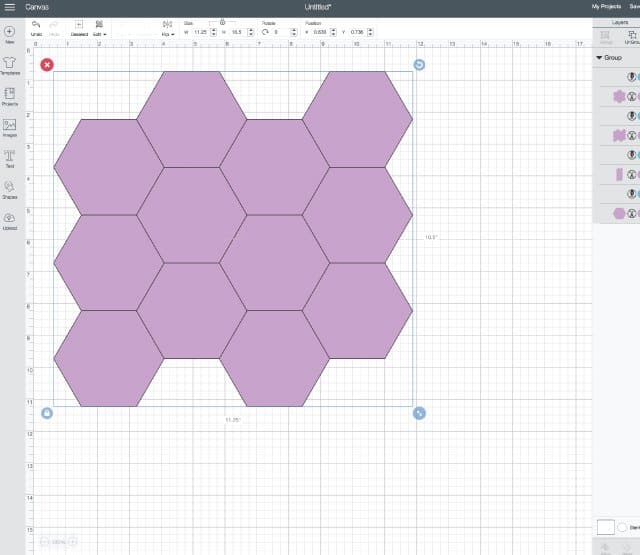
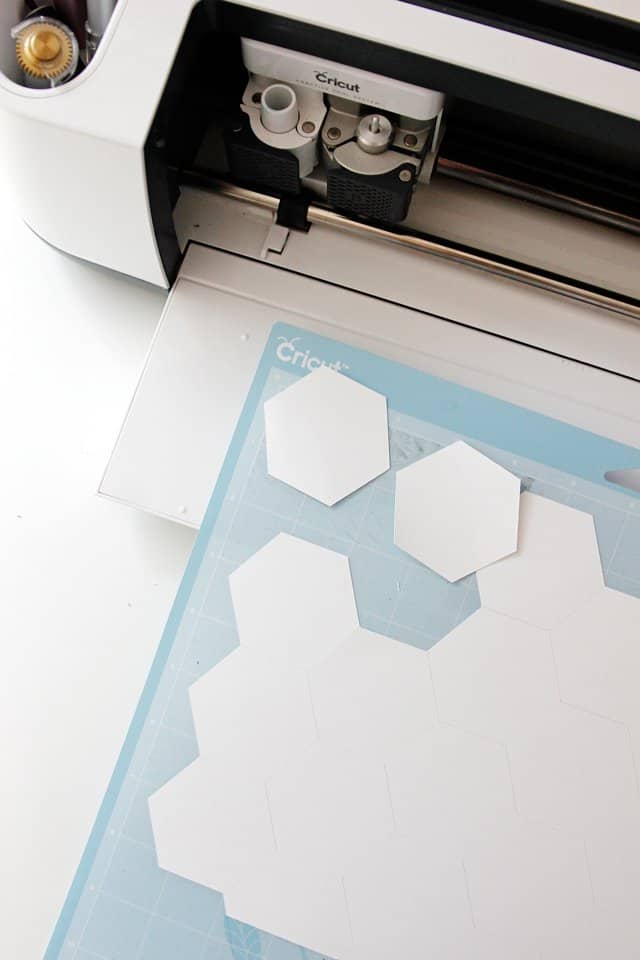
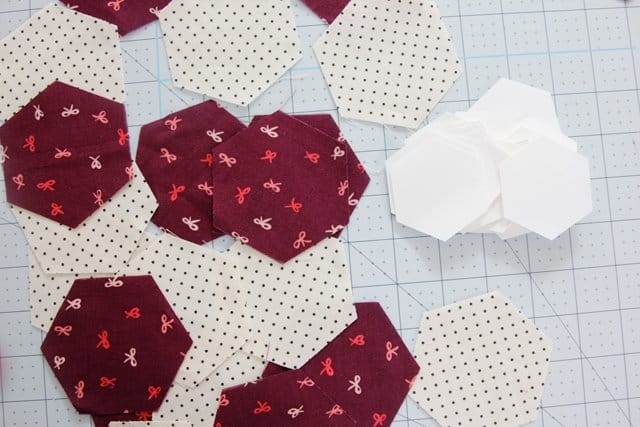
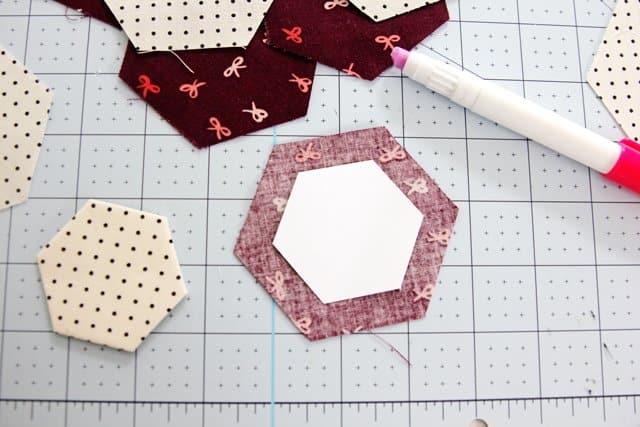
I’ve only ventured into Hexagon Paper Piecing a little bit, but the idea of finding all those little papers was always a stumbling block for me. With the Cricut Maker, I can cut my own right from the machine! Total money saver and no trips to the store if you run out! There are hexagon shapes preloaded and ready to go in Cricut Design Space.
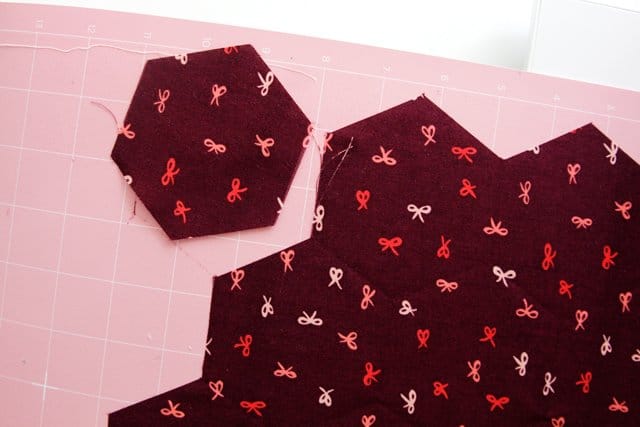
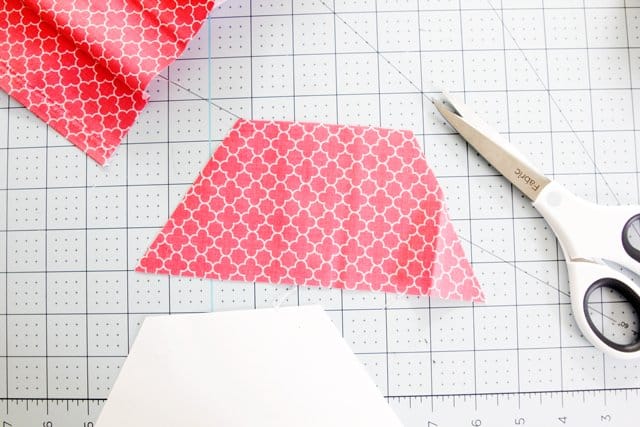
These are made to cut fabric right out, so you can do that as well. To cut the paper pieces out, you’ll need to choose the full size you want and then choose one .5″ or 1″ bigger for the fabric shapes!
Choose .5″ bigger if you want 1/4″ seam allowances. Choose 1″ bigger if you want 1/2″ seam allowances.
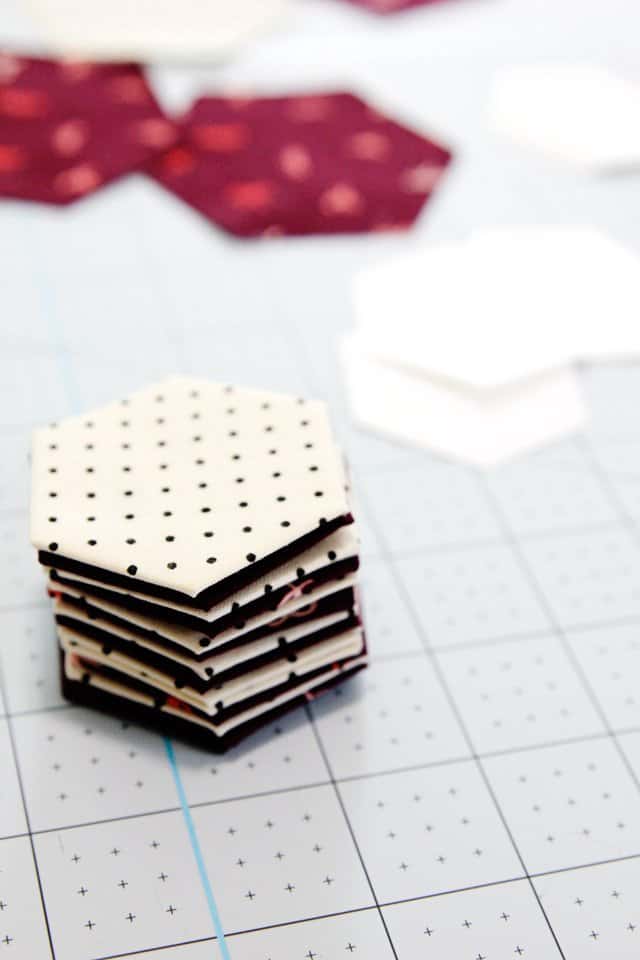
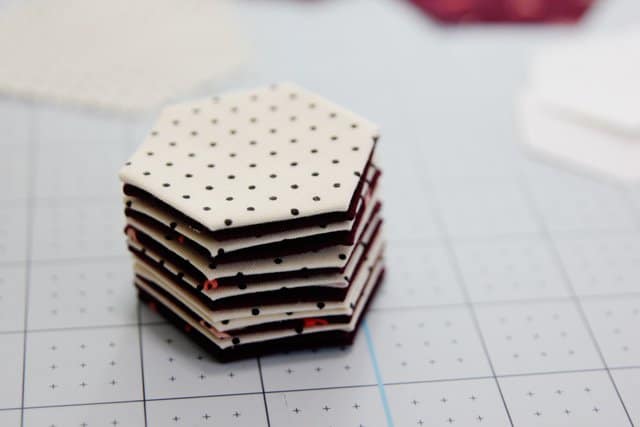
Assemble the hexagons with glue or thread and stack them up!
5. cutting appliqué shapes
-Fabric Scraps
–HeatnBond Ultrahold
-Thread for topstitching
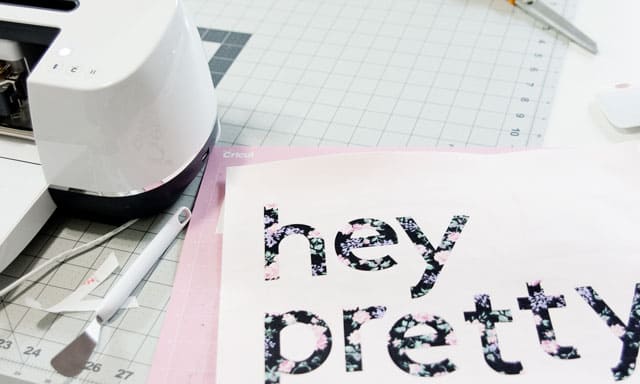
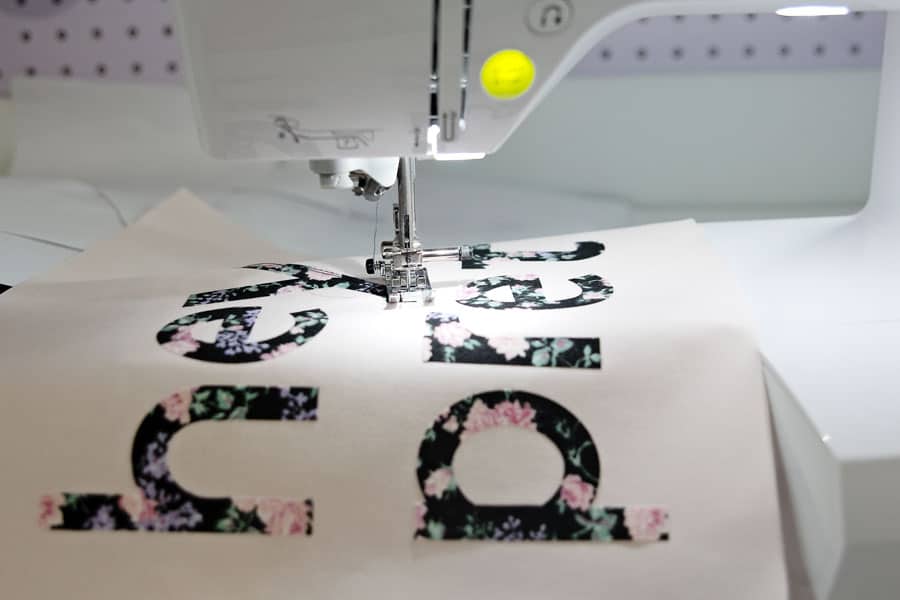
This was one of the very first things I did with the Maker! The ability to cut perfect appliqué shapes opens up so many possibilities! I used to cut these types of things by hand using a printed template. It was messy and hard. I could never get the curves quite right and letters like e’s with a little piece to cut out in the middle always turned out wonky.
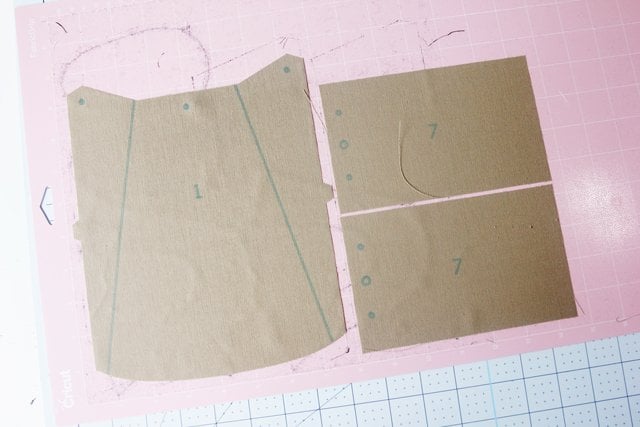
6. cutting quilt pattern pieces with cardstock
-Half Hexagon Quilt Pieces
-Cricut Sewing Kit
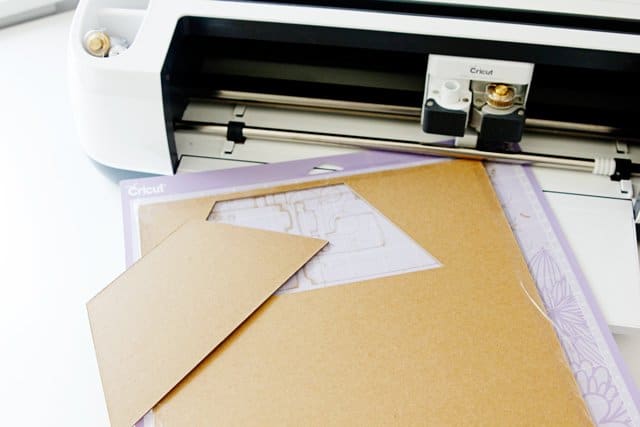
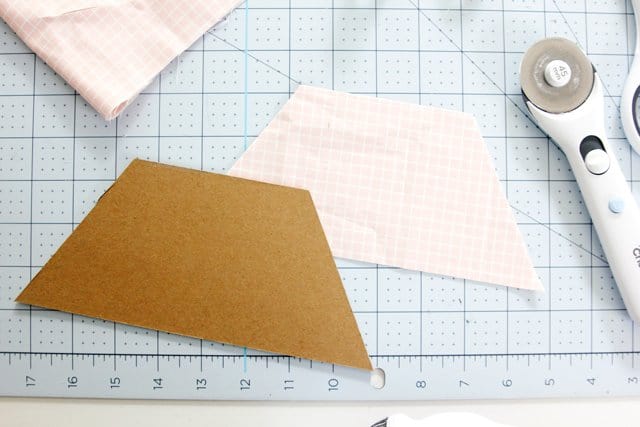
If you still want to cut your fabric out by hand, a thicker pattern piece will be super helpful! This is something you can do with the Cricut Explore Air 2 if that is what you have! But if you have the Maker, having a thicker template for cutting fabric out is nice if you want to make a little kit for yourself to take on a trip that your Maker can’t come on or for making a quilt kit for a friend or class.
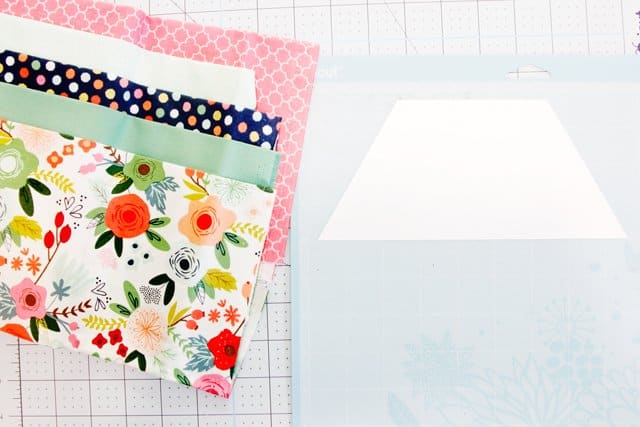
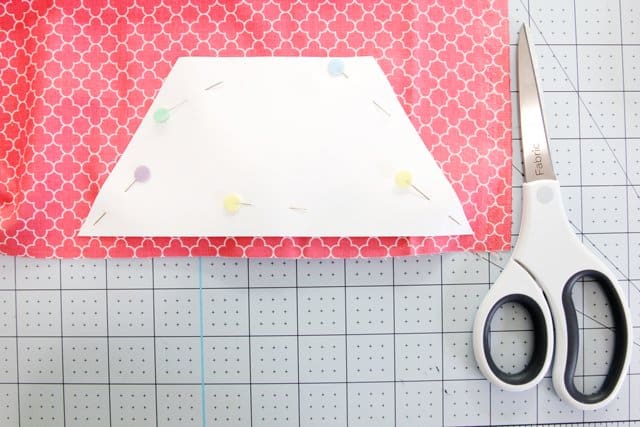
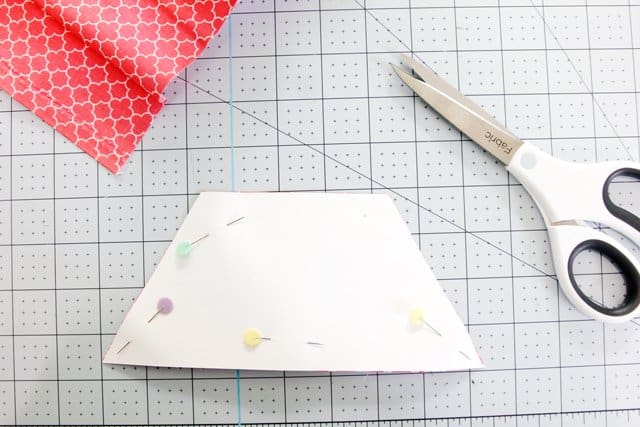
Cutting out a pattern on card stock is as simple as loading paper instead of fabric when choosing a quilt pattern in Design Space. You can even design your own block with the basic shapes in Design Space or upload a basic shape or jpg to the interface.
7. cutting quilting templates (knife blade)
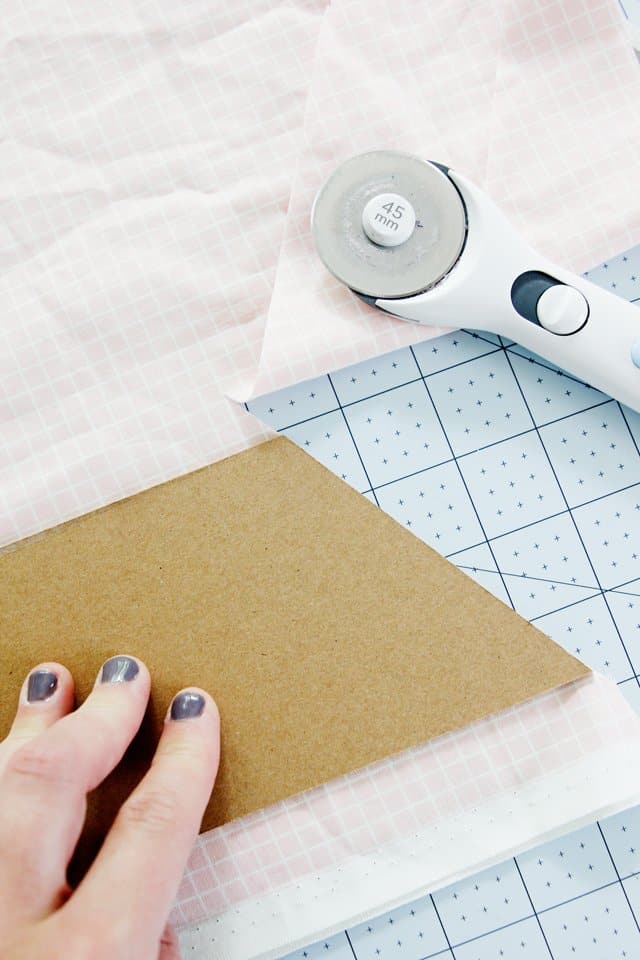
Make quilt templates with chipboard or balsa wood! The Maker not only cuts fabric but also materials as thick as balsa wood! This is just like cutting the quilt pattern pieces out with cardstock but you’ll need the knife blade. These thicker templates would are thick enough to trace with a rotary cutter. They would be perfect for teaching a quilting class! Instead of buying separate rulers/templates for each quilt piece you need, you can cut your own!
-Half Hexagon Quilt Pieces in Design Space (lots of sizes to choose from!)
-Knife Blade
-2mm Chipboard
8. vinyl negative stencils for custom printed fabric
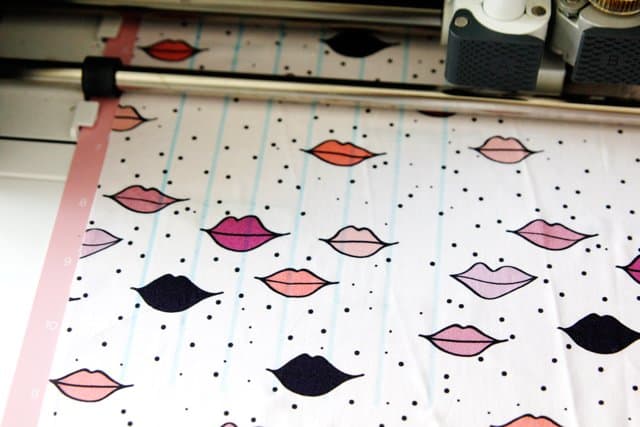
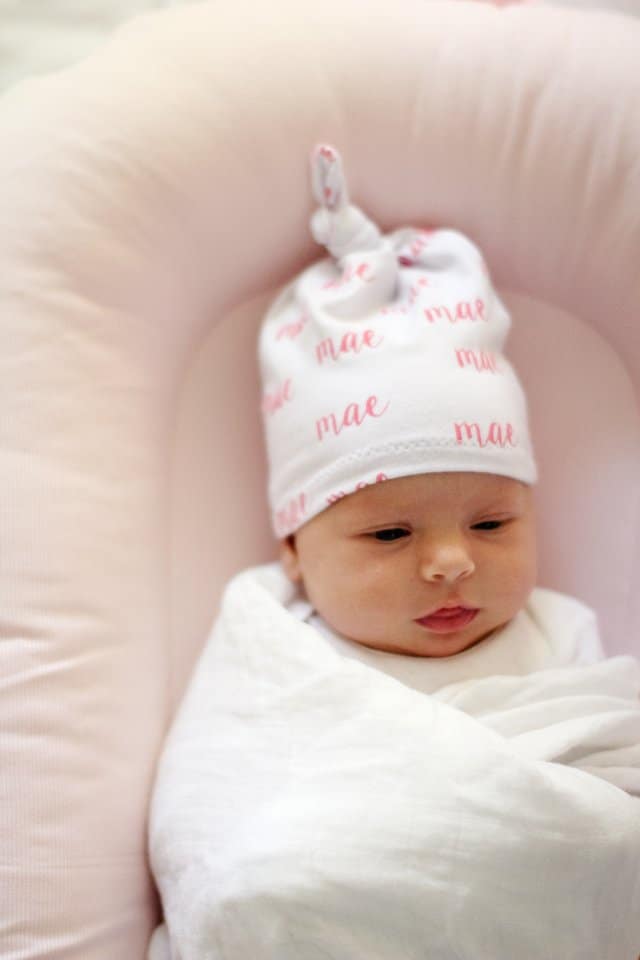
Use basic vinyl to cut out designs and then use them on fabric! This will change the way you think about a sewing project – instead of having to find the perfect fabric, you can make it! Which means you can make something TOTALLY custom from start to finish! Create larger pieces of fabric 12″ by 24″ and then cut them down to size with your Maker (after they dry, of course!) into a quilt design of your choice! Mix and match with fabric you already have or make them all yourself!
See how to make your own custom fabric with this Knotted Baby Hat Tutorial.
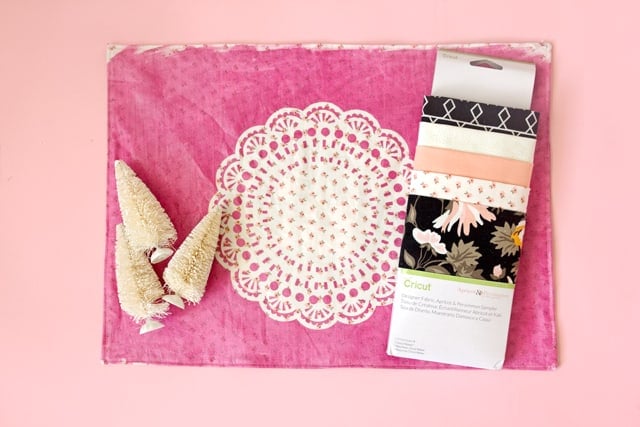
Another twist on this technique is using vinyl to create a negative space design, like in this Boho Placemat Tutorial.
9. drawing stitching lines for topstitching
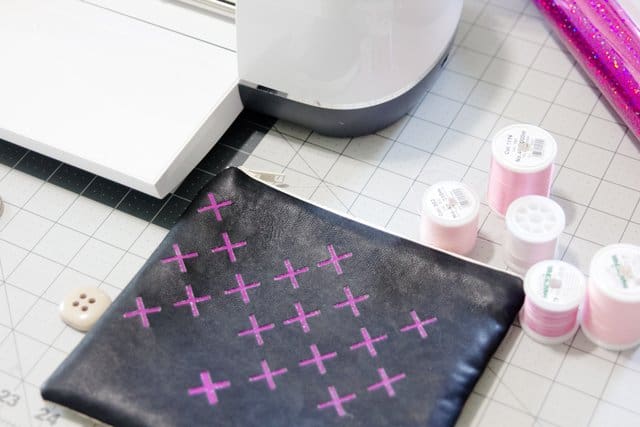
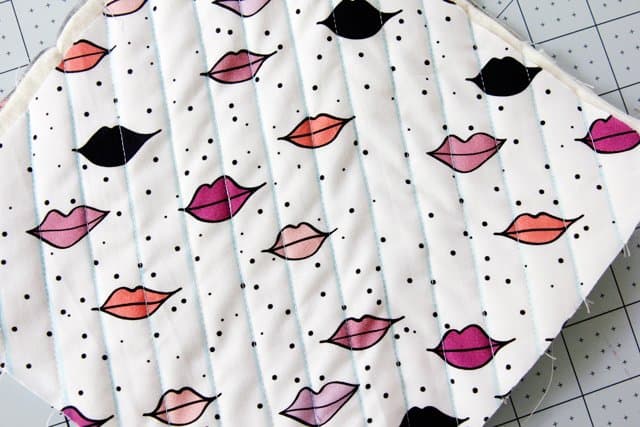
This is great for smaller quilted projects, like a quilted cosmetic case or a hot pad for the kitchen! Use the washable fabric pen to create lines on your fabric so you get perfect quilting!
To create lines, use the line tool in Design Space to create 1 line. Then copy/paste it a bunch of times and use the alignment tool to get them to be evenly spaced. Or use my premade lines here.
10. ADDING IRON-ON VINYL TO TOP OFF A QUILT
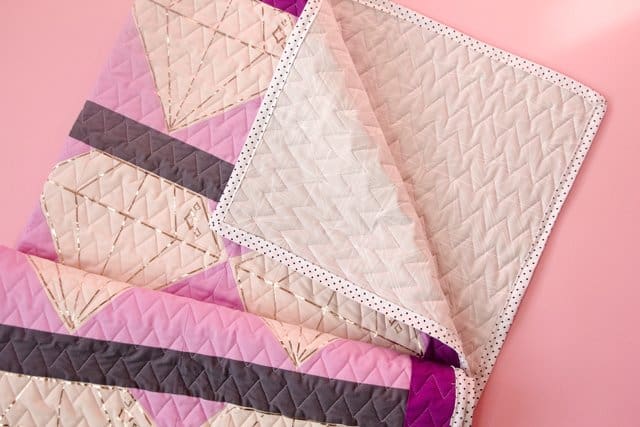
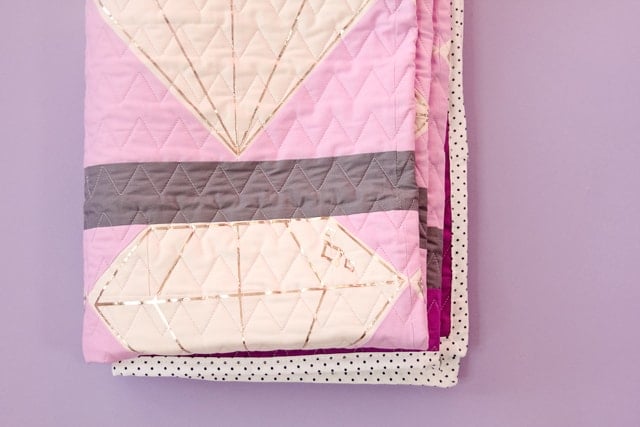
Similar to adding an iron-on label to your quilt, using iron-on on a quilt as a part of the design can just add a little something extra. In the You’re a Gem Quilt Block pattern I used Rose Gold Foil Iron-on to give the diamonds the shiny look I wanted and I love the dimension it added! The possibilities with this type of mixed media project are endless!
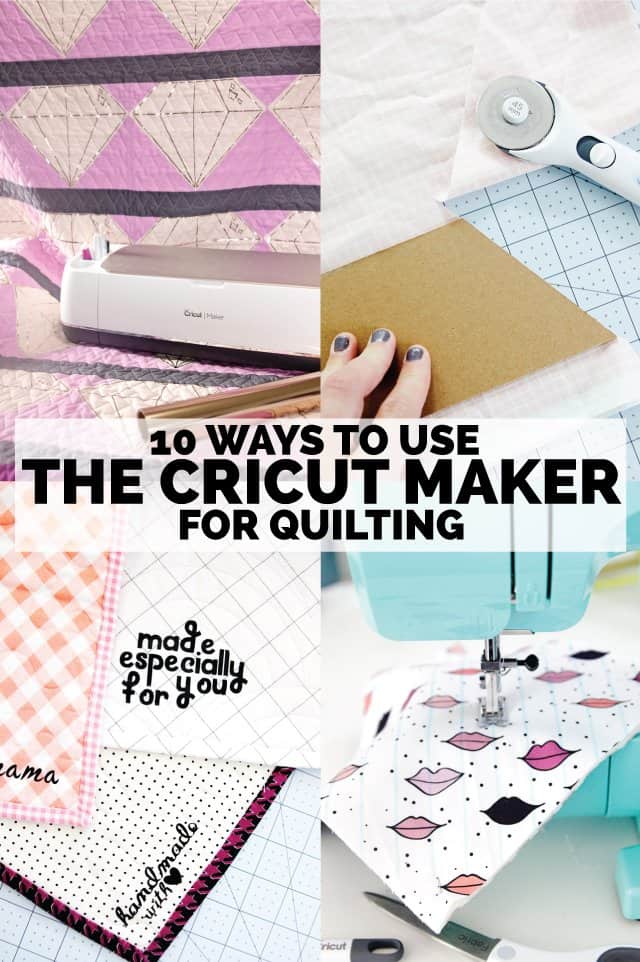
There you have it! 10 different ways to use the Cricut Maker on your quilting projects! I hope you were inspired to get quilting!
This is a sponsored conversation written by me on behalf of Cricut. The opinions and text are all mine.





Thank you for great tips. Do you recommend any types of thread and needles for this job?
For the love of all that is holy, do NOT try to sew thru Heat n Bond Ultra. You want HnB LITE for that. The extra adhesive on the ultra will quickly gum up your needle.