Tiny little coin pouches are so fun to sew and maybe even more fun to stuff! This little coin pouch tutorial makes a perfectly sized mini pouch that is great for using as a little wallet.
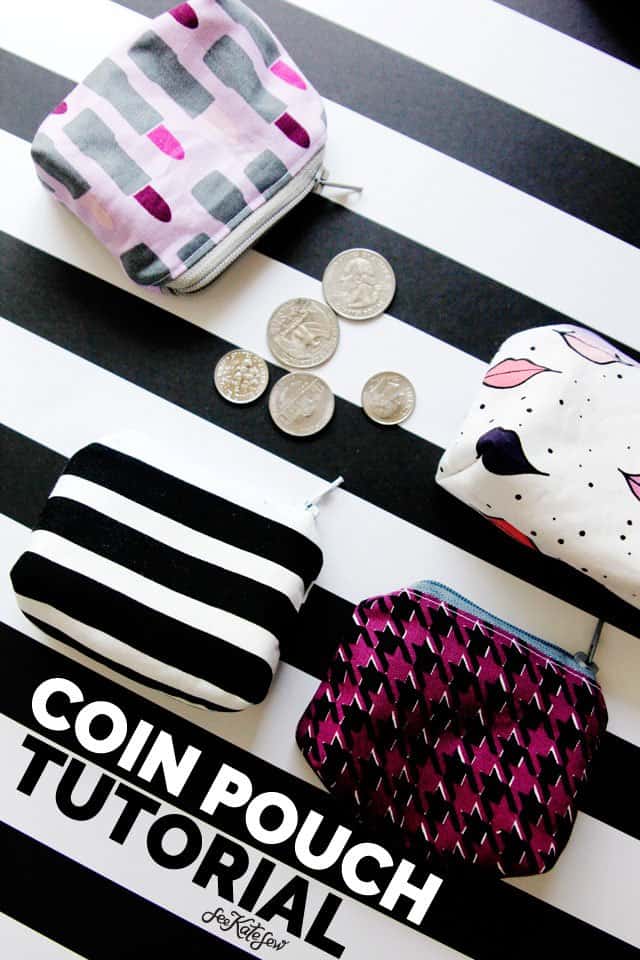
Since it’s summer-time, a coin purse is perfect for bringing change to the pool for snack breaks (ie junk food breaks, if you’re my kids). Little coin pouches are also great for tiny little toys, too, maybe for your LOL doll clothes or similar tiny toys that always get lost!
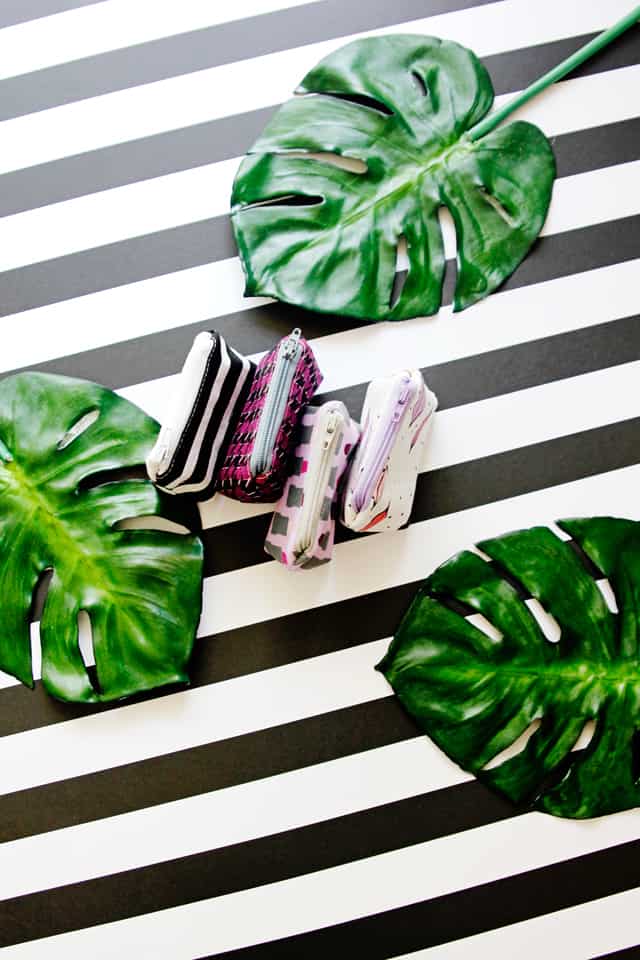
The coin pouch tutorial is very similar to the basic zipper pouch tutorial but it has a little modification on the bottom to give it some shape. It’s a great project for a beginner. There is a free pattern download in this post, just print it out and get sewing! So if you’ve made a basic zipper pouch, these coin pouches will be a breeze!
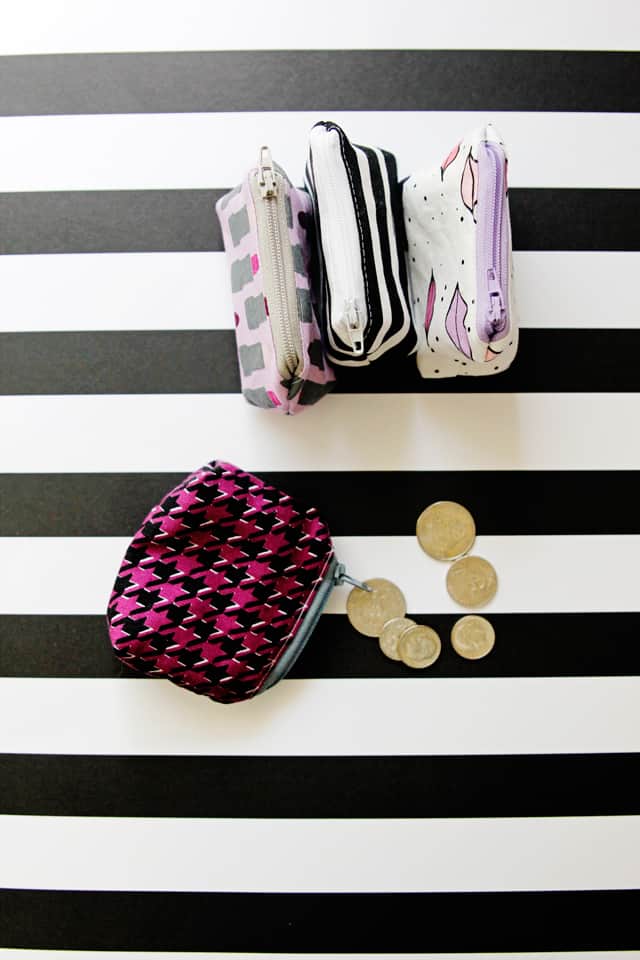
I definitely recommend making these in batches since they are just so cute! I’m using a longer zipper than required for these, I generally buy a big pack of longer zippers on Amazon so I always have a stash and then just trim them down as needed. But you only need a 5″ zipper if you are buying one to use.
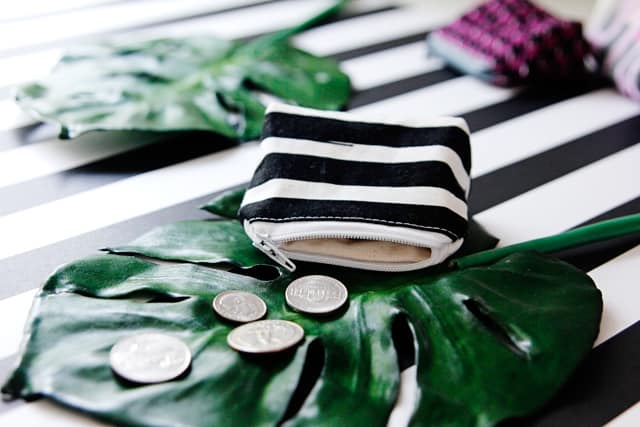
I lined these pouches with a canvas material to give them extra stability. If you don’t have that in your stash, basic cotton will work just fine and/or you can use a more stable interfacing.

Let’s get sewing!
Coin Pouch Tutorial Materials
This pouch requires just a few materials – you may have them in your sewing room already! Although we are using a zipper, you do not need a zipper foot for this pattern.
- Fat quarters of Kiss Me, Kate or use scrap fabric pieces
- Scraps of fusible interfacing (affiliate links)
- Scraps of canvas
- 5″ zipper (or longer), I recommend a nylon zipper
- Basic sewing supplies like scissors, thread, a cutting mat and rotary cutter, etc
- Pattern download (see below!)
Helpful tools
Coin Pouch Instructions
Use a 3/8″ seam allowance.
Cut 2 layers of main fabric (for the outer pieces), 2 layers of lining fabric, and 2 layers of fusible interfacing.
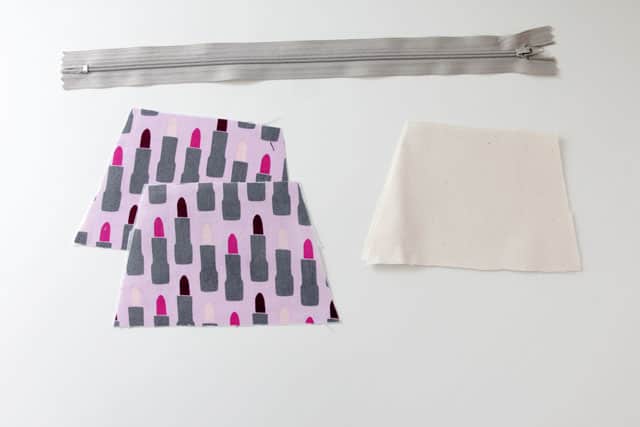
Fuse the interfacing to the back of the exterior pieces. The pieces of outer fabric are the only ones that need the interfacing but you can interface the lining side if you want a sturdier pouch.
If you’ve sewn a basic zipper pouch, this assembly will be basically the same! Lay the zipper face down on the main fabric piece with the zipper teeth face down. Pin in place and baste. Be sure the right side of the zipper is down before sewing!
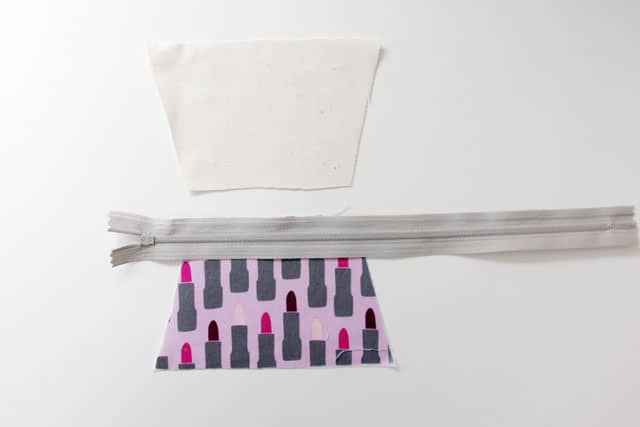
Lay the lining piece on top of the zipper with right side face down creating a sandwich with the zipper in the middle. Sew with sewing machine needle aligned close to the zipper teeth.
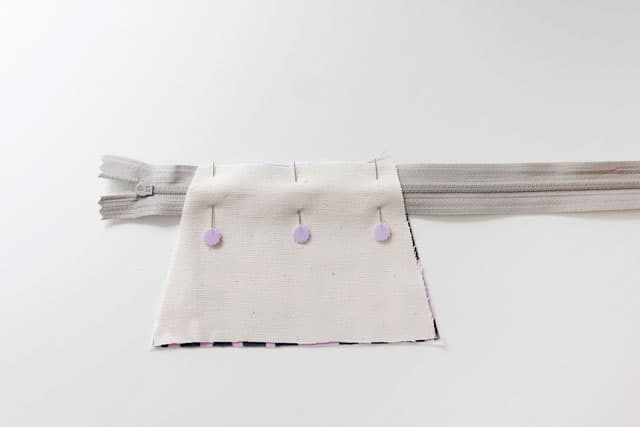
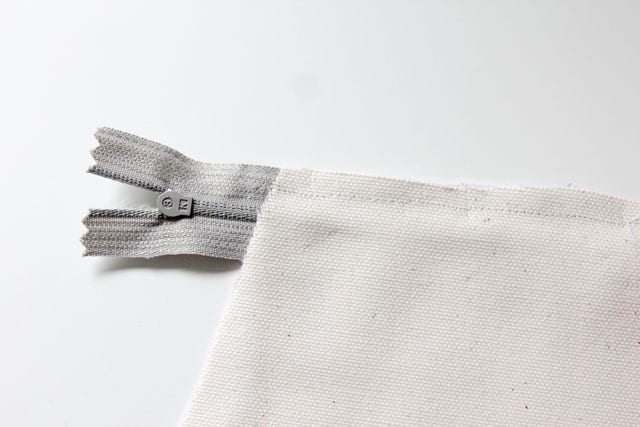
Turn and press. Press the seam allowance towards the main fabric and topstitch along the top of the main fabric to attach the fabric to the zipper.
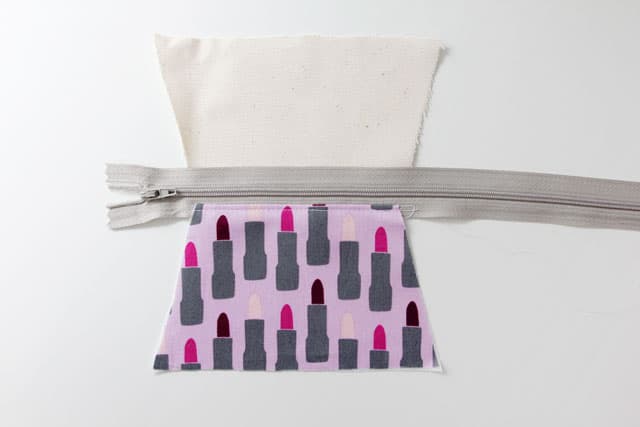
Repeat the first few steps with the other main and other lining pieces.
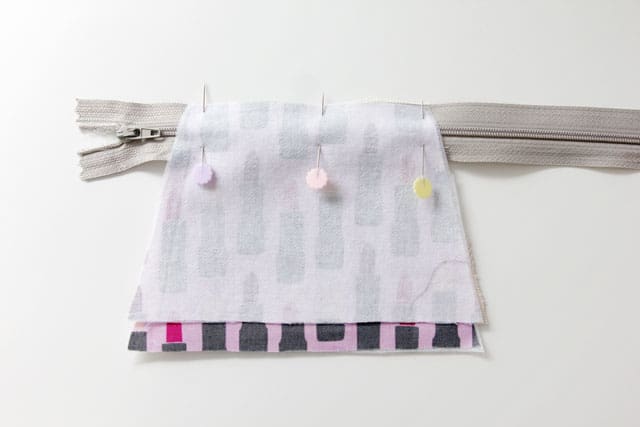
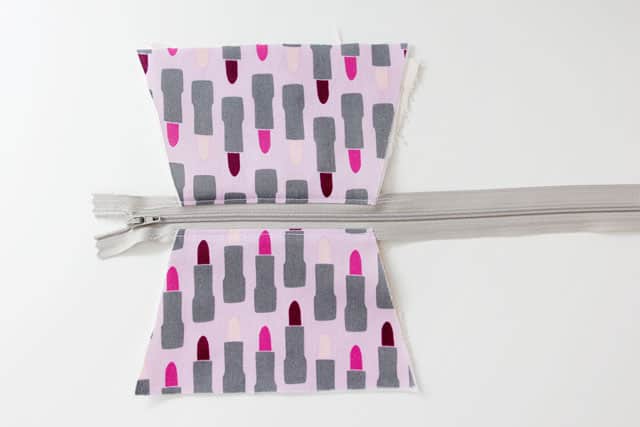
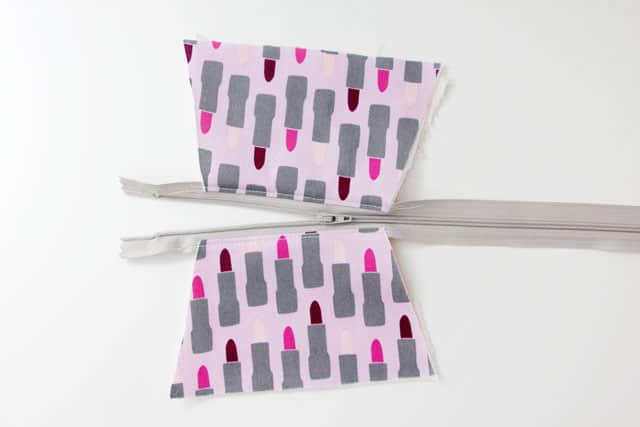
Open the zipper.
Fold over and pin right sides of the pouches together, matching up the corners and zipper. Make sure the bottom edges meet and line up well. Sew the sides of the pouch, backstitching at each end. Leave the bottoms open for now.
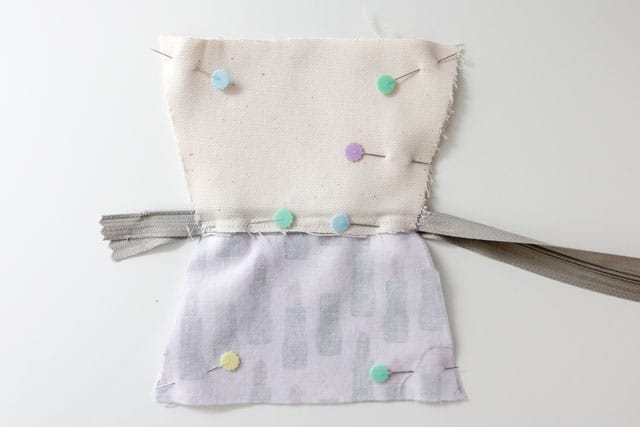
Trim excess zipper.
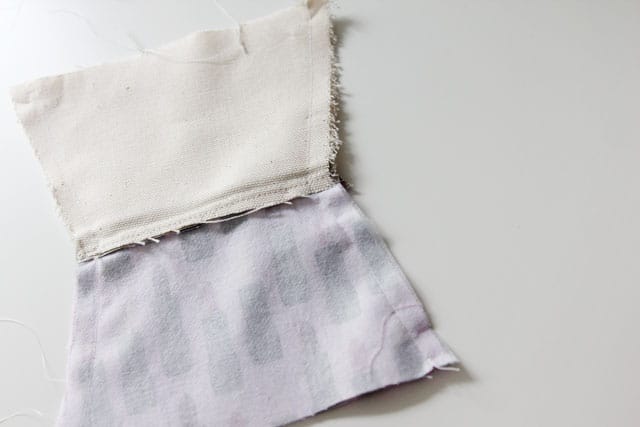
For this tutorial, we aren’t sewing the bottom of the pouch together quite yet. Since the coin pouch is so small, we need to avoid as much bulk as possible and not sewing the bottom yet will help with that.
Sew the bottom of the coin pouch
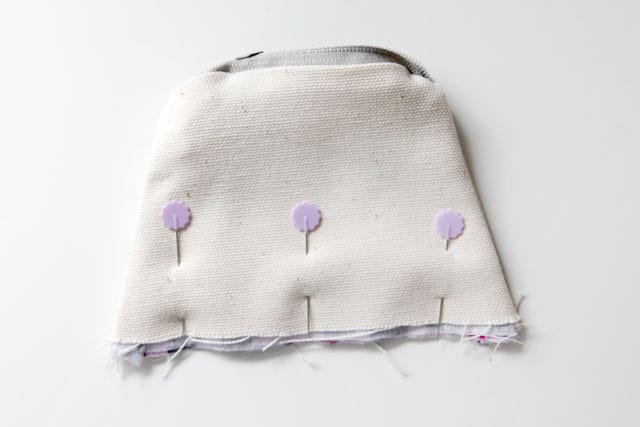
Turn the pouch so it is inside out and the layers of fabric are smooth. I like to give it a little press right now. Bring the bottom edges together and pin. Make sure they are lined up well. Then sew along the bottom.
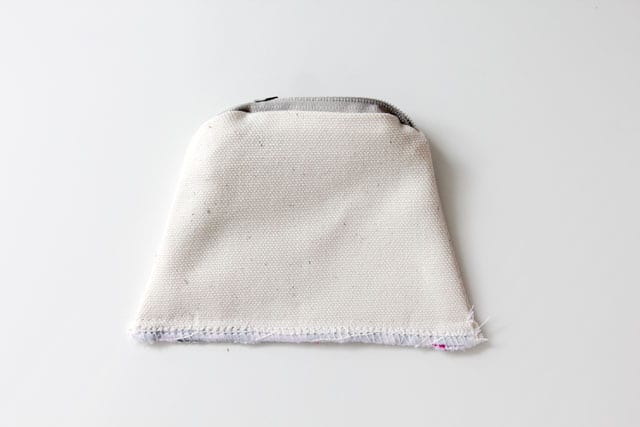
Finish the bottom seam allowances with a serger or a zig zag stitch.
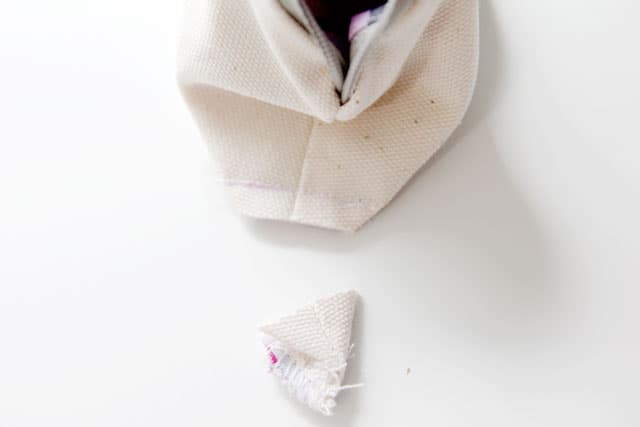
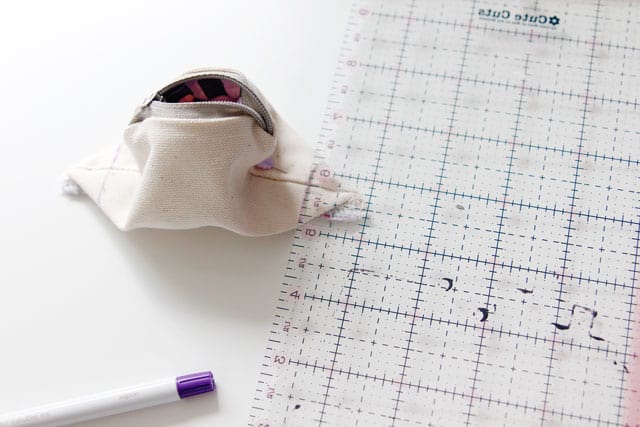
Smooth out the bag with your fingers and pinch the bottom of the bag, perpendicular to the side seam. Make sure the seams are as straight as possible. Sew 3/4″ from the corner, straight across. This will give the pouch the flat bottom we want, to give it some dimension and also allow it to stand up on its own. Repeat with second corner.
At this point you can trim the corner down to 1/4″ and serge or use fray check to finish the edges.
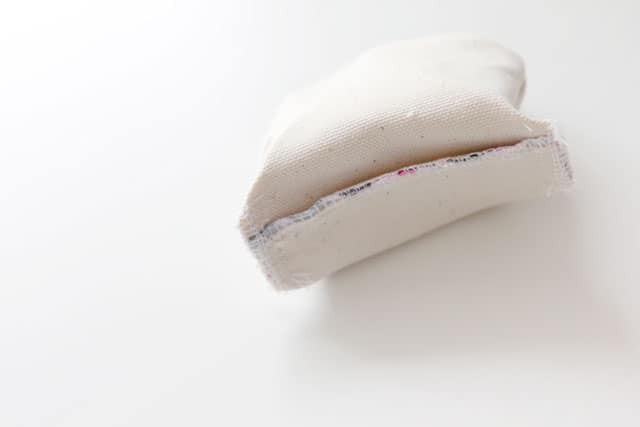
Turn right side out and you’re done! SEW CUTE!
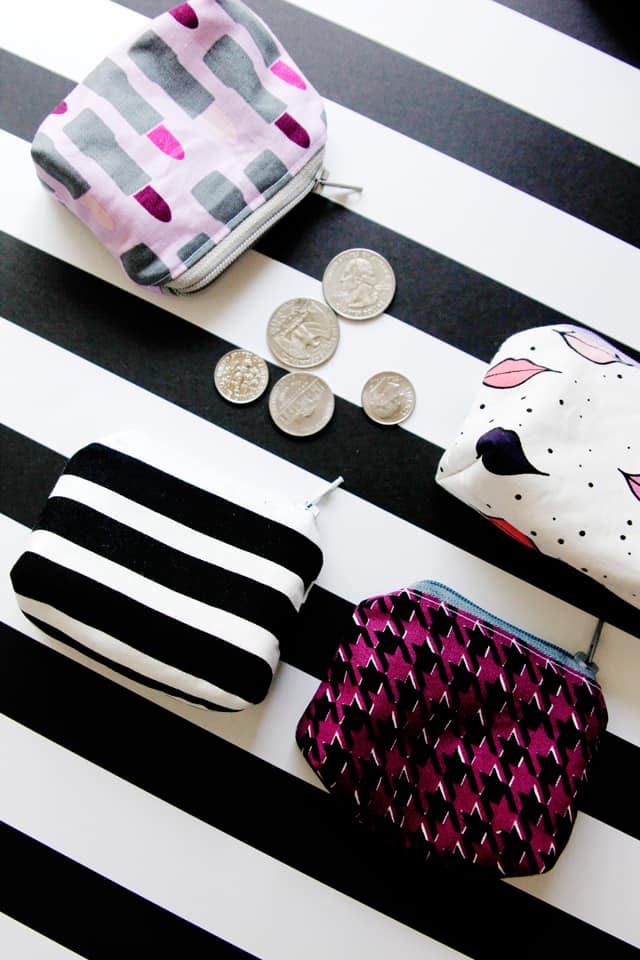
Add a keyring to make it a keychain or a decorate zip pull for fun!
Check out more sewing projects with Kiss Me, Kate here:




Adorable! Thanks. I want to make several today! But I don’t see the pattern download. Am I missing it?
Type your email in the purple box (right below the Materials section) and it will be sent to you!
Can’t find the pattern! Looked four times.
Type your email in the purple box (right below the Materials section) and it will be sent to you!
I love your blog but have NEVER successfully downloaded a free pattern….Just tried to get the coin purse template and was again not able to download it….
Cute change purse! I cannot locate the download either. The instructions say to subscribe to your newsletter to get the free pattern. I am already a subscriber – this project was sent to me in an e-mail. Help, please.
Thank you for sharing your talent with us!
Type your email in the purple box (right below the Materials section) and it will be sent to you!
Thank You for the pattern! I figured out how to get by reading the other commets! I have this really cute fabric- it is a really cute summer print with sandals and other summer stuff on! Thanks again
I love how cute this is.
Can I use your pattern in a craft box to be sold. Keeping your name and logo of course on the pattern and instructions.
The craft box would include the pattern instructions and materials for the craft.
Just didn’t want to be out of line.
Have received pattern but want to make sure it has printed to scale. Mine measures 4″ down the side, is this correct? Thanks
Hi Kate-Love your coin pouch but I have a problem. When I try to sign up for the pattern I get the following message : ”ReferenceError: ‘Promise’ is undefined” can you please help? Thank you so much for your generosity.