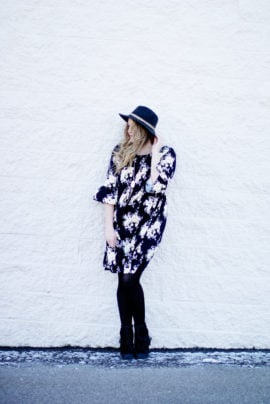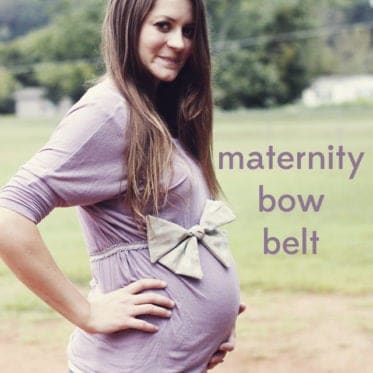
I get bored with clothes really quickly, so 9 months of rotating a limited collection of maternity clothes doesn't work for me! Instead, I like to incorporate lots of flowy non-maternity blouses in to give me more options. Usually I would belt them at the waist, but belts are so uncomfortable on my growing belly! But I still want some kind of definition and shape to my outfit. So I made a special belt with super stretchy elastic and a cute little bow. This will totally work if you're belly isn't growing, too! Just measure at the waist instead ...Continue Reading
sewing 101: handmade piping with the welting foot
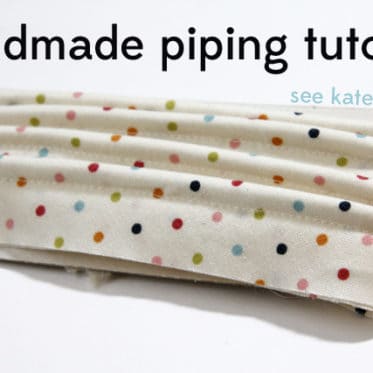
Piping is one of my favorite little details on clothing. It adds a pop of color, can break up and otherwise boring garment, and really just gives it a little something extra. I've made piping before with my normal machine foot, and also with a zipper foot. Both work okay, but then I discovered the welting foot! The welting foot is made especially for making handmade piping! It's got a groove in it just for the cording and fabric, and lines up the needle just at the right spot for professional looking piping. Making your own piping is ...Continue Reading
stretchy pocket maternity pants tutorial
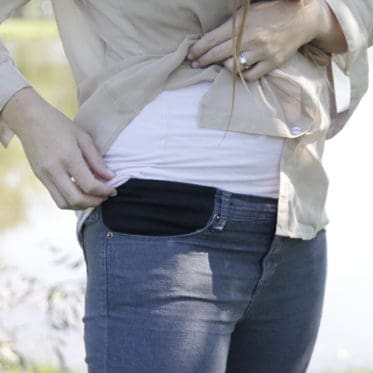
Welcome to belly + baby! This is the first post in our weekly maternity series. I gave you a little preview of these pants last week, and here's the tutorial! This is a great way to have elastic pants that don't look like elastic pants. By replacing the front pockets with elastic, you'll have plenty of stretch for a growing belly, but also enough structure to keep you feeling put-together. I love that these pants still have the details like belt loops, a button and a zipper. I don't like feeling like I'm in my pajamas when I'm out ...Continue Reading
universal pacifier clip tutorial
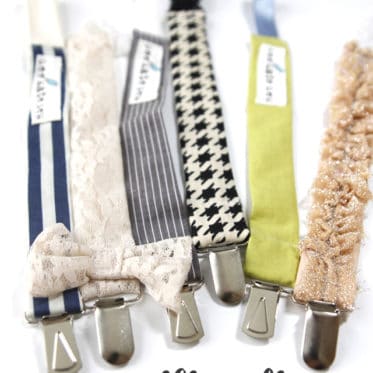
The pacifier clip: a total essential for a first-time mom. If she is like I was, she will sterlize every pacifier, bottle and toy after it hits ANY surface and before it touches her new baby! And if it's flu season- TWICE. It's stressful. I know. So, enter the pacifier clip. Loop the paci through the ribbon and clip it on your baby. Or you. And then it won't fall! These are pretty simple to make, and make a great accessory for a baby shower gift. Here is my universal pacifier clip tutorial: Materials: *Fabric: any kind *Ribbon, or ...Continue Reading
vintage lady onesie
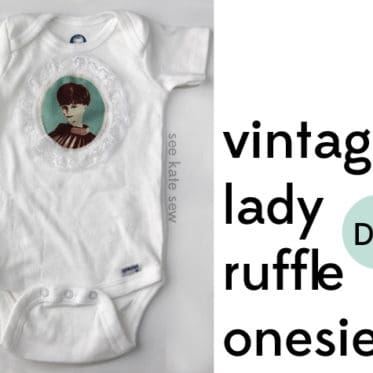
Onesies are and will forever be my favorite baby item. They are so cute. The remind me of tiny baby smells and the first few weeks of fresh baby love. You can never have enough onesies, am I right? Most of Cohen's onesies are stained to the point of no return, so it's girl onesie time! I've had this Melody Miller fabric sitting in my stash for a long time. The fabric is Vintage Ladies in Ivory from Ruby Star Rising. I just love the little retro ladies and their fun hairstyles. I knew this would be the perfect applique fabric, especially the ...Continue Reading
diy colorblock wedges
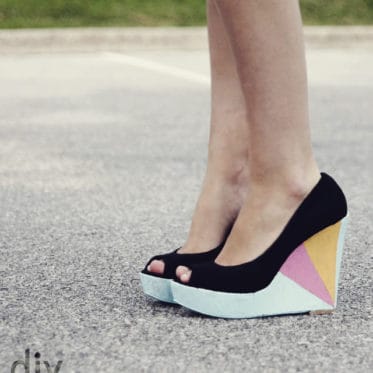
I have a fun shoe makeover to share today, colorblock wedges! I even made my very first video tutorial! Enjoy! Click here for full post! ...Continue Reading
lace extender slip 2
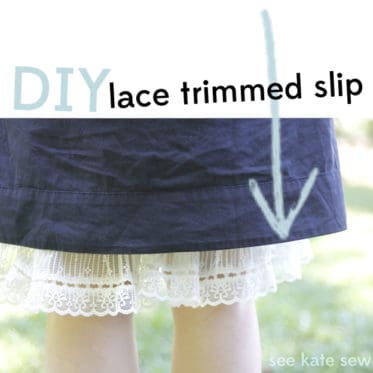
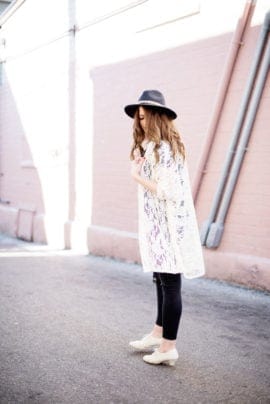
I have made two slips similar to this one already, one with layers of lace and one with ruffle fabric. I wear them all the time! When I found this pretty lace trim, I knew it wouldn't hurt to have another version! This is really easy to make because you start with pre-made trim and a pre-made slip. Pretty much just sew them together! And bam, you have another cute way to add a few inches to a too-short skirt or dress. Or just add a little peek of lace to an outfit that needs a little something extra! Sew a basting stitch through the top of ...Continue Reading
the knot bow tutorial

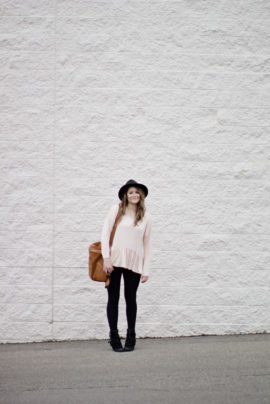
I made these last Wednesday, one for me and a bow tie for Cohen. I tried his elastic bow tie on his little head, just to see what a girl baby might look like. It was adorable. And then on Thursday we found out that we're having a girl! It was perfect timing. I love that this project can be for a boy or a girl! So the one I made for me became the perfect accessory for this outfit. I made the bow super soft because one side is made of a knit. The edges are rounded and the middle is knotted. It's made with just one piece, so it's really easy! ...Continue Reading
lengthen a dress with a band of fabric
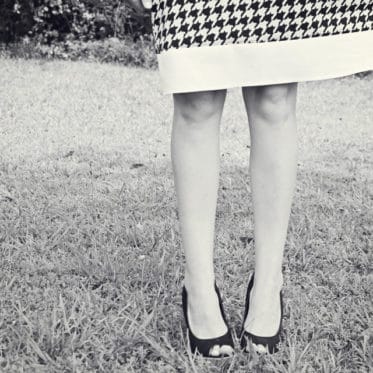
I got this dress at h&m for 10 bucks! A houndstooth 60s style shift for 10 bucks? Not even a question! I knew it would be a little bit short for my taste, but I also knew that a quick fabric fix could add a few inches. This quick fix can be applied to most shorter dresses and even skirts, tunics and pants. In the case of this dress, because the lines are so simple and the fabric is pretty sturdy, I was able to add a simple band of similar weight fabric. If you're working with a lightweight fabric, this method can still be used, but it may ...Continue Reading
add bra cups to a shelf lined swimsuit
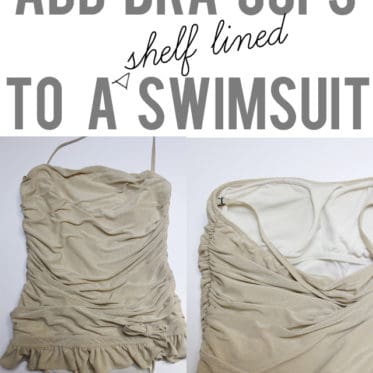
This swim suit is going on it's fourth summer! I know! It wasn't cheap when I got it but for lasting 4 years, I think I got my money's worth. So this is the fourth summer of the sparkly gold swimsuit and there is just one problem, the top is a little stretched out. I can't bring myself to throw it away, with that perfect little ruffle and bow. So instead, I sewed in some bra cups and it's back to wearable. I think this is pretty typical for swimsuit wear, everything stretches out a little. So if you have a suit with the same problem, here's ...Continue Reading
happy fourth! + diy star crown
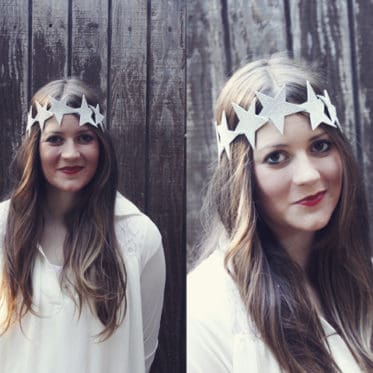
Happy Fourth! Hope you have a great (and safe!) day! We're looking forward to some pancakes, a little parade, swimming and a bbq. Oh, and fireworks of course! DIY STAR CROWN Materials: glittery foam sheet elastic glue gun scissors On the back of your foam sheet, draw out some imperfect stars. Use your drawing as a guide to cut them out. You'll need about six. Arrange them with star ends touching in a pattern that you like. Then glue them together where they overlap. Glue elastic onto the back. And you're done! ...Continue Reading