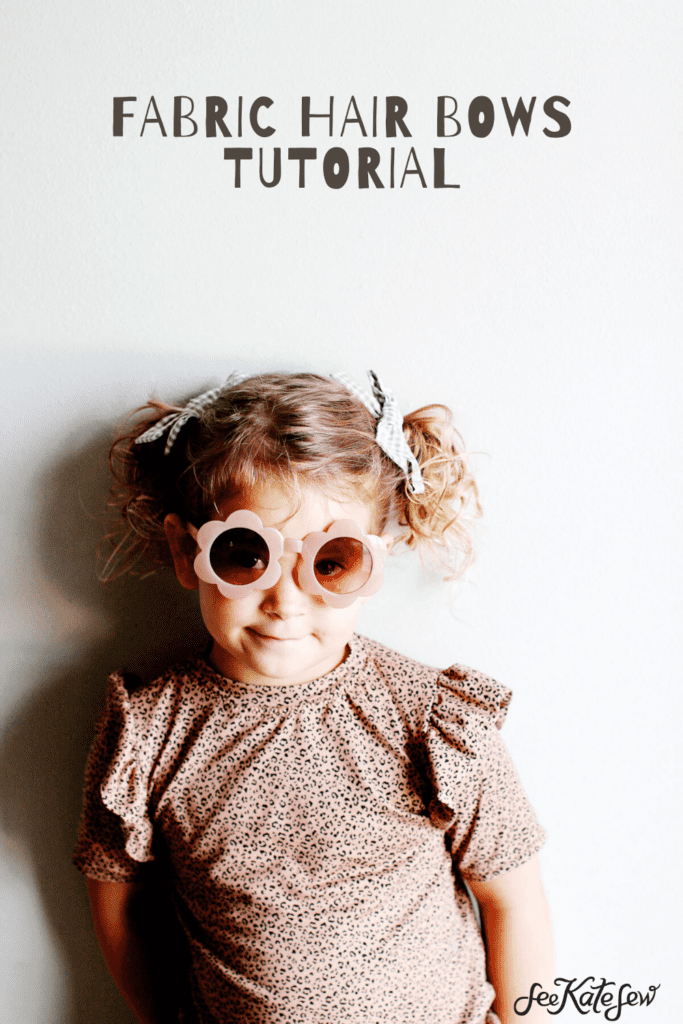
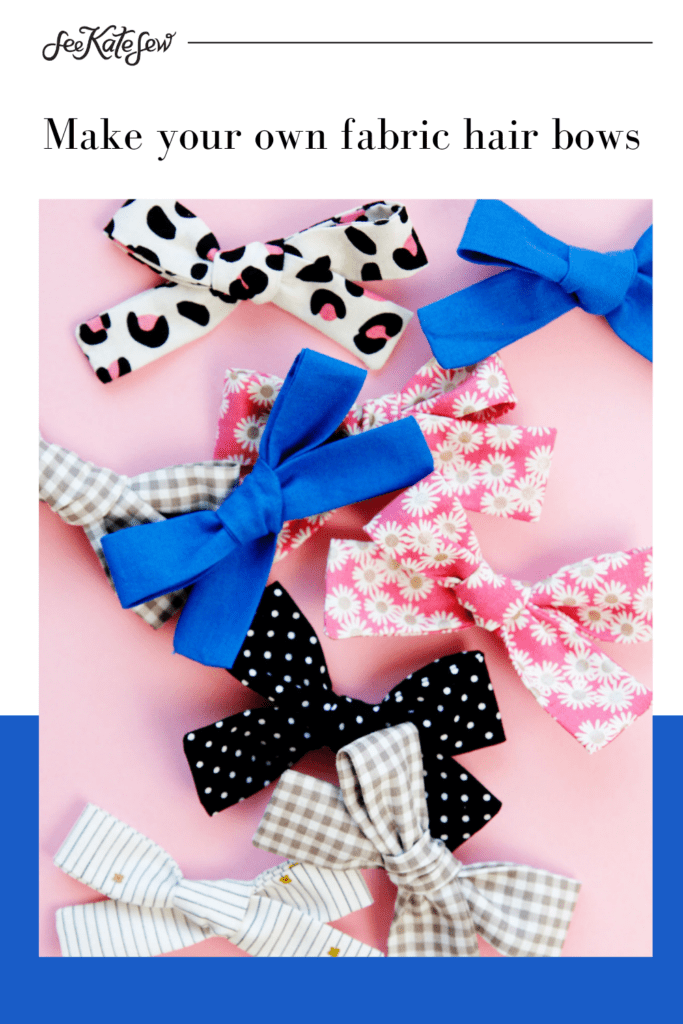
With fall fashion in full swing I wanted to share a few accessory tutorials. I’m always tempted by bows and headbands in the store but they can be so expensive in boutiques! So in this tutorial, I’ll show you how to make hand tied fabric bows that clip to your hair!

Sewing fabric bows is so easy and very cheap! Plus they are way cuter and softer than plain ribbons. All you need are a few scraps of fabric! Use leftovers from garment sewing to make bows that match your handmade outfits!
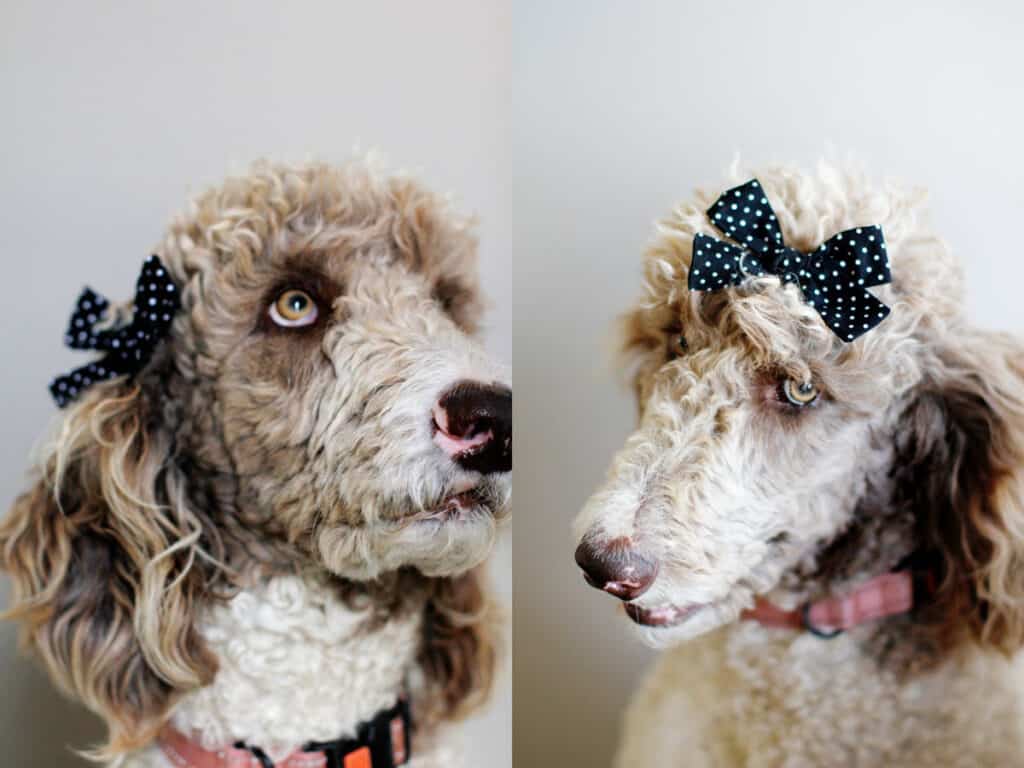
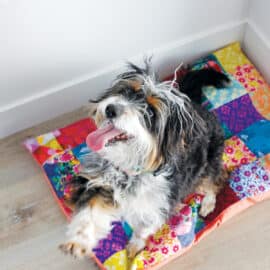
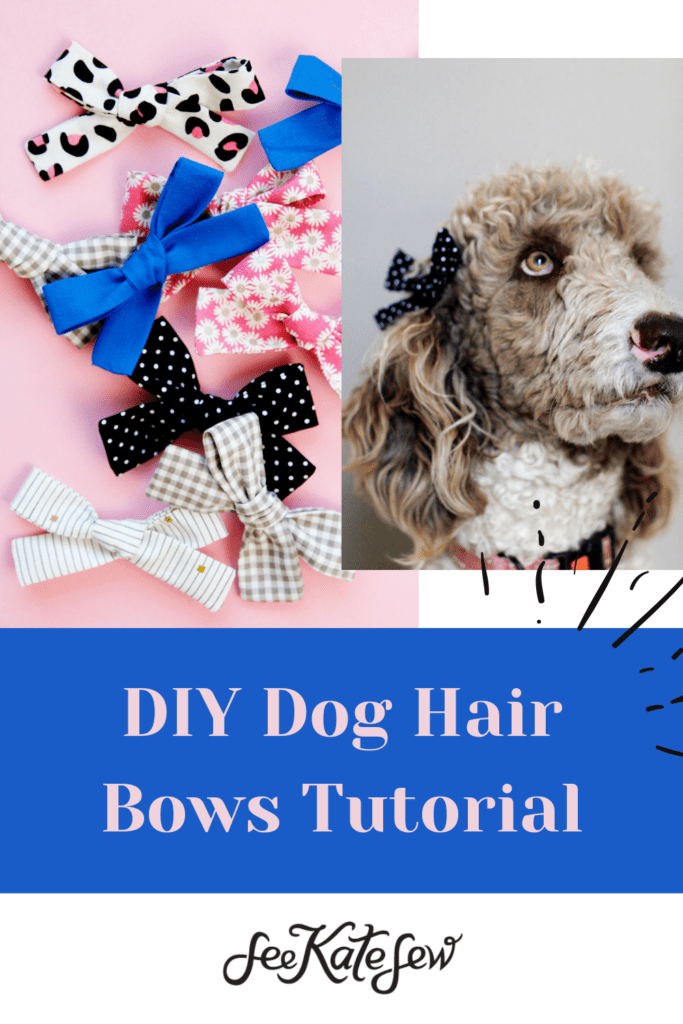
These are the cutest bows for a little girl! And you can even clip them to your dog’s fur for a silly dog hair accessory. Or clip them to your backpack, purse or other bag for an extra unique style. Clip them on the ribbon of a gift for a bow that doubles as a gift bow!
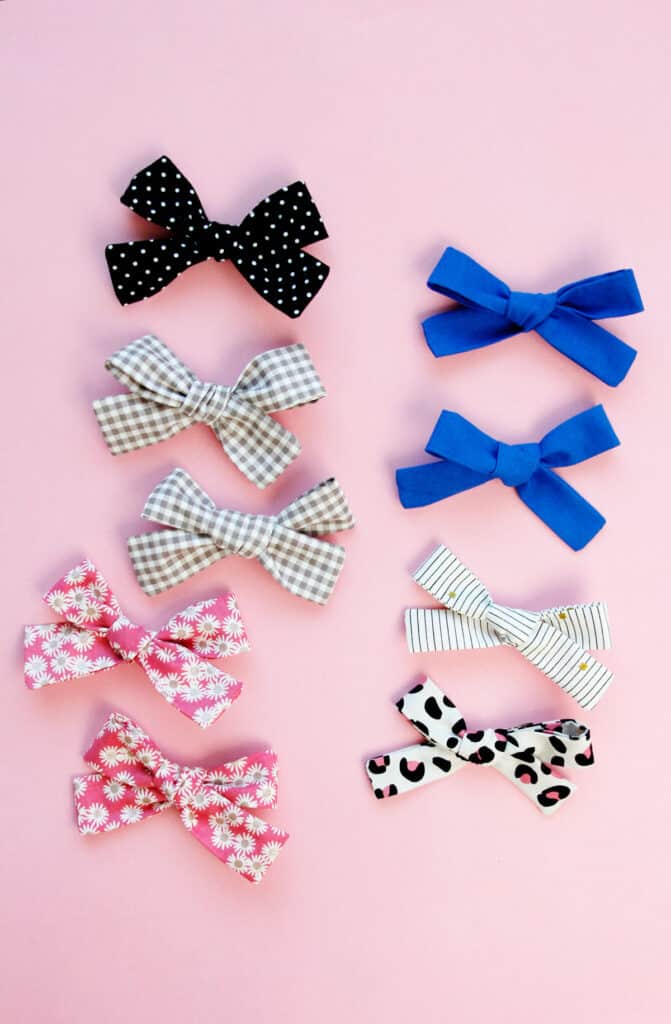
I made a two different sizes that are great for pigtails, ponytails and even dog hair clips! To make a bow headband, just tie the bow around a piece of headband elastic! I recommend a soft headband if you are making a baby bow. You can even knot these bows around hair ties for a really simple ponytail bow that doesn’t have a metal clip.
Learn to sew 6 hair bows and scrunchies with printable patterns in my Bow pattern pack! Purchase here.
Hand Tied Fabric Bow Materials
You only need a few supplies for these bows and you should be able to find them at most craft stores. The metal hair clips are often with the beading and jewelry supplies. You can grab some precut fabric or use scraps from home.
- Quilting cotton fabric, use scraps or a Jelly Roll
- Hair claw alligator clip
- Hot glue gun
- Basic sewing supplies: sewing machine, thread, rotary cutter, mat and acrylic ruler
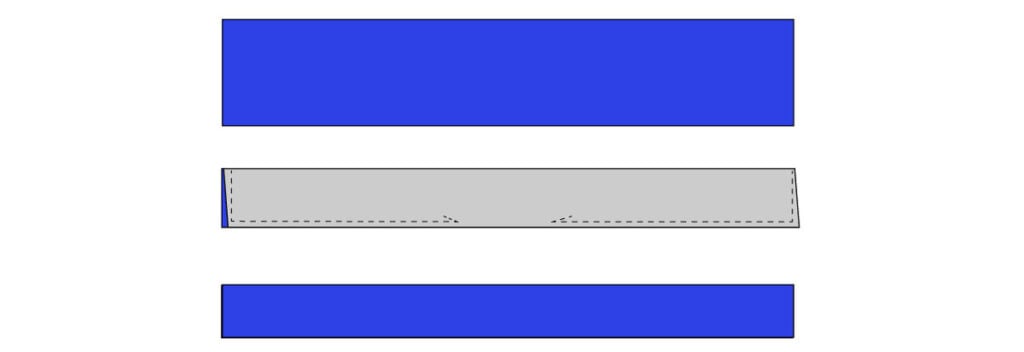
Bow Cutting Measurements
Since these bows start as rectangles, you can easily adjust the width and length of the strips as much as you want to make a wider bow or leave longer tails. This is where your creativity can shine!
For the two sizes shown, the cutting measurements are as follows:
- Small Bows – 2.25″ by 16″
- Wider Bows – 3″ by 16″
How to sew hand tied fabric bows – instructions
Use a one quarter inch seam allowance (1/4″).
Cut 1 strip of fabric for your desired bow size according to the measurements above.
Fold the strip of fabric in half lengthwise with right sides together and match raw edges. Press. Sew short end and pivot at corner. I like to leave my needle in the fabric, lift the presser foot and pivot my fabric to get a clean corner. Sew almost halfway to the center of the long edge. Backstitch. Repeat on the other side leaving a 2.5″ opening in the middle for turning the bow.
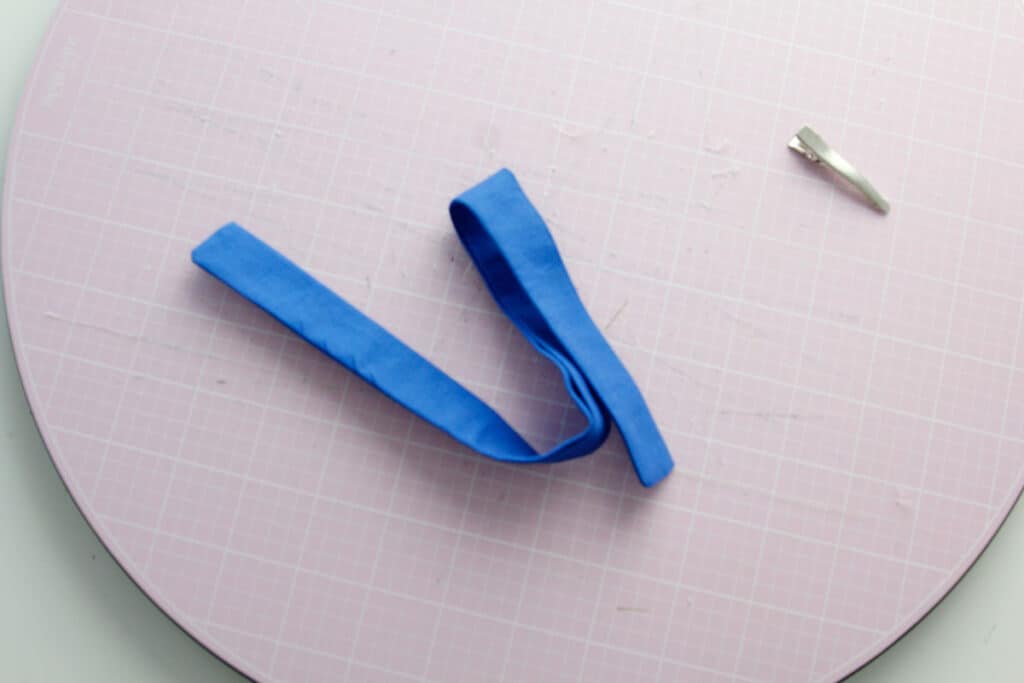
Clip the corners and trim the seam allowance down to 1/8″. Then turn the bow piece right side out and press. It’s a little tricky to turn such a small tube but you can use a chopstick, pen or point turner to help you. I like to use a pin to pull out the seam allowances on the corners of the bow.
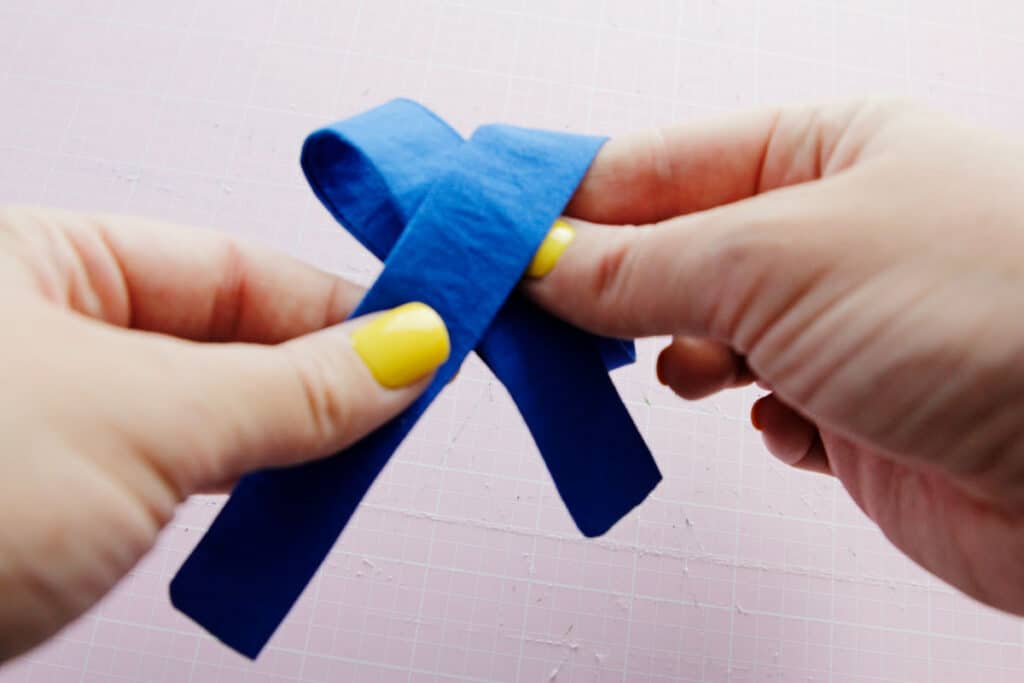
Tie the Fabric Hair Bow
Tying the bow is like tying your shoes! Loop, swoop and pull! To tie the bow, fold over a loop and hold it with your right hand as shown.

Pull the long end around the back and over the front of the first loop.
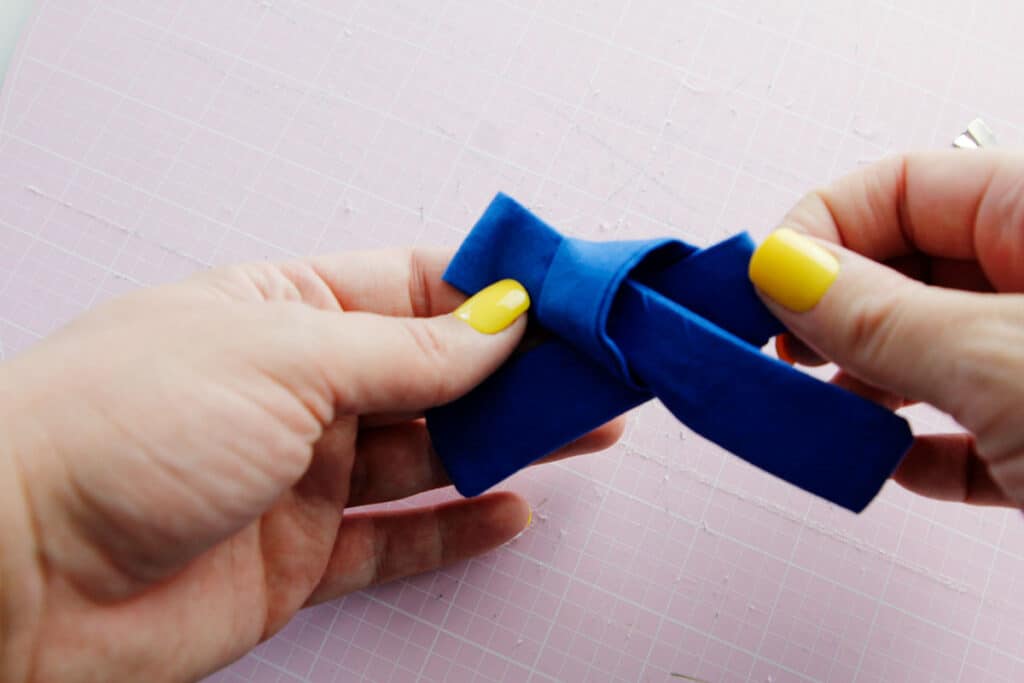
Fold the length with your finger and push under the first loop but over the back piece. Pull the length through creating the second loop. Pull and adjust loops and tails until you like the result. You may have to practice a few times! If this method is too confusing, find something to tie the bow around, such as a chopstick, and then slide the bow off and add clip. Tighten up the bow once you have a bow shape you like.
Stick the barrette clip at the back of the bow and then use the glue gun to shoot glue behind the clip. Add some glue to the front knot of the bow to keep it extra secure. Don’t put too much glue in this step because it can shoot out and make a big mess.
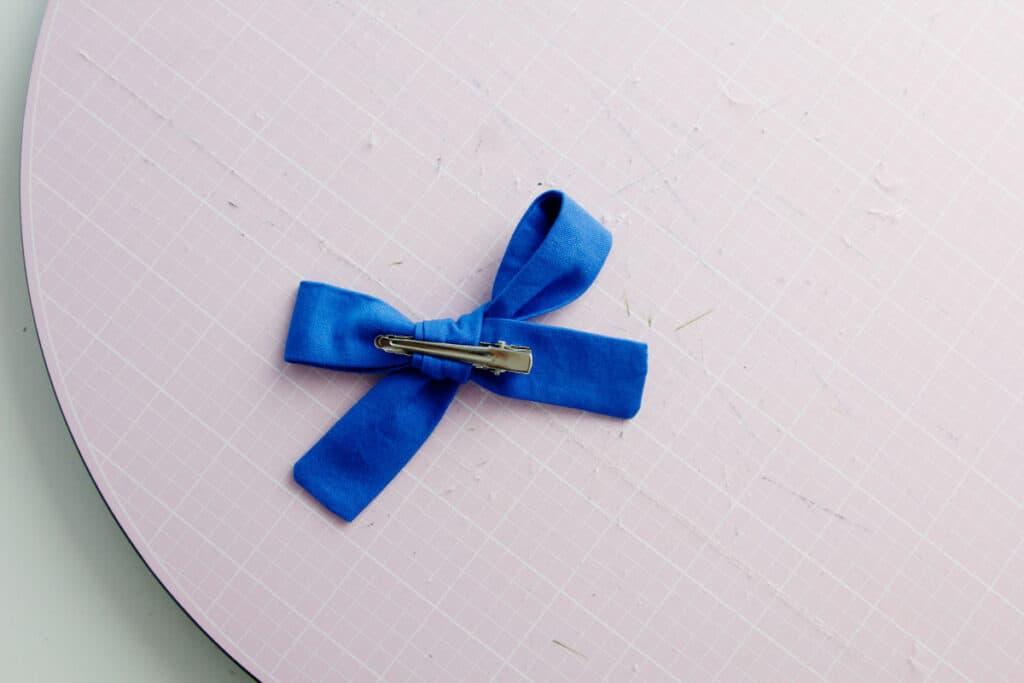
For piggie bows, glue the clips in opposite directions on the back to make it easier to clip them into pigtails.
Try clipping them to soft baby headbands.
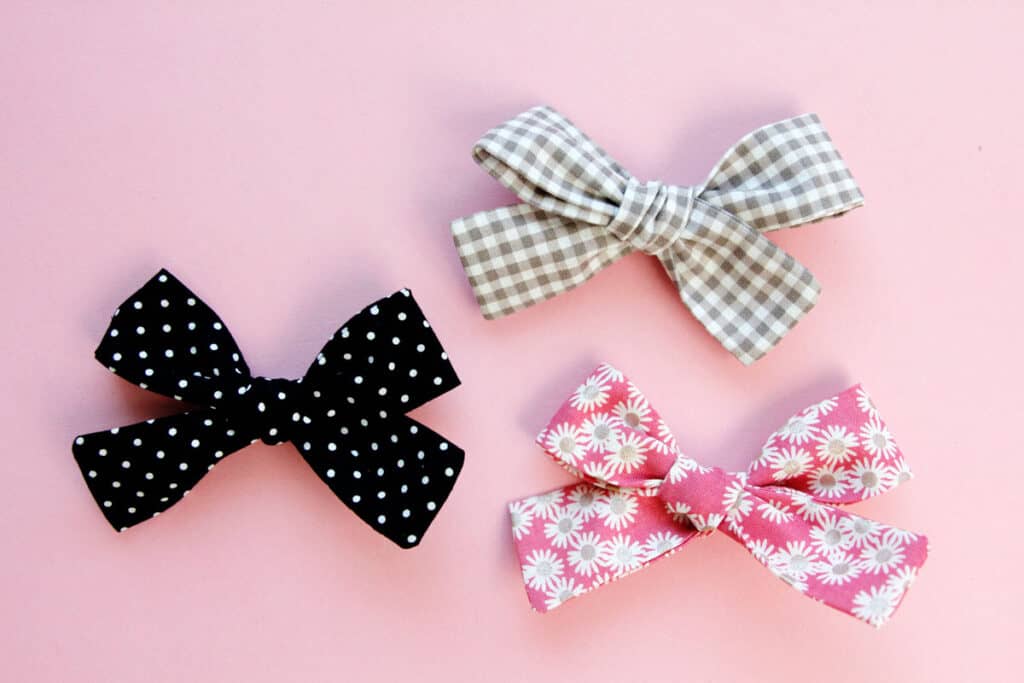
Add lace, beads, rhinestones or buttons for even more unique styles. You can even use small scraps to make a patchwork fabric and then turn that into your bow!
Making boutique hair bows is so easy and so fun!
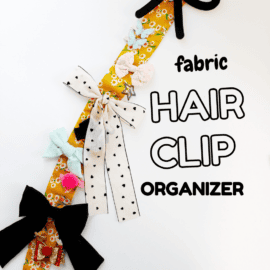
More Accessories Tutorials
I love sewing hair accessories like pretty hair bows! I hope you enjoyed learning how to make hand tied fabric bows. Here are a few more great accessories to amp up your style:
- Sew a scrunchie
- 3D Face Mask
- Nurse Headband
- Sew a double bow
- Sew a giant bow
- Sew big bows with fabric
- Ribbon hair bows
- Fabric bead and knot necklace
Join the See Kate Sew Facebook Community and share your hairbows and other projects!